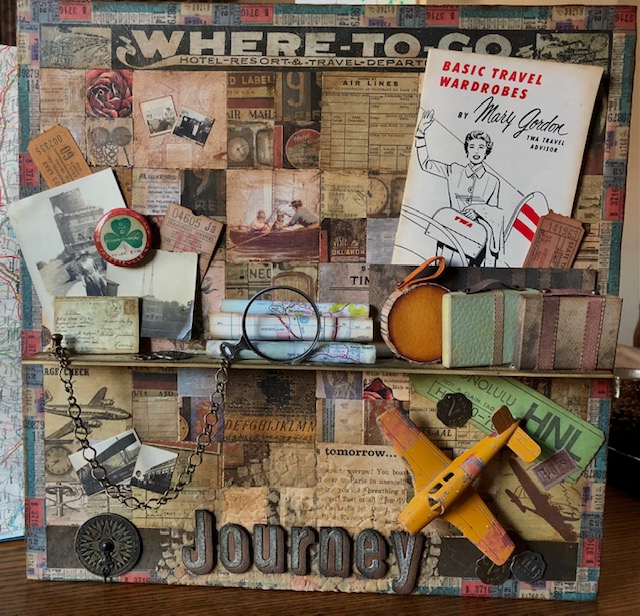
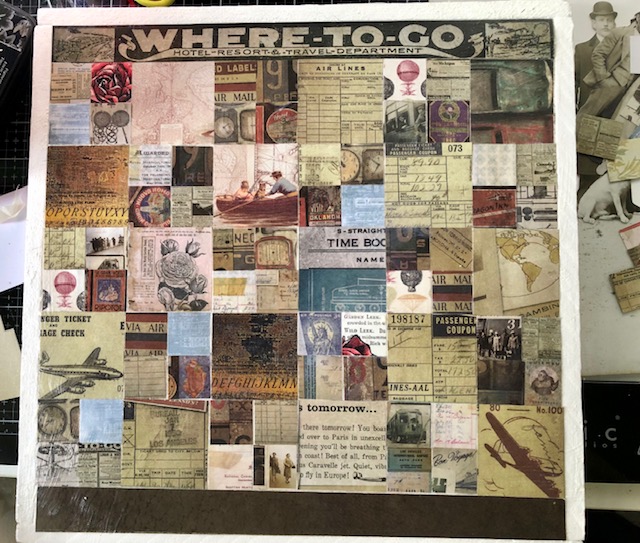
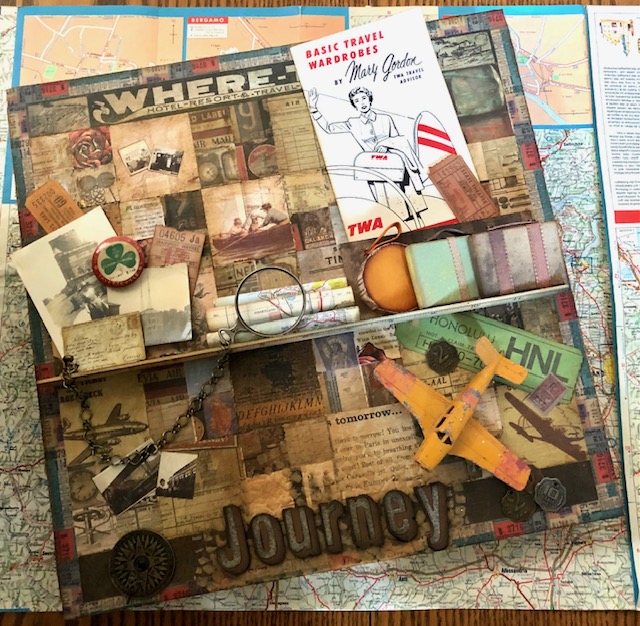
I feel like many of us are going a little stir crazy lately and are dreaming of traveling again. I know I am. This project is my little expression of that feeling. The base was from a lovely chocolate fondue I got last year for Valentine’s Day. It came in a cardboard box, packed inside this awesome sturdy wood box. Of course I saved it…lol. It’s dimensions within the framing pieces is 12″ x 12″, so I knew it would be easy to make a mosaic background with. Hope you like it!
Materials:
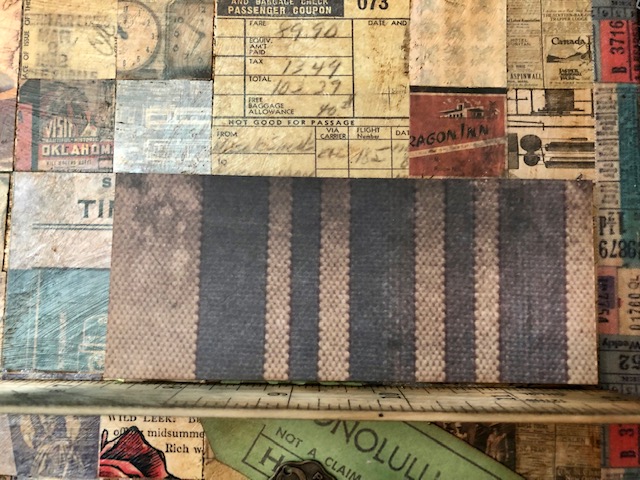
- Tim Holtz fabric tape – TH94041 (seriously, this is the greatest stuff for covering corners. I will be devastated if they ever stop making it…lol)
- Tim Holtz salvage stickers, crowded attic – TH92898
- Tim Holtz ticket book- TH94036
- Tim Holtz optical lens -TH94023
- TH Hitch fasteners – TH92731
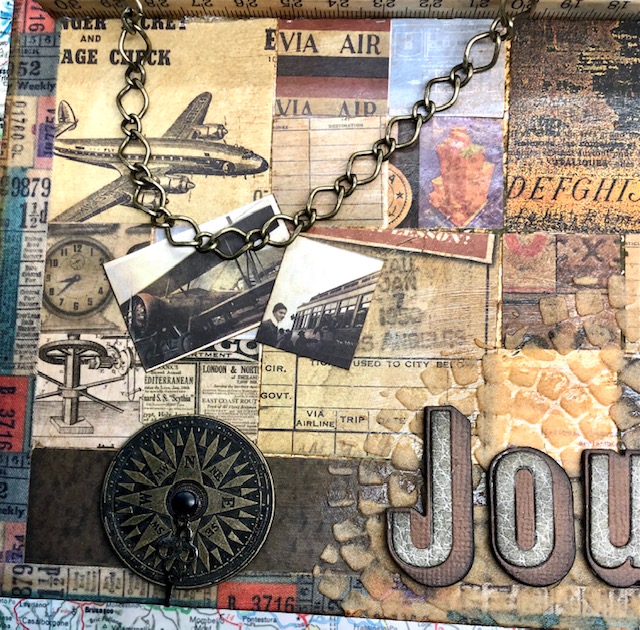
- TH compass coins- TH93061
- TH distress collage medium
- TH distress inks in Vintage Photo, Squeezed Lemonade, Scattered Straw, Black soot
- TH distress oxide in Peeled paint
- TH distress ink spray in Wild Honey
- TH distress crayon in vintage photo
- TH mosaic stencil- THS084
- TH translucent grit paste
- TH vintage flair- TH94027
- old maps
- old photos
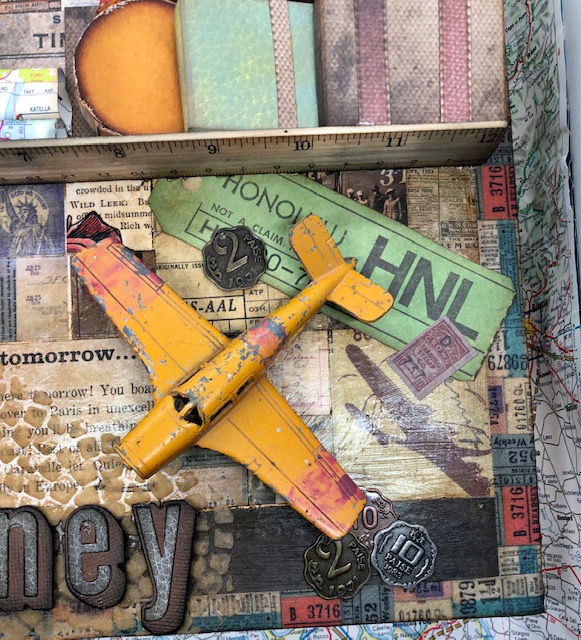
- Vintage toy airplane
- old coin embellishments
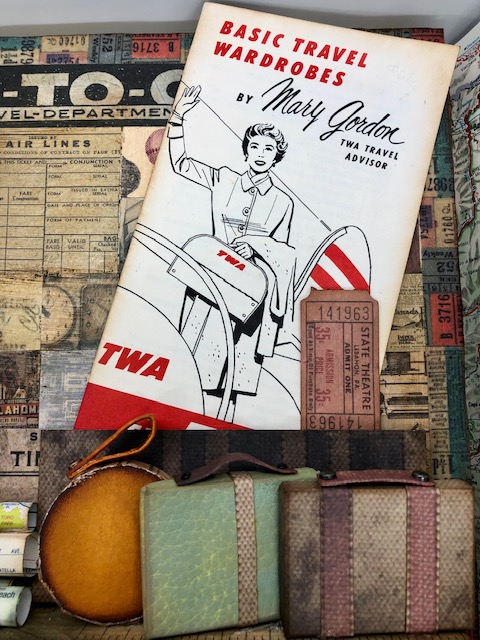
- vintage advertising pamphlet
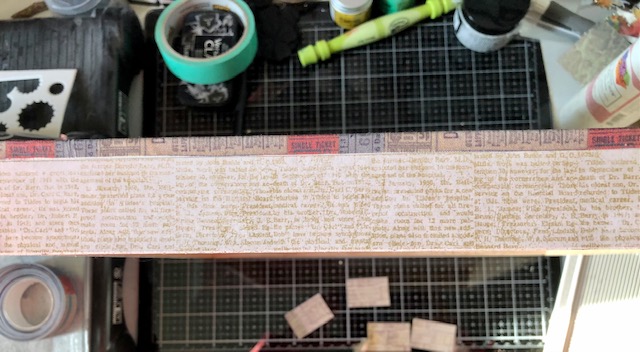
- ruler from Simon Says Stamp
- Sizzix alphanumeric lower- 664728 and upper- 664729
- gesso
Steps:
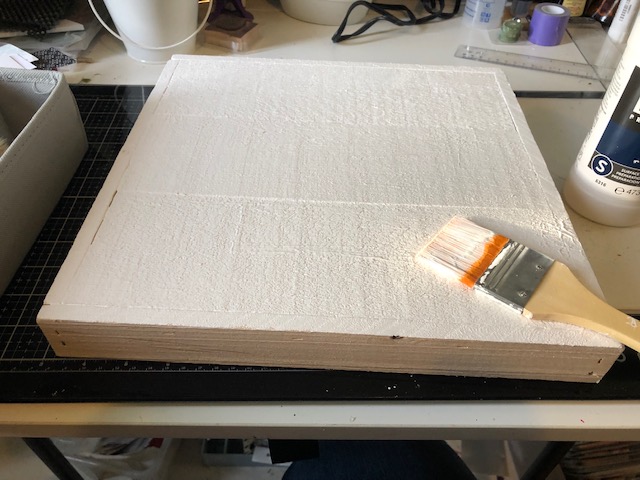
- First I applied a couple coats of white gesso to the wood to give a nice, smooth base to work with
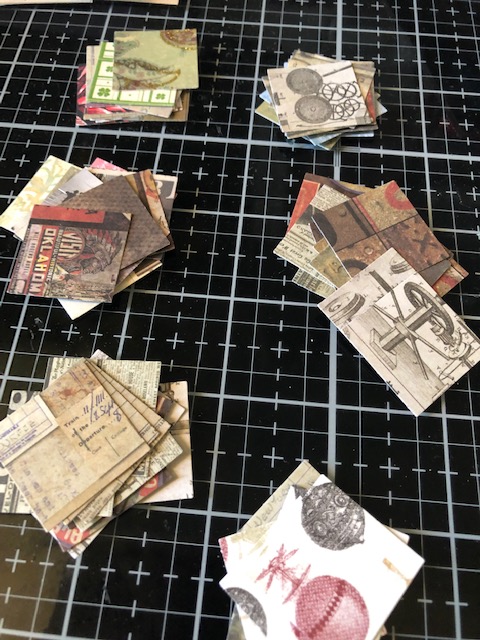
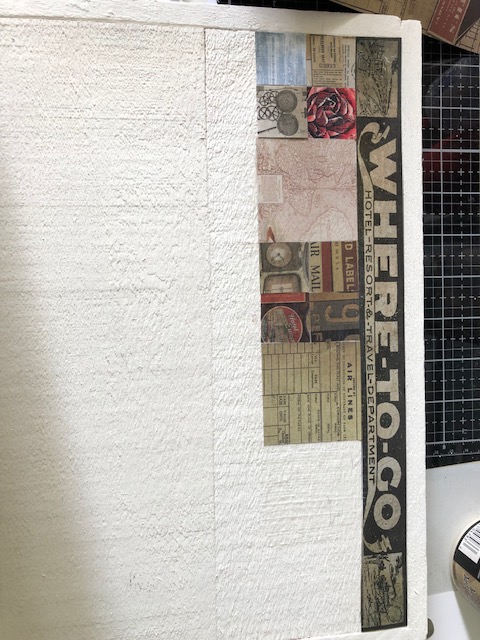
2. I cut many, many squares out of old paper scraps I had, some Tim Holtz, some not. I did several 2″ squares and many 1″ squares. I have a 1″ square punch that was a great help with this step. On one of my old Tim Holtz papers there was a header strip with “Where to go” across it, exactly 12″ wide and 1″ tall so I used that for the first row. Then I started making rows of squares, alternating between one 2″ square and 4-1″ squares, gluing them down with collage medium, until the whole front was covered. I ended with a 12″ x 1″ strip of brown paper to finish the bottom edge.
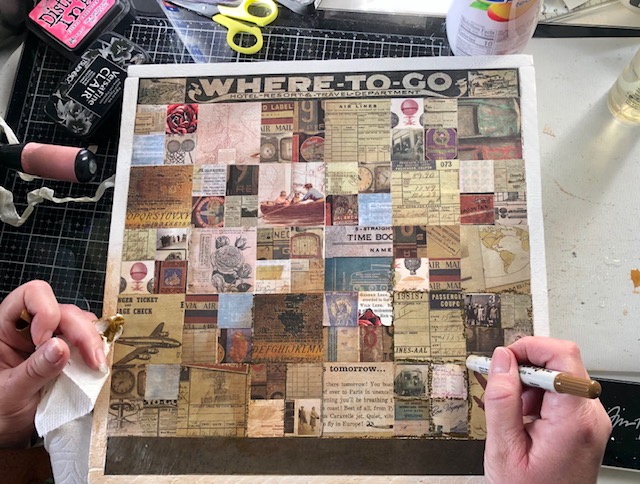
3. Once the front was dry, I went over the edges of the squares with vintage photo distress crayon and used my finger dipped it water to blend it in.
4. Once the entire front was covered, I coated the whole thing with another layer of collage medium. I wrapped the edges with fabric tape, covering the white edge of the piece. I also went over the tape with collage medium to make sure it would stay put. Then I covered the edges of the box with 12″ strips of paper that I coated with collage medium. For the corners, I cut 1 1/” x 1″ pieces of paper which I scored down the middle (leaving 1/2″ on each side). I glued these down to the corners, covering any gaps and trimming as necessary.

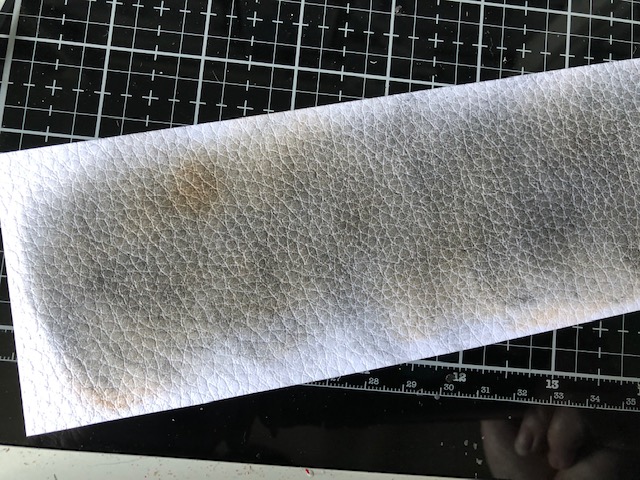
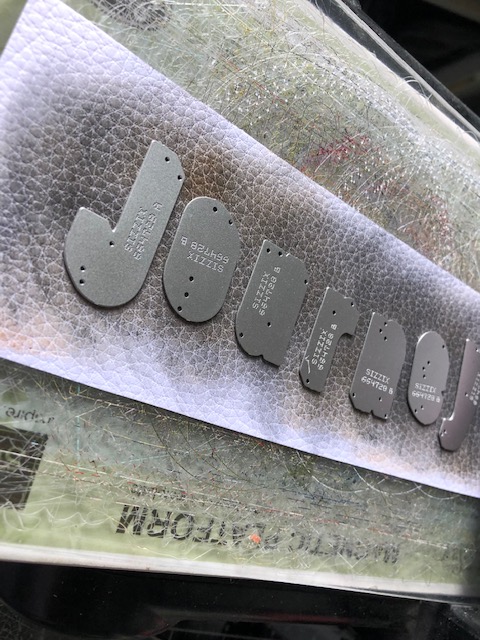
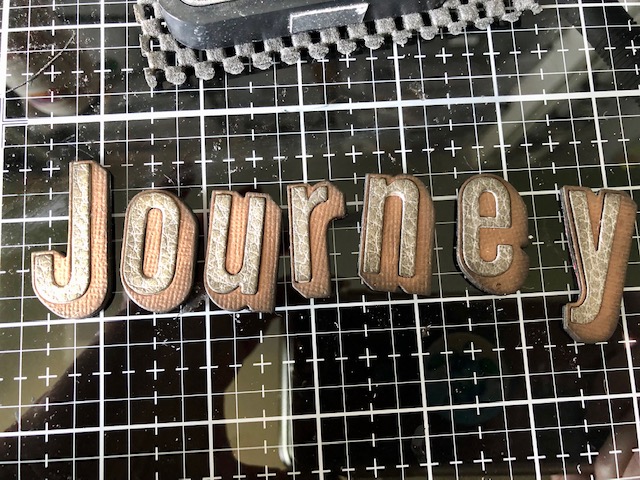
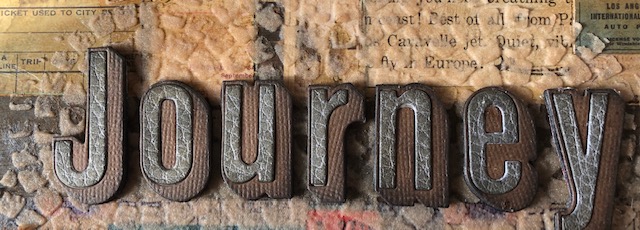
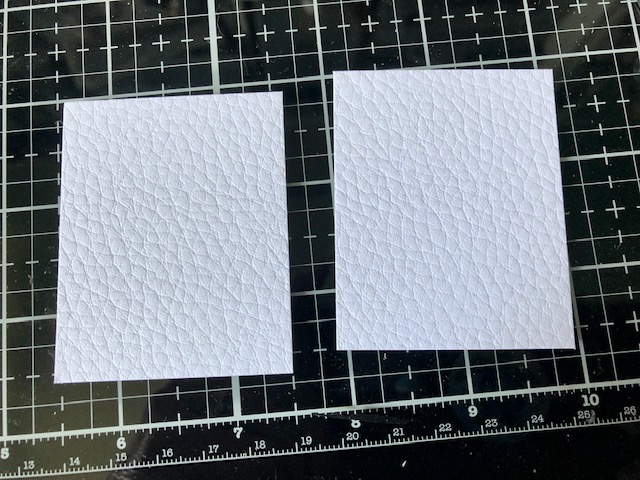
5. With the base finished it was time to work on embellishments. I used the shadow alpha numeric dies to cut out the word Journey, once from brown card stock, once from fun foam and once from distress leather card stock that I had colored with distress inks. Then I stacked them back up and distressed the edges.
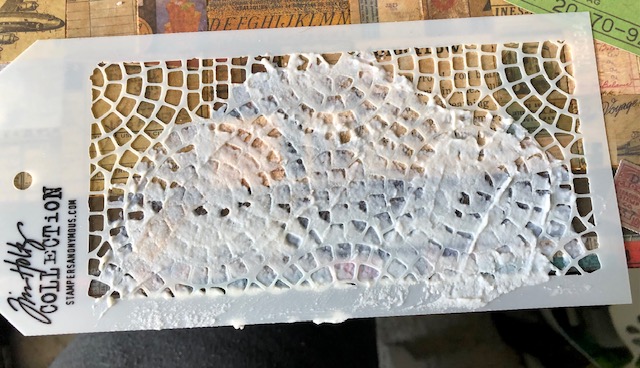
6. Using translucent grit paste I used the mosaic stencil to stencil a portion along the bottom of the mosaic piece where “journey” would sit. After it was dry, I went over it with vintage photo distress ink to blend it into the background. Once it was dry I glued “journey” over the top of it.
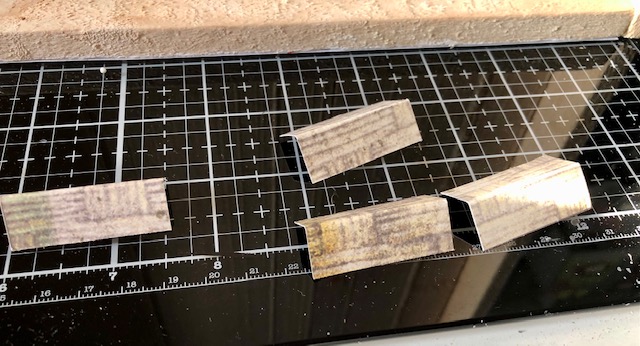
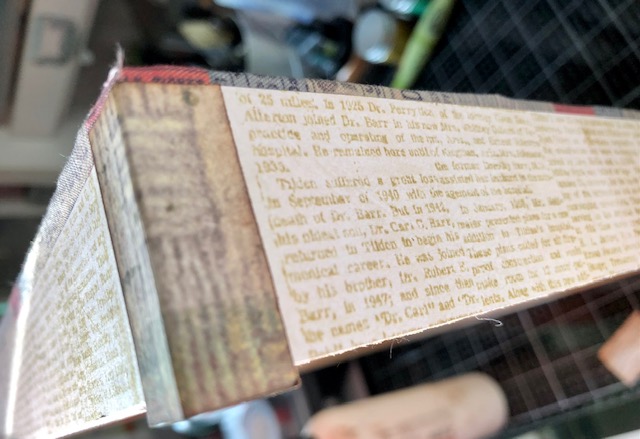
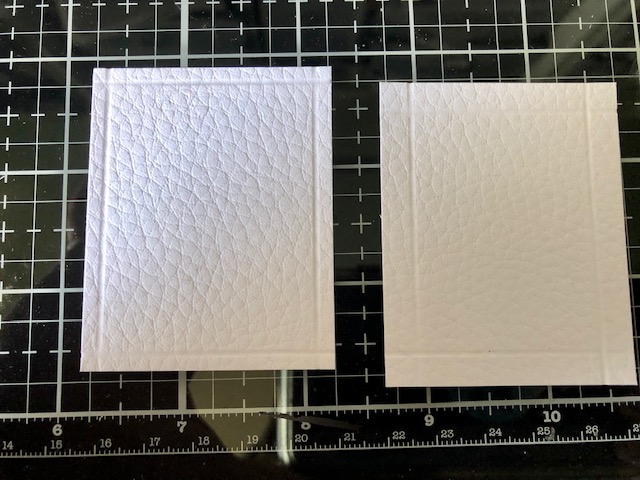
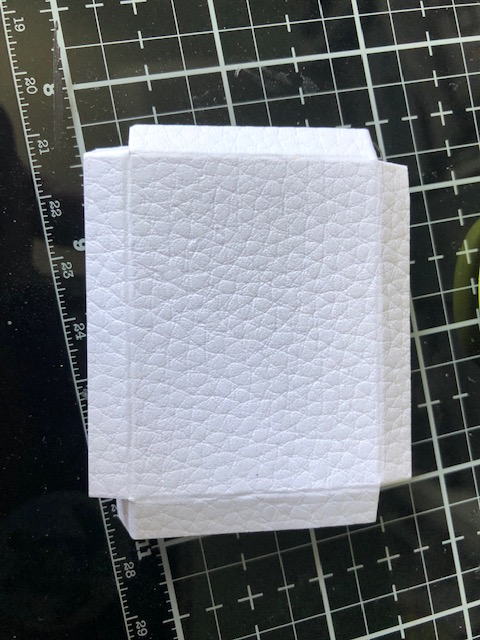
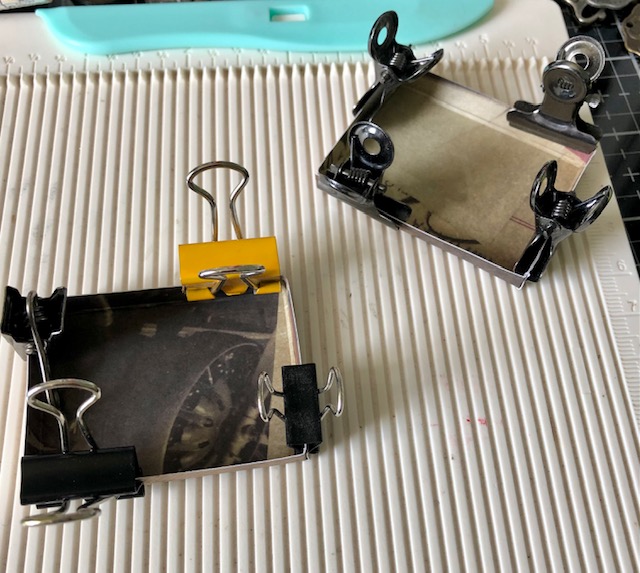
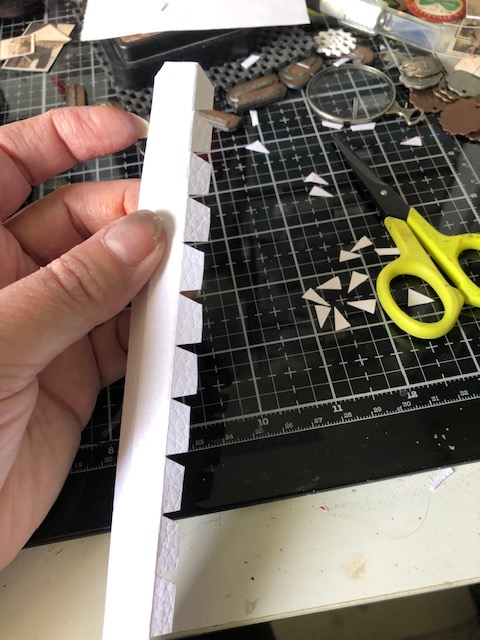
7. To make the rectangular suitcases, I made simple boxes, one out of older Tim Holtz paper and one out of distresss leather card stock I colored with peeled paint distress oxide. I wrapped both of these with narrow strips of card stock and finished with handles made of a narrow strip of folded paper and brads.
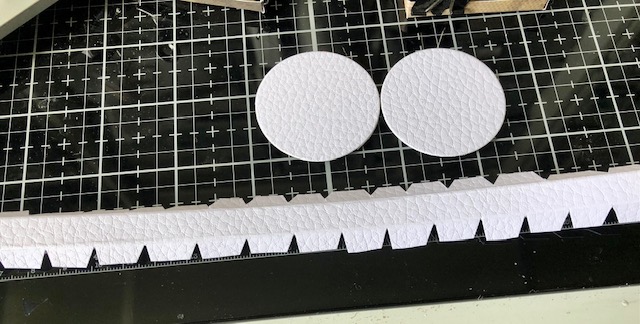
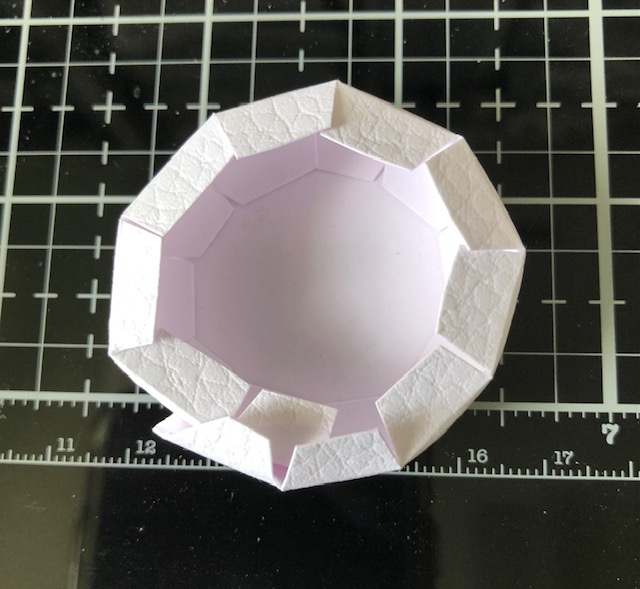
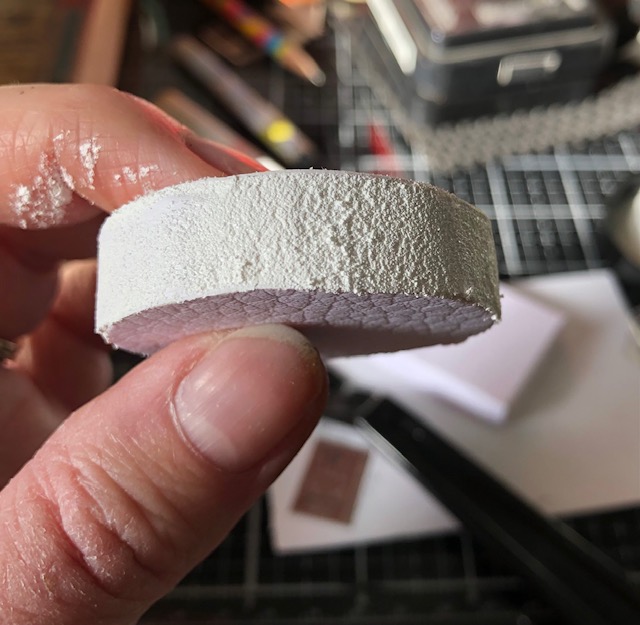
8. For the circular case, I cut out two 1 1/2″ circles and an 1″ strip of paper. I scored 1/2″ on each edge of the strip and cut notches along the edge. Then I glued one edge to one of the circles and let dry before gluing the other circle on top of it. When it was dry, I filled in the edge with grit paste, let dry, sprayed with wild honey distress spray, and covered the edge with washi tape. Finally I folded a small strip of paper and attached a brad to the end and glued it to the top of the case.
9. I glued the ruler to the front of the piece, using various things to hold it straight while it dried.
10. I glued a piece of paper along the right side of the shelf to hold the travel brochure I found at a local antique mall. I wanted a pocket so I could take the brochure out to read.
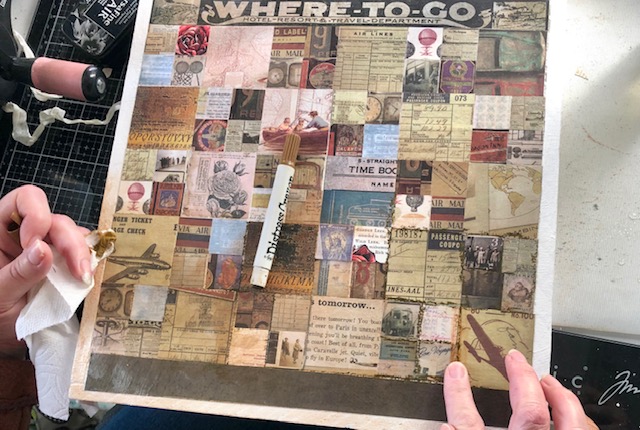
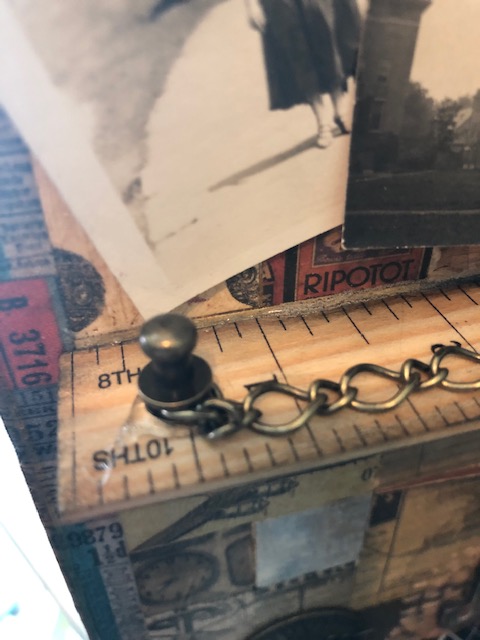
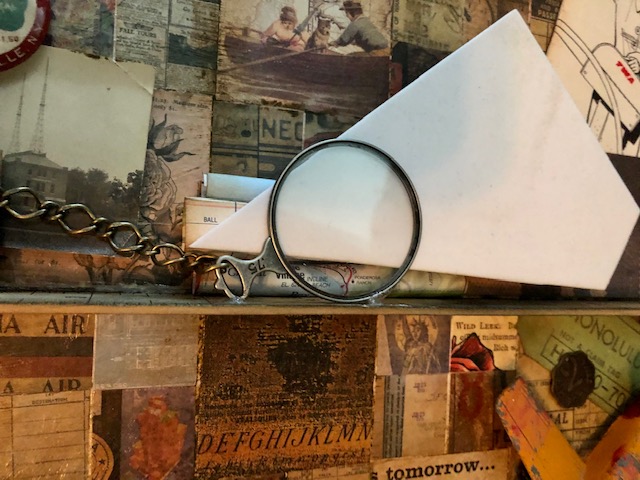
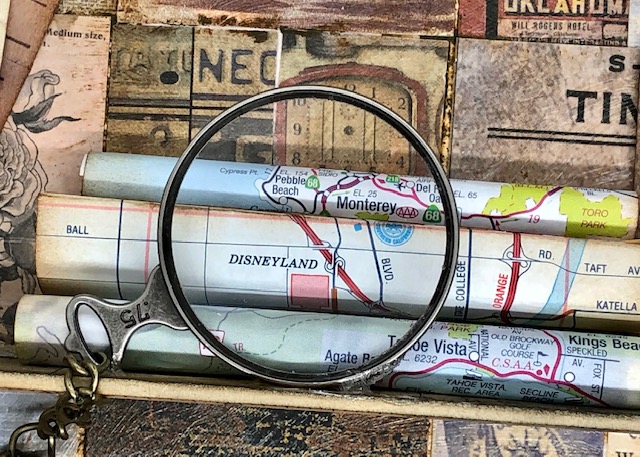
11. I attached a chain to a hitch fastener which I glued to the left side of the ruler. the other end was attached to an optical lens. I rolled up several pieces of maps, rolling them so some of my favorite places to visit were visible and glued them in place. I glued the optical lens in place, holding it vertical with a piece of foam while it dried.
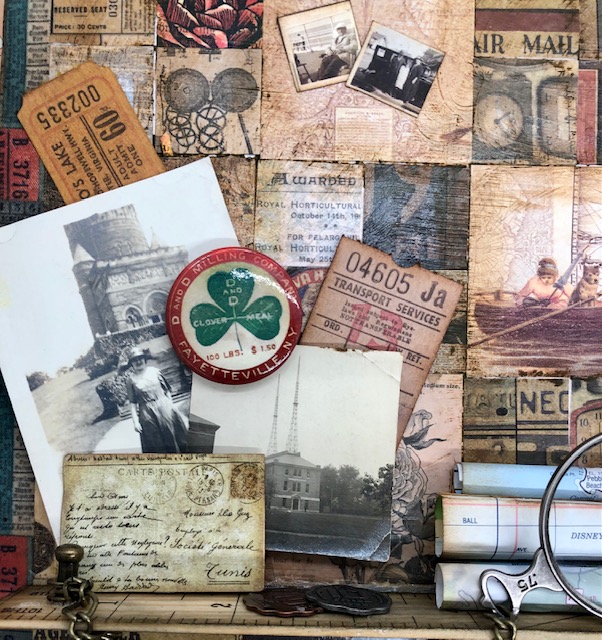
12. At this point it was just a matter of gluing items/ephemera in place. Here are some closeups of the different things I chose.

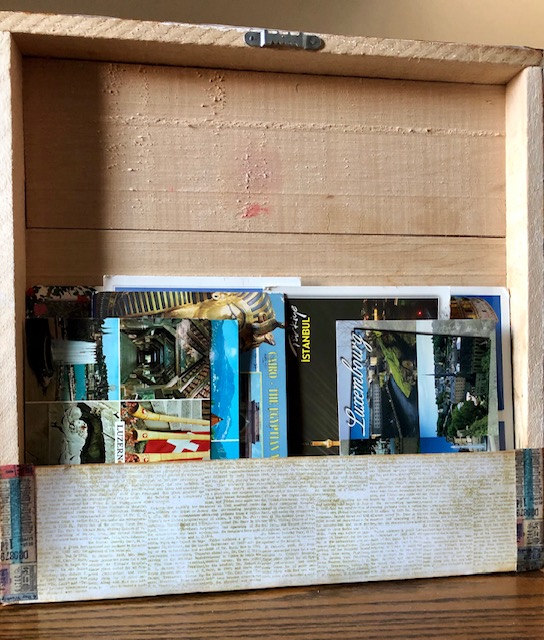
13. On the back I glued a strip of paper, and anchored the ends with fabric tape. I’m using this as a spot to hold postcards friends and family have sent us from their trips. I also added a picture hanger.
Hope you enjoy this project! Have a great week!- Lisa

So awesome!! I love everything about this piece.
LikeLike
❤
LikeLike