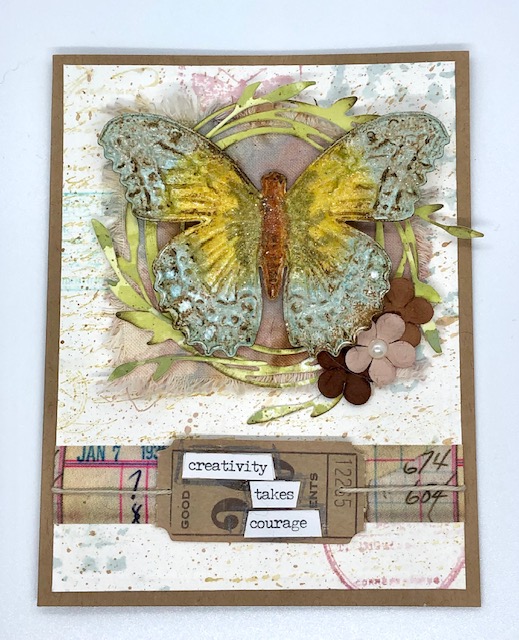
This butterfly card was inspired by a beautiful framed panel Emma Williams made for a Tim Holtz release video. I used her idea of coloring the new Impresslit butterfly using distress glazes. Such a neat idea! Hope you like it. The finished card is 4 1/4″ x 5 1/2″
Materials Used
- Tim Holtz/Sizzix Impresslit butterfly – 665251
- Tim Holtz/Sizzix Funky Wreaths- 664434
- Tim Holtz/Stampers Anonymous Faded Type -CMS397
- Tim Holtz/Stampers Anonymous French Marketplace- CMS071
- Tim Holtz/Stampers Anonymous Field Notes- CMS396
- Tim Holtz/ Idea-ology Ticket Book -TH94036
- Tim Holtz/Idea-ology Small Talk-TH93193
- Tim Holtz/Idea-ology Fabric Tape-TH94041
- Distress Embossing Dauber
- Distress Embossing Pen (brush head)
- Tim Holtz/Ranger Distress embossing glazes in Fossilized Amber, Rusty Hinge, Peeled Paint and Speckled Egg
- Tim Holtz/Ranger Distress Crayon in Vintage Photo
- Tim Holtz/Ranger Distress inks in Speckled Egg, Vintage Photo and Victorian Velvet
- Tim Holtz/Ranger distress oxides in Fossilized Amber,Iced Spruce and Peeled Paint
- Tim Holtz/Ranger Distress Resist spray
- Tim Holtz/Ranger Distress Glitter- Clear Rock Candy sprayed from the Glitter Duster
- Mixed Media Heavy stock
- Watercolor paper
- Kraft card stock
- Scrap piece of muslin (about 3″ x 3 1/2″)
- small brown fabric flowers (these are old ones I have from Recollections)
- small pearl
- natural colored twine
Steps:
The background piece:
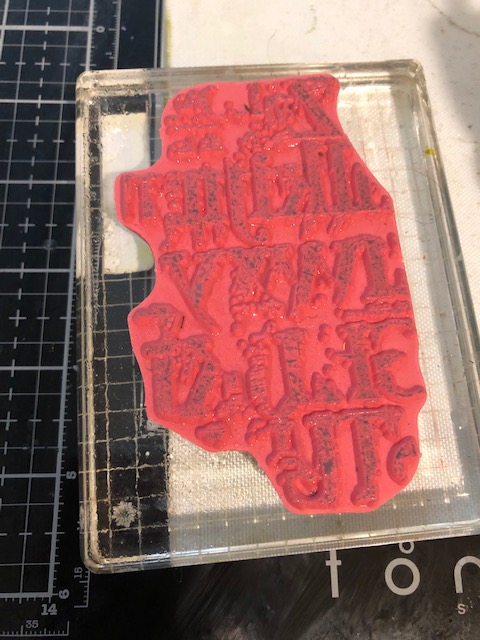
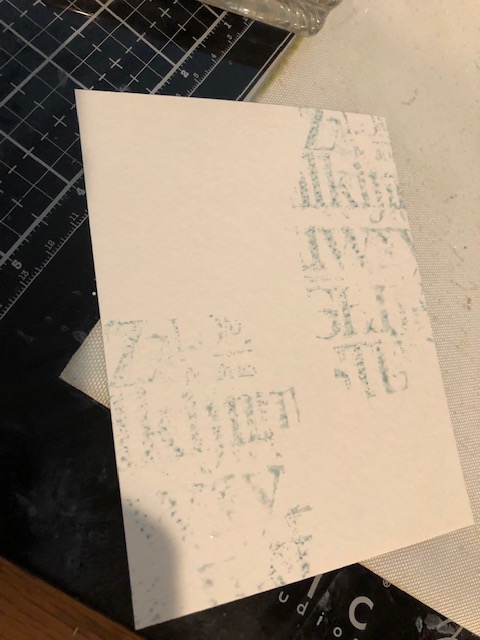
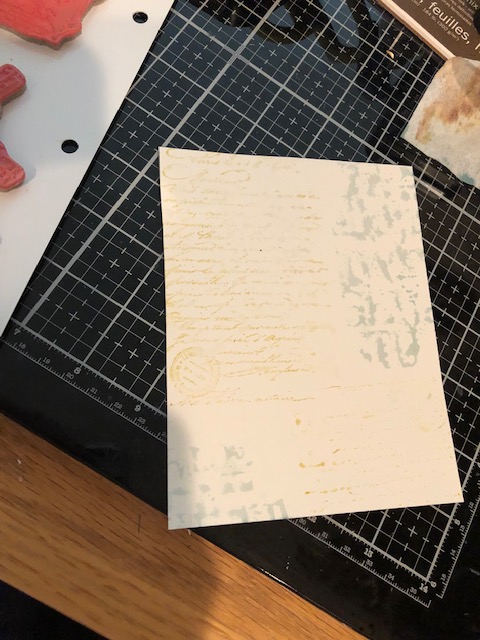
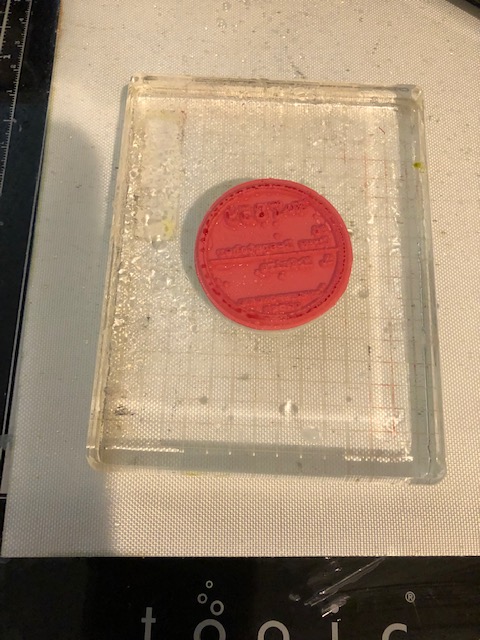
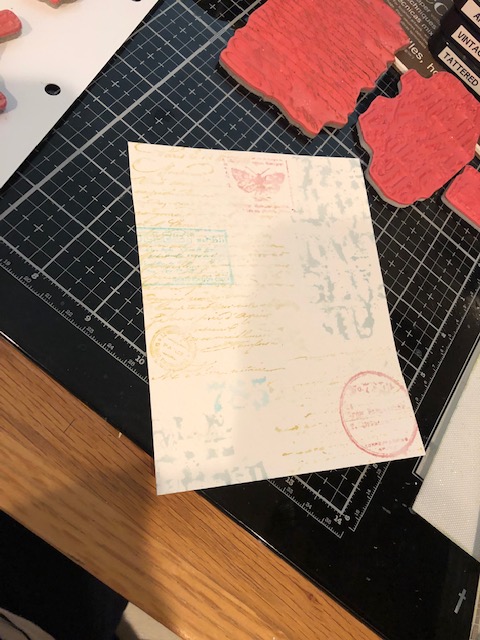
1. Stamp several images in different colors onto a piece of watercolor card stock. To make the background softer, after I inked up the stamps, I spritzed them with water before applying them to the paper, then blotted the image with a paper towel. I used images from Field Notes, Faded Type and French Marketplace. Colors used were Speckled Egg, Victorian Velvet and Fossilized Amber. Using my splatter brush, I splattered watered down Vintage Photo ink to the entire piece.
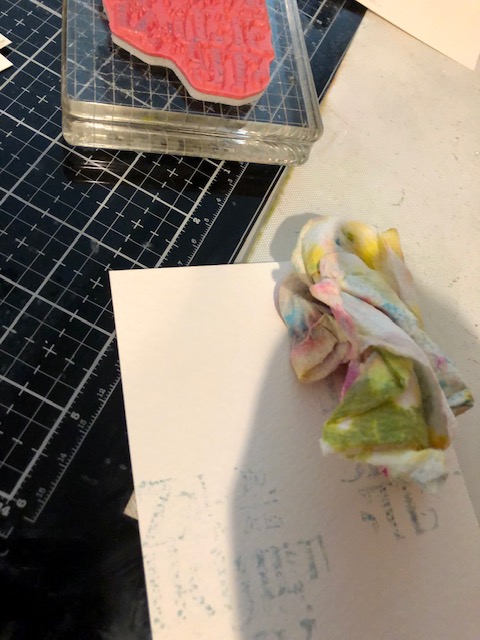
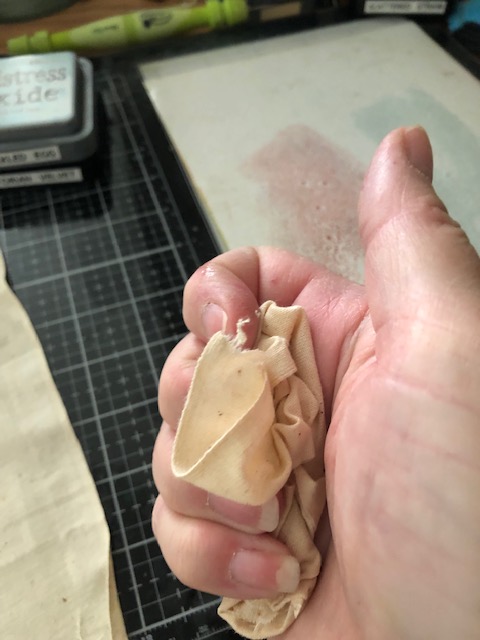
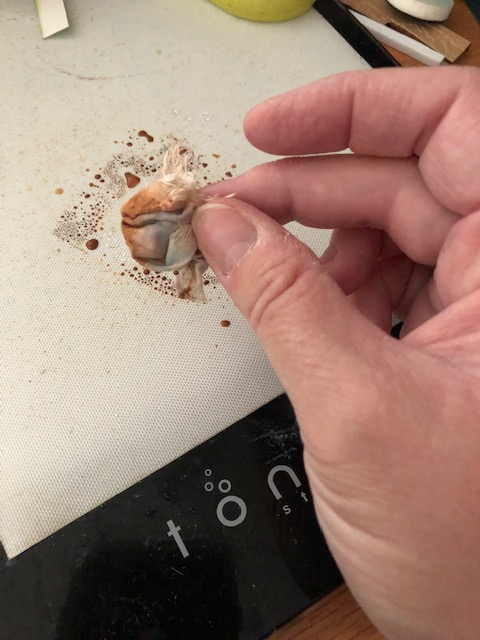
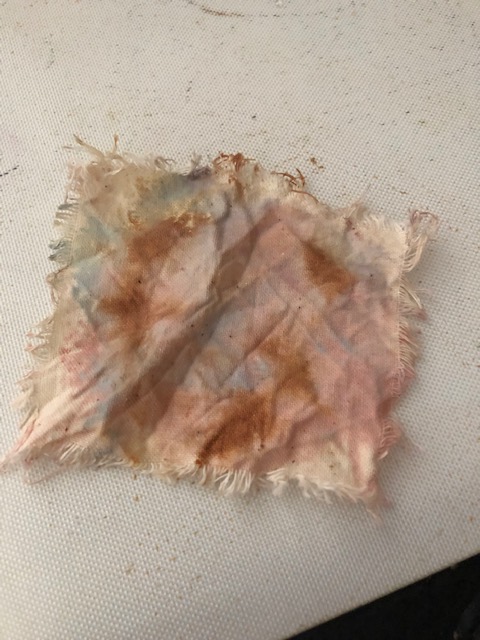
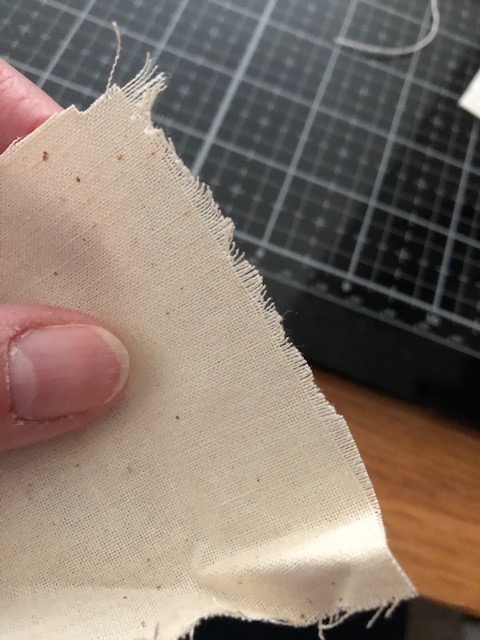
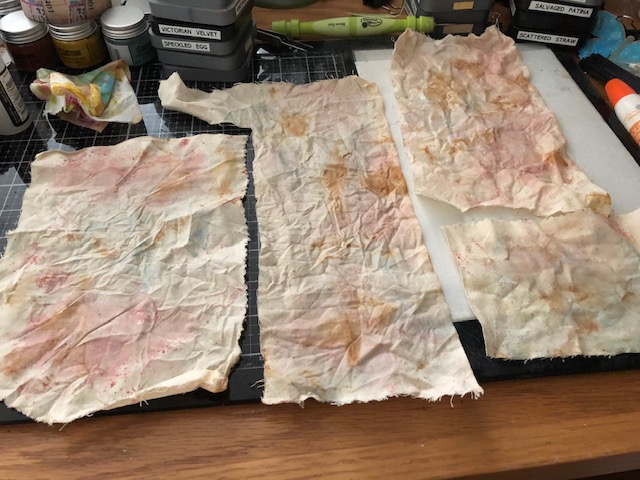
2. I cut a piece of muslin approximately 3′ x 3 1/2″ and died it by dipping it in Speckled Egg and Victorian Velvet inks “smooshed” onto my media mat and spritzed with water. Then I crumpled it up and lightly dipped it in Vintage Photo spritzed with water for some contrast. I spread out this piece and let dry. Since I ended up doing several for a card swap, I ended up doing large strips of muslin, then trimming them to size. After the piece was dry I frayed the edges by pulling out some threads on each side.
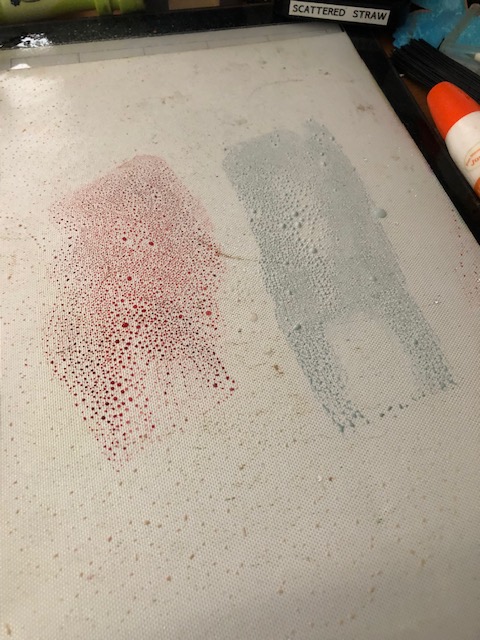
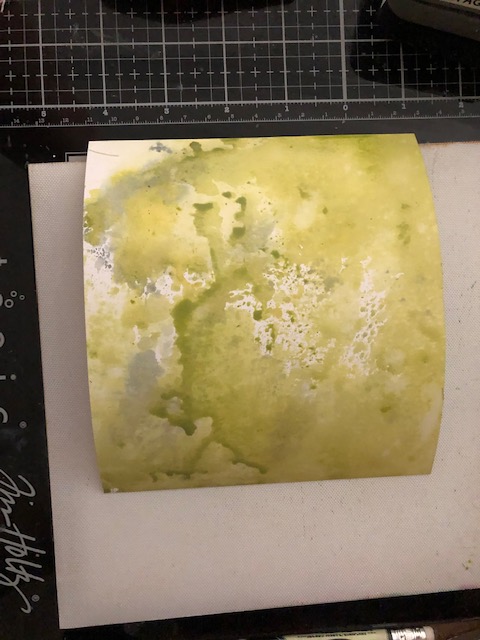
3. For the wreath, I made some background papers using mixed media card stock, dipped and dried in Peeled Paint and Iced Spruce inks, then die cut.

The Buttefly:
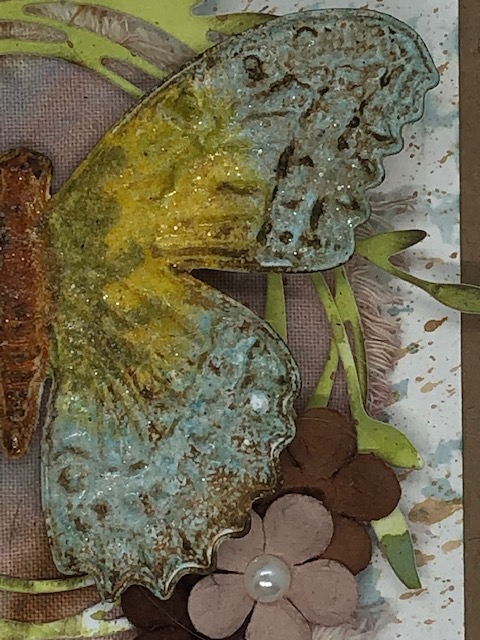
- For the butterfly I used a combination of embossing dauber and embossing brush to ink small areas at a time on my butterfly, which was cut out of mixed media card stock. Once an area was colored I sprinkled embossing glaze of that section, melted it with a heat tool, then worked on the next section. From the inside out the colors are Rusty Hinge (body), Peeled Paint, Fossilized Amber, then finally Speckled Egg on the edge.

2. Once the butterfly was dry and cool, I rubbed it with Vintage Photo distress crayon. Then I wet my finger and rubbed over it all and finally wiped it off with a paper towel to remove most of the brown.
3. It may be hard to tell in the photos, but I then sprayed the butterfly with Distress Resist Spray and sprayed it with Rock Candy glitter to give it a little sparkle.
Final Assembly
- Attach the muslin square to the background piece. Layer the wreath on top of the muslin, then pop the butterfly up on the wreath with foam dots. Add the small extra wreath branches where you’d like it to look a little fuller.
- Attach three flowers on the lower right corner of the wreath and place a small pearl in the center of the center flower.
- Attach a piece of fabric tape to the lower edge of the background piece.
- Take a ticket from the ticket book and apply a sentiment from Small Talk. I cut mine into three pieces to space it out nicely. Outline your sentiment in pencil if desired. Punch a small hole in each end of the ticket and thread a piece of twine through the holes. Attach this over the fabric tape, attaching it to the back of the piece.
- Attach the entire card front to your card base.
Finished! It seemed like a lot of steps, but it really was not a difficult piece. I ended up making kits for 10 of them for a swap group I am in and it wasn’t too bad. Have fun and have a great week everyone! -Lisa

Beautiful Lisa! You should have a YouTube channel- you could make money while showing off how talented you are!!
LikeLike
Amazing Lisa – such beautiful detail — clearly you inherited your Mom’s artistic talent.
LikeLike