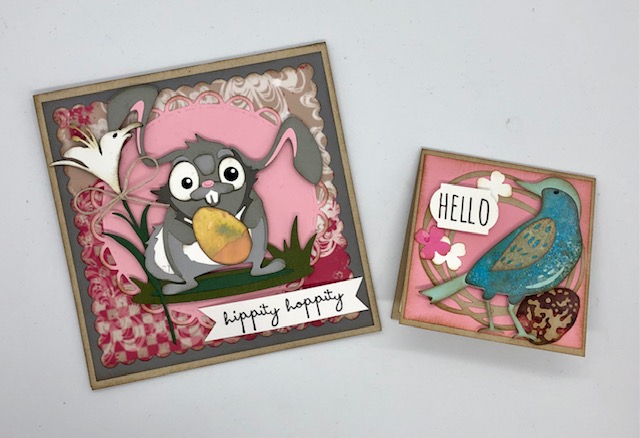
This month the theme for our swap group is Spring/Easter. I decided to use cute Oliver on a 5″ x 5″ card. On an 8 1/2″ x 11″ sheet of paper you end up with a 3 1/2″ x 11″ strip, so I decided to also make a little 3″ x 3″ note card to add to my swap.
Oliver
Materials:
Tim Holtz Oliver Colorize die- 665219
SU! squares die- 130921
Nestabilities Open Scallop Edge Circles
Tim Holtz Funky Foliage – 665215
Tim Holtz Wildflower Stems 2- 664164
Tim Holtz Crazy Talk- CMS236
Distress Inks in Vintage Photo, Scattered Straw and Black Soot
Card stocks in tan, grey, pink, green, white plus patterned paper (I’m on a mission to use up some old patterned papers!)
Note: I distressed all of my edges before assembly- Oliver with Black Soot and everything else in Vintage Photo
Steps:
- Cut a 5″ x 10″ piece of tan card stock to make a 5″ x 5″ card base. If you are using 8 1/2″ x 11″ card stock you will end up with a strip 3 1/2″ x 11″ cut a 3″ x 6″ piece out of this to use for the bird card. Also save the squarish piece you have left to use to cut the swirly circle from for the bird card and any scraps to use for the egg on the bird card.
- Cut a 4 3/4′ x 4 3/4″ mat from gray card stock and use the largest scalloped square to cut an approximately 4 1/2″ x 4 1/2″ scalloped square from the patterned paper (or use a piece of background paper you have left over from days of making backgrounds with distress inks =) )
- Cut a 4″ open scallop edge circle from pink card stock.
- From a scrap of distressed paper cut out the egg base piece from the funky foliage set. From the wildflower stems set, cut two lilies- one white and one green. Cut off the stem from the white lily, distress the edges and color the stamens with a little scattered straw distress ink. Attach this piece to the top of the green lily, and attach a twine bow just under the flower .
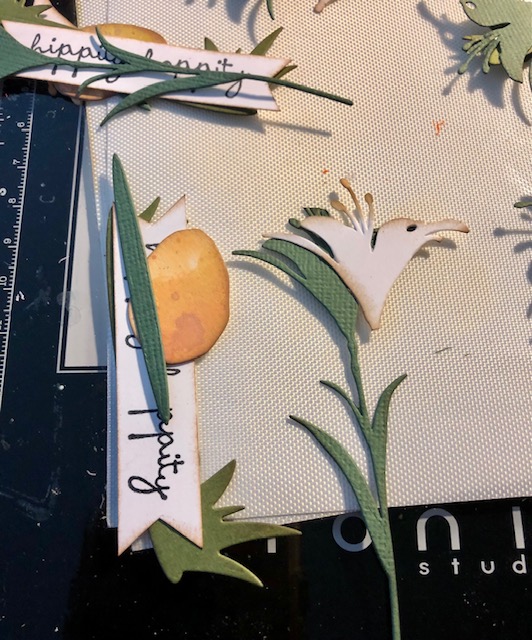
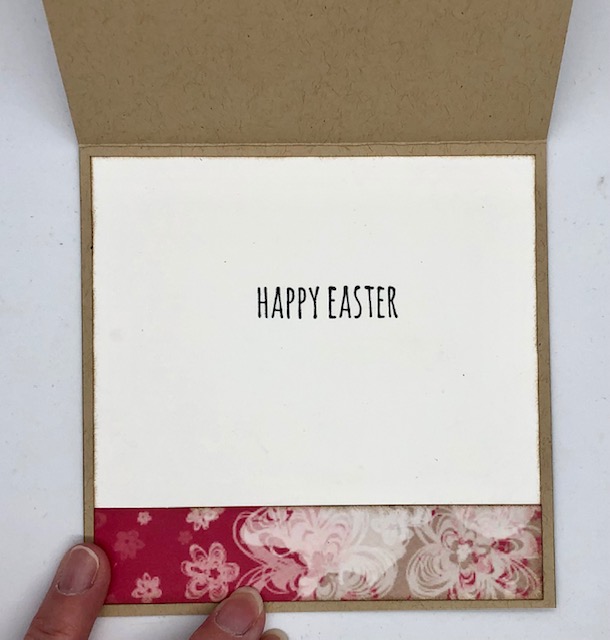
5. From a scrap of white card stock cut a banner 2 7/8″x 1/2″ and stamp “hippity hoppity” from the crazy talk stamp set. For the inside of the card stamp “Happy Easter” on a 4 3/4″ x 4 3/4″ square piece of white card stock.
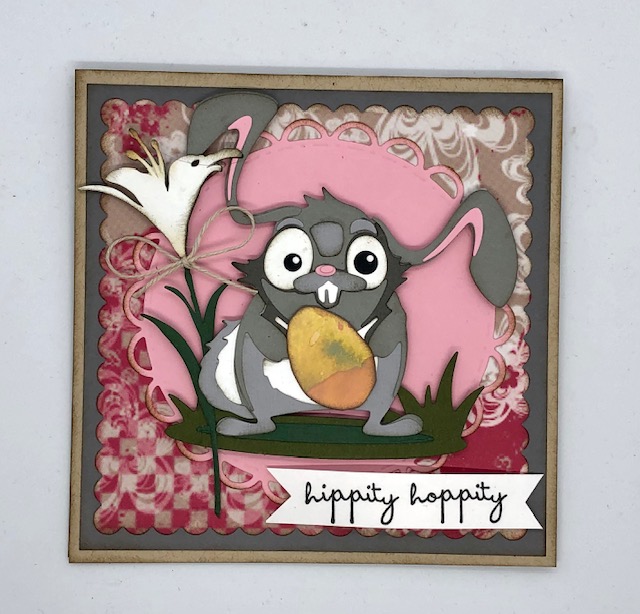
6 Cut out and assemble Oliver. Sizzix has amazing video tutorials for their colorize dies so I recommend you check it out before assembling.
7 Stack the pink circle onto the patterned square, then stack this onto the grey mat and attach this whole piece to the card base. Pop up Oliver and his grass patch onto the pink circle then, pop up the lily to the left of him, tucking the stem under his tail. Pop up your banner sentiment.
8. Attach your white liner piece to the inside of your card. If you have extra patterned paper you can cut a strip 1″ x 4 3/4″ and attach it along the bottom.
Bird Note card

Materials:
Feathered Friends Die- 664433
Funky Foliage- 665215
Bird Talk- 561218
SU! / Sizzix Swirly Scribbles – 141497
SU!/ Sizzix Baker’s Box- 138279
Small flower punch
Vintage Photo distress ink
Steps:
- Using the 3′ x 6″ piece leftover from the Oliver card, fold to make a 3″ x 3″ card base. Cut a 2 7/8″ x 2 7/8″ square from pink card stock, distress with Vintage Photo and attach it to your card base.
- Cut the 2 3/4″ (approx.) swirly circle from the extra tan piece you had left over from the Oliver card. Distress and add it to the pink square. Use the small tag die from the Baker’s Box set, to cut a small white tag stamped with “Hello” from the Bird Talk stamp set.
- Using a small flower punch, punch out two white flowers and one pink. Alternatively you can use the small flower heads from the Funky Foliage set for this step. ( I was making A LOT, so punching them was faster )
- Cut out one of the birds from the feathered friends set. I used a plain sheet of card stock for the back piece and old scraps from papers I had distressed for the overlay piece. Cut out the egg from the Funky Foliage set- again, I used a scrap of the tan paper from before for the back piece and scraps of distressed papers for the overlay.
- Adhere the flowers to the swirly circle, pop up the bird and the sentiment, and adhere the egg to the lower right of the card.
- On the inside I just adhered a 2 3/4″ x 2 3/4″ square of white paper.
I hope you enjoy these cards and that they bring a little Spring to your house. Have a great week! – Lisa

I love these cards
LikeLike