
I decided to do another reverse painted acrylic piece this week. It’s really fun and I can see it becoming addictive.
Materials Used:
Distress Paints– Mermaid Lagoon, Speckled Egg, Festive Berries, Ground Espresso, Carved Pumpkin, Black Soot, Rustic Wilderness. Picket Fence
Distress Ink– I inked several pieces and I am not 100% sure which ended up on the final project so I am listing them all- Antique Linen, Rustic Wilderness, Candied Apple, Tumbled Glass, Victorian Velvet, Scattered Straw, Vintage Photo, Speckled Egg, Black Soot
Archival Ink- Jet Black
Mica flakes
Tim Holtz Vintage Tidings thinlits (661605)
Stamp sets– Vintage Holidays (CMS423), Music & Advert (CMS358), Christmastime 2 (CMS389)
Trim Tape- Halloween (TH94078) and Christmas (TH94107)
Ephemera Pack- Christmas Snippets
Acrylic sheet and Kraft card stock
Steps:
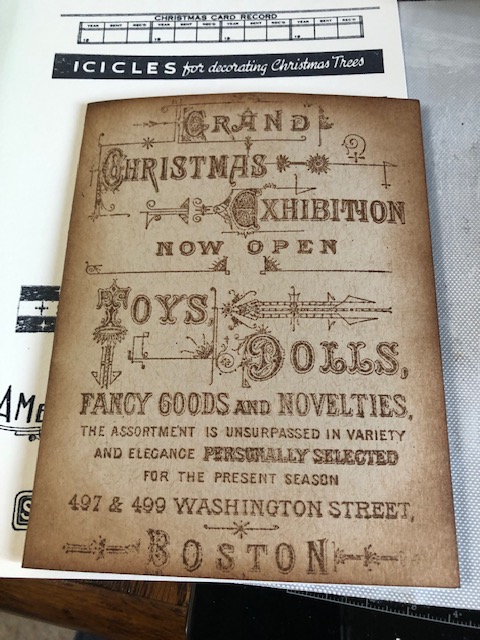
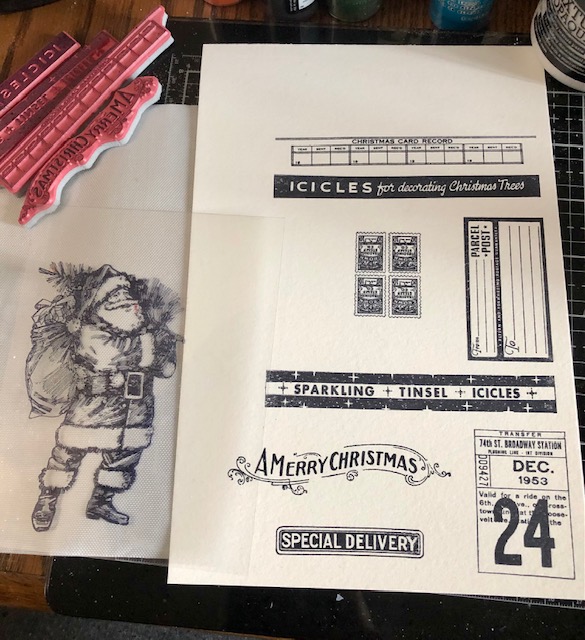
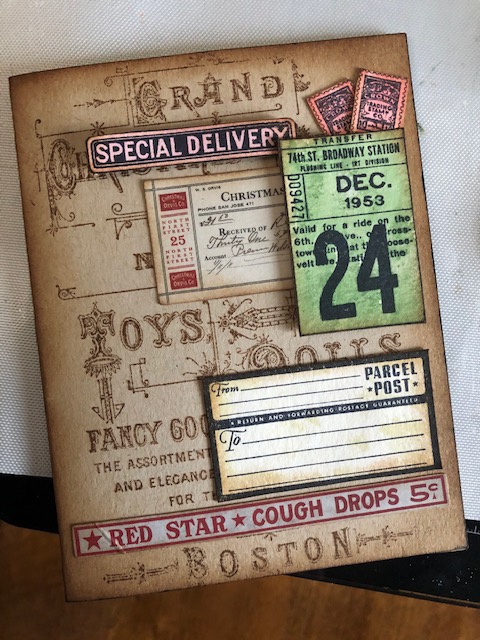
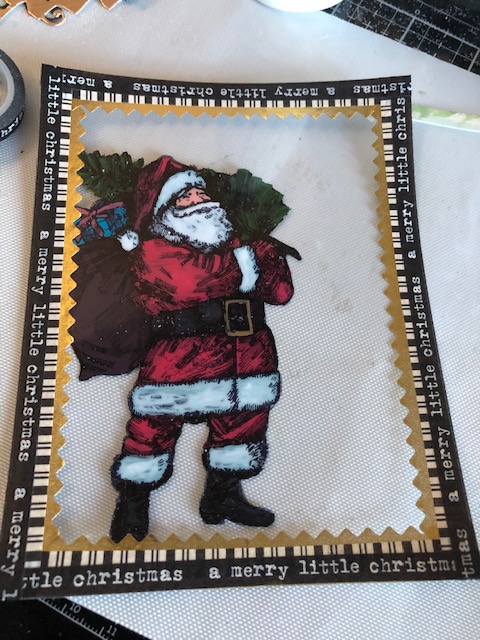
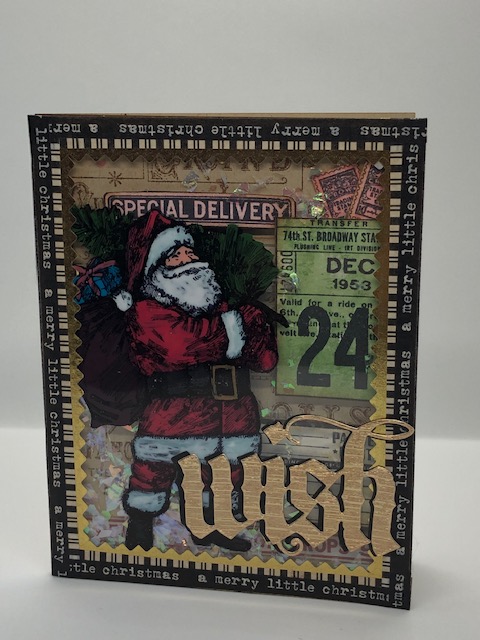
- Make a card base from kraft card stock for a 5 1/2″ x 4 1/4″ card. Stamp the advert image from the Music and Advert set in Vintage Photo ink onto the card front. Distress the edges and set aside. Cut an acrylic sheet to measure 5 1/2″ x 4 1/4″. Stamp the Santa image from Vintage Holidays onto the acrylic using archival ink. I wasn’t sure what other images I was going to use so I stamped all the other images from the Vintage Holiday set onto watercolor paper, using black archival ink.
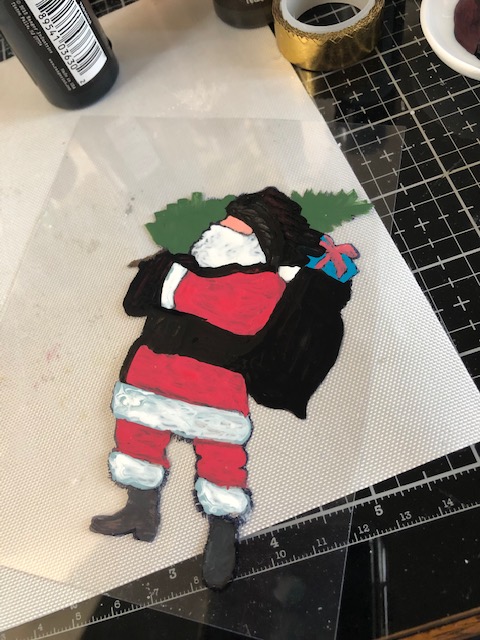
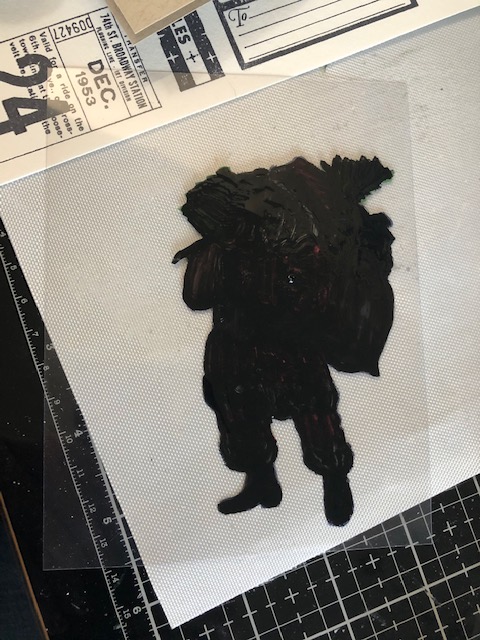
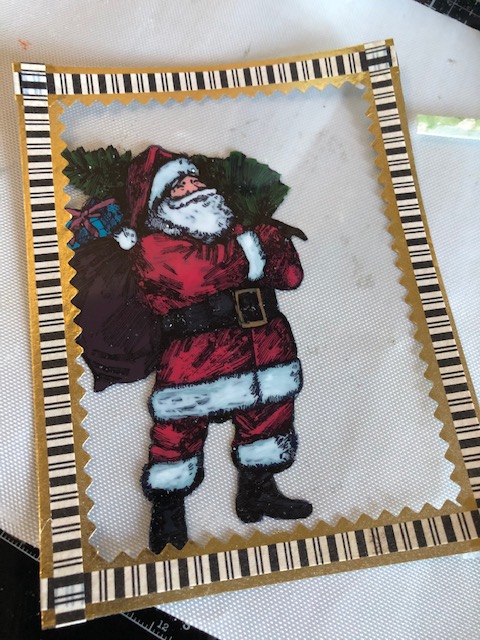
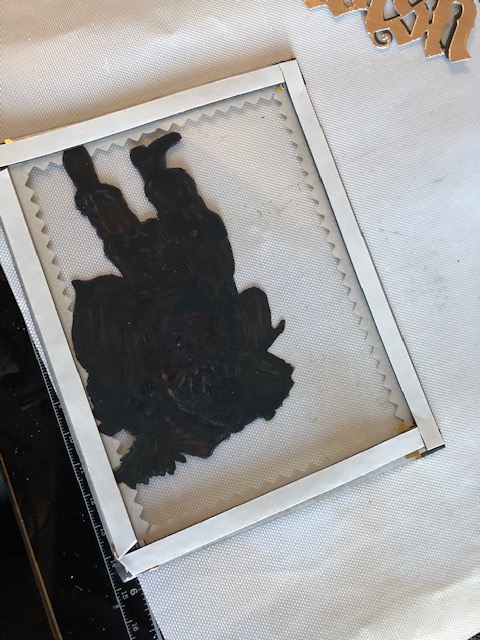
2. Paint the Santa image on the reverse side of the acrylic sheet using various distress paints. Make sure you fill to the edges of the image. To make sure I had no clear areas remaining, after the first paint had dried, I went over the entire image in black soot paint.
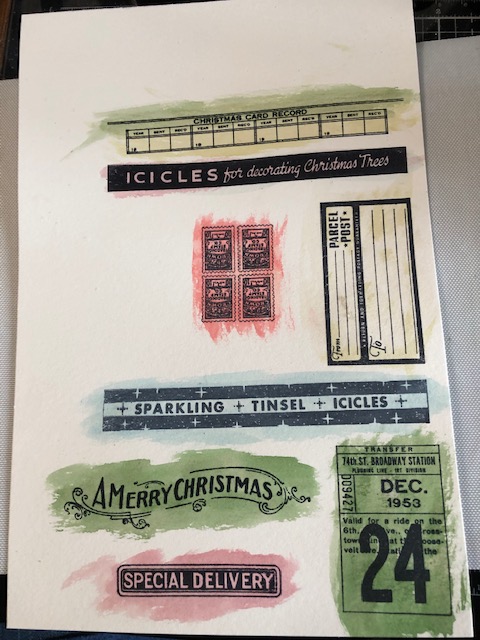
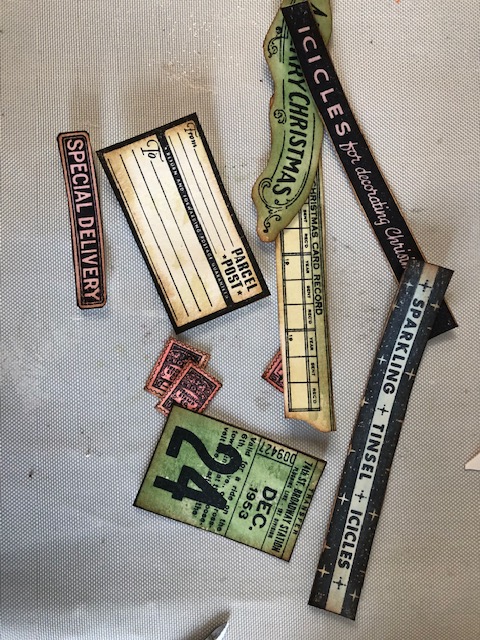
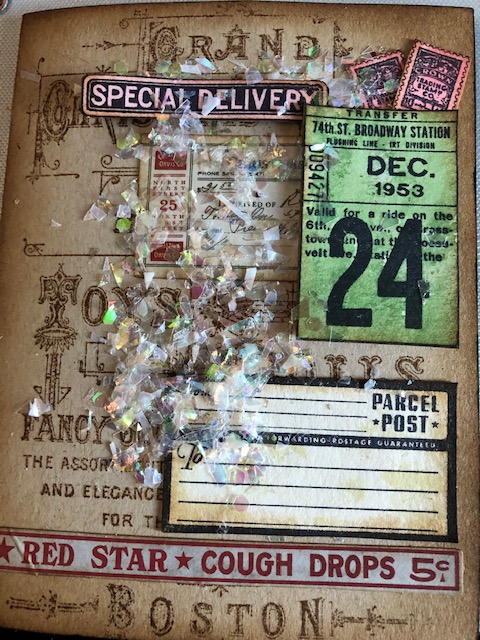
3. Using various inks and a water brush, I painted a wash of color over each of the ephemera pieces. I then cut them all out.
5. I started building up the background using the ephemera I made plus a couple of pieces from the snippets pack. I popped up a couple of the pieces with foam tape to give some depth.
6. Apply trim tape to the edge of the acrylic sheet in three layers. Smooth and distress it with ink if desired.

7. Apply foam tape to the back of the acrylic piece along the edges.
8. Place a small amount of mica flakes on the card base. Carefully apply the acrylic piece over the card base, lining up the edges and making sure they are sealed.
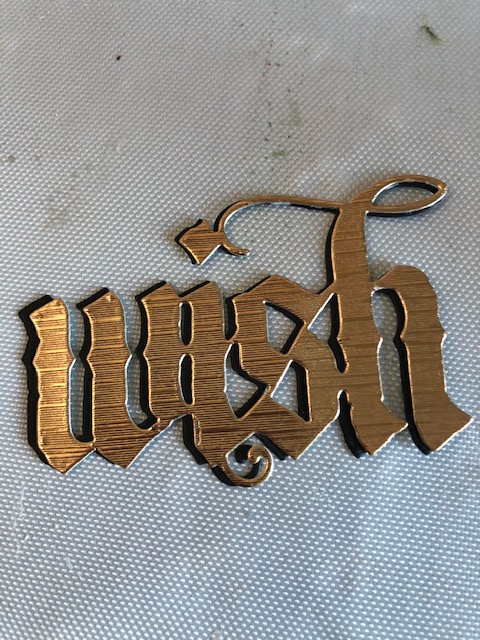
9. Die cut “wish” twice, once in black and once in gold and apply them to the card front, slightly offset from each other.
10. I stamped a sentiment on another sheet of water color card stock. Scored the edges and applied it to the inside of the card.

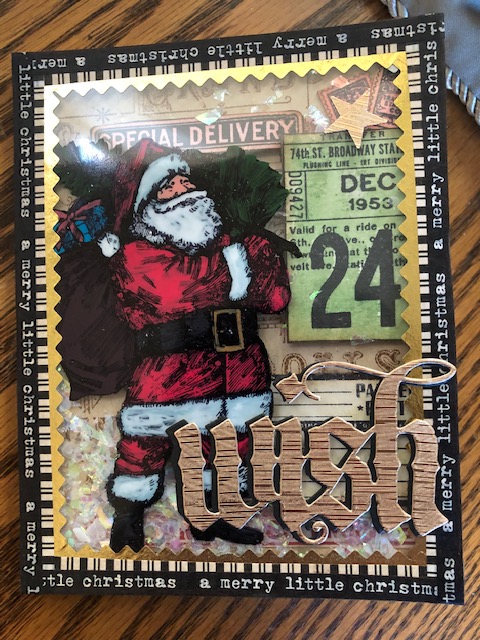
11. OPTIONAL: I ended up punching out a star from gold card stock and applied it to the upper right corner. I thought it looked good either way so I didn’t retake any photos or add the punch to the materials, but here is a quick photo I took before I sent the card off to a friend =)
That’s it! I’m not sure I will get another post out before Christmas, so I want to wish you all a very happy, safe holiday. I know we are all looking forward to a better 2021! Have a wonderful week. -Lisa

LOOKS GREAT
LikeLike