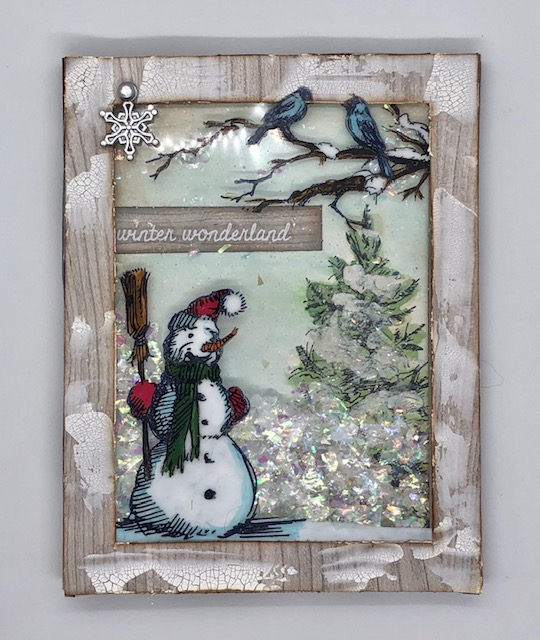
This card came about after I saw someone post about reverse painting on acrylic. I thought it was so pretty, that I should try it. Mine is a shaker card with LOTS of mica flakes…lol. (Can never have too much mica right?)
Materials:
Stampers Anonymous Winterscape stamp set (CMS428)
Stampers Anonymous Christmastime 2 stamp set (CMS389)
Ranger Distress paints – Rustic Wilderness, Picket Fence, Festive Berries, Mermaid Lagoon, Ground Espresso, Carved Pumpkin
Distress inks in Rustic Wilderness and Vintage Photo
Distress Oxide in Tumbled Glass
Ranger Archival Ink in Jet Black
Alcohol Ink mixative Silver
Mica flakes…lots of mica flakes…lol
Tim Holtz Idea-ology remnant rubs Christmas – TH93635
Distress texture paste- crackle
Nuvo expanding mousse- worn linen (full disclosure…I couldn’t find my normal texture paste which is white, so feel free to substitute….yes, my craft room is currently a mess )
Watercolor paper
woodprint card stock-think this was Stampin’ Up
thin chipboard (optional)
Idea-ology adornments snowflakes – TH94007
Steps:
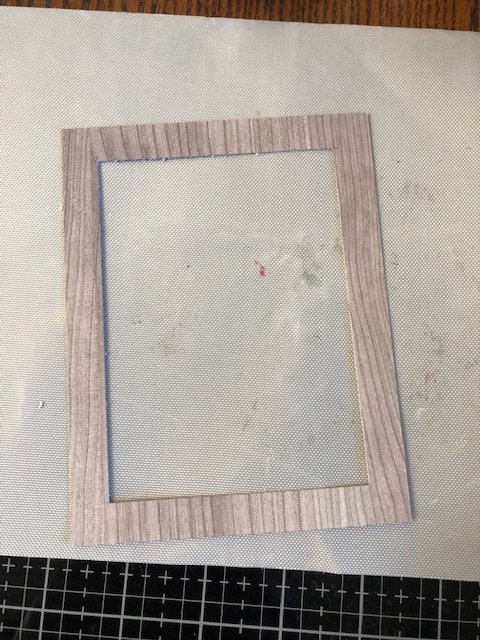
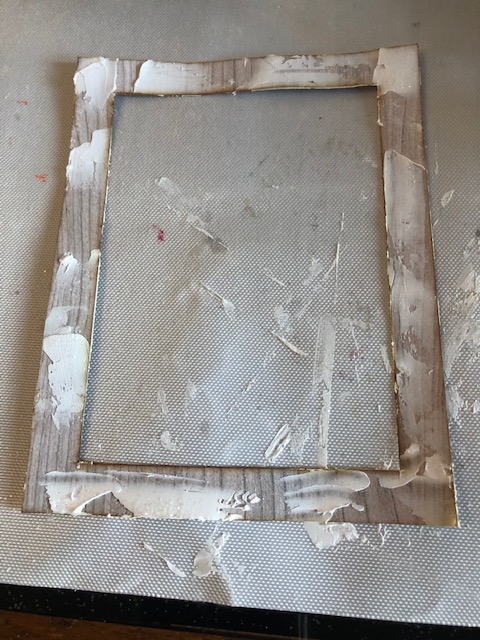
- Make a card base 5 1/2″ x 4 1/4″. I used a corrugated Kraft paper, but it won’t show on the front. Cut a piece of wood grain paper 5 1/2″ x 4 1/4″. Cut out the inner area to leave a 1/2″ frame (inner cut out area will measure 4 1/2″ x 3 1/4″). Distress the edges with Vintage Photo distress ink. Apply crackle paste randomly over the frame and set aside to dry.
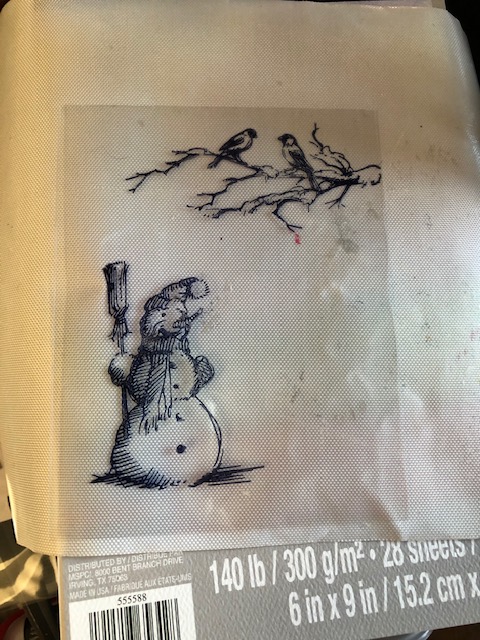
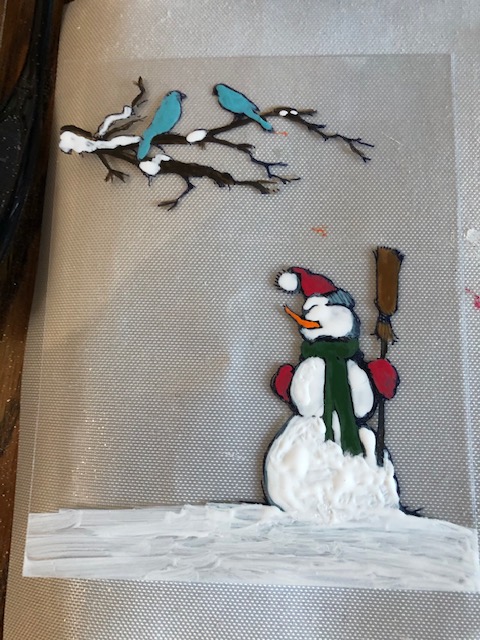
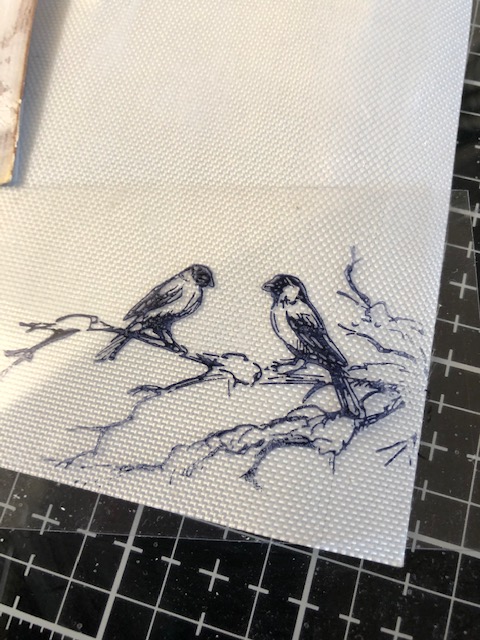
2. With Archival Ink, stamp the snowman and bird images to a sheet of acetate measuring 5 1/2″ x 4 1/4″ and set aside to dry.
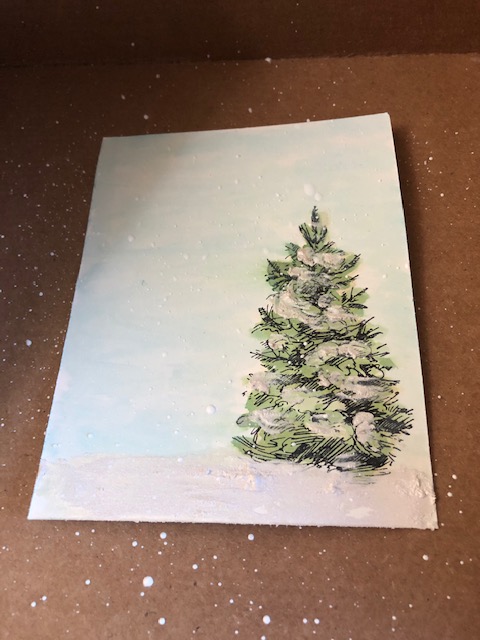
3. On a sheet of watercolor card stock, stamp the tree image with archival ink. Color the tree with Rustic Wilderness ink and a water brush. Color the background sky with Tumbled Glass oxide and a water brush. Once dry, apply texture paste (or, in this case, expanding mousse that I then heated to puff up) to the tree branches. I also splattered picket fence paint on the background but find it doesn’t really show on the finished piece, so I’d say it is optional.
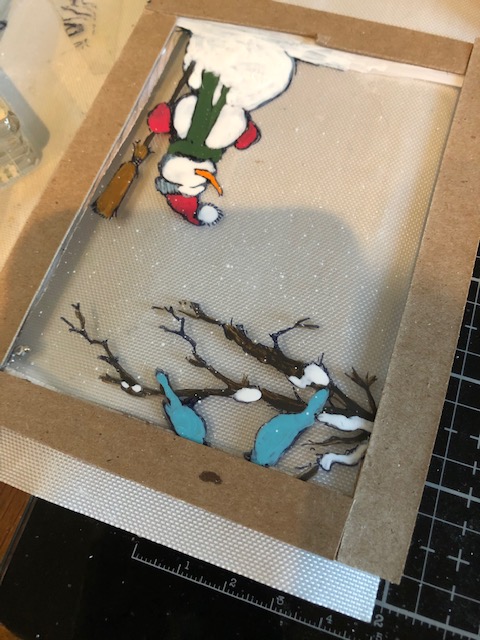
4. Once the ink on the acetate piece is dry, paint the snowman and bird images on the back of the acetate. Remember when painting, the first colors you put down will show on the front, so if you want to add blue highlights (I used a little Mermaid Lagoon mixed with Picket Fence paint), add those first. Feel free to mix colors if you like. I mixed some Carved Pumpkin, Ground Espresso and Picket Fence for the broom head and all the blue elements are Mermaid Lagoon and Picket Fence. I splattered some white paint drops on the sheet as well. Set aside to dry.
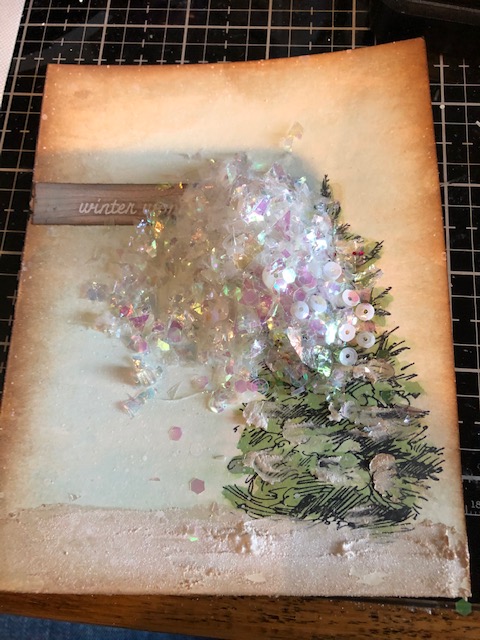
5. Apply the “winter wonderland” remnant rub (or whatever sentiment you’d like) to a scrap piece of wood grain card stock measuring 2 3/4″ x 1/2″. Distress the edges with Vintage Photo and adhere to the watercolor paper with the tree, lined up with the left edge.
6. Here is where I made a boo boo… Once the acetate sheet is dry, adhere it to the back on the wood grain frame, lining up the edges. What I failed to realize is that the frame cut off the heads of my poor birds…oops.
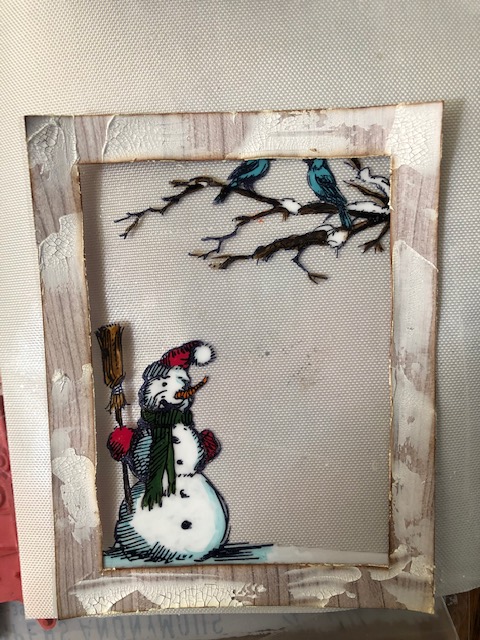
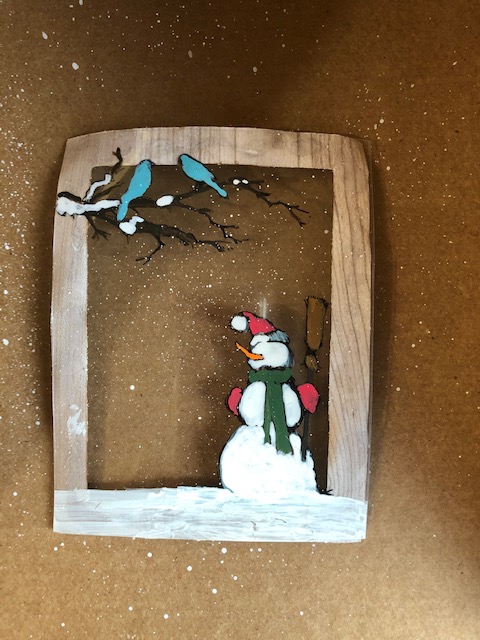
The solution?! I restamped the bird image on another piece of acetate, repainted them and fussy cut the birds out. I then glued the new birds over the previous image, letting their heads overlap the frame. I kind of like that they pop out of the frame, but if you don’t , just make sure when you stamp the original images you won’t cut off your birds heads when you add the frame…lol
7. Paint your snowflake charm with silver mixative. Let dry, then adhere it to your frame piece with a brad to the upper left.
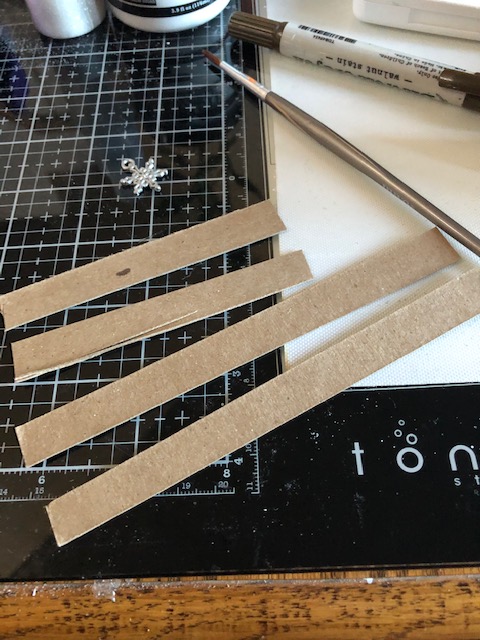
8. This is an optional step. I noticed the frame was not very sturdy, so I cute some thin chipboard into 1/2″ strips and glued them to the underside of the frame. It just makes it a bit more sturdy, with less curling due to the crackle paste.
9. To make the shaker card element, apply foam tape along the underside edge of the framed sheet, right on the chip board, making sure not to leave any gaps for mica to escape. Add a small (or large, heh) pile of mica flakes to the center of the watercolor sheet. Remove the backing from the foam tape and apply your acetate/framed piece to the water colored paper lining up the edges. . Attach the entire shaker unit to the front of your card base. This pile in this picture is too much! I removed about half of this in the end and removed the sequins.
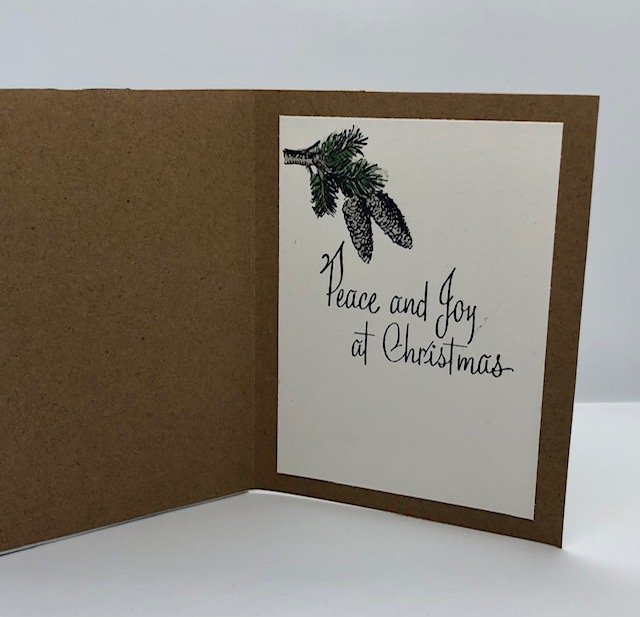
10. On the inside of the card base, I stamped the pine cone image from the wintertime set and colored it with inks and a water brush. I then stamped a sentiment from the Christmastime set.
That’s it! A few missteps along the way, but it all came together in the end =) Have a wonderful week everyone! -Lisa

Gorgeous
LikeLike
LOVE IT
LikeLike