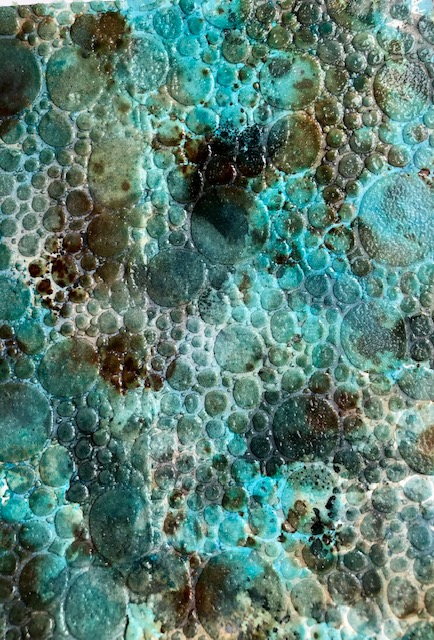
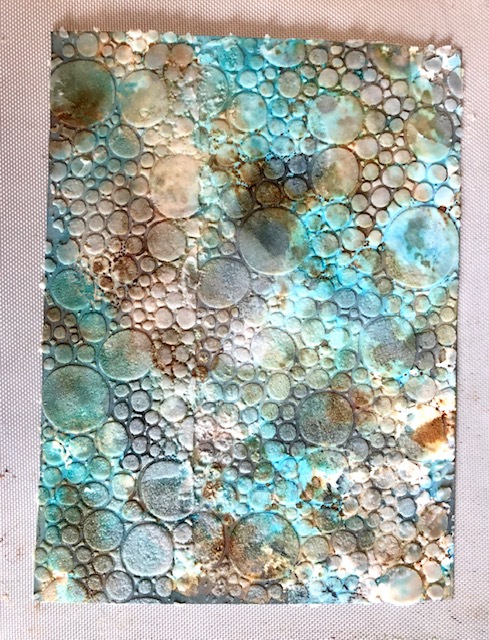
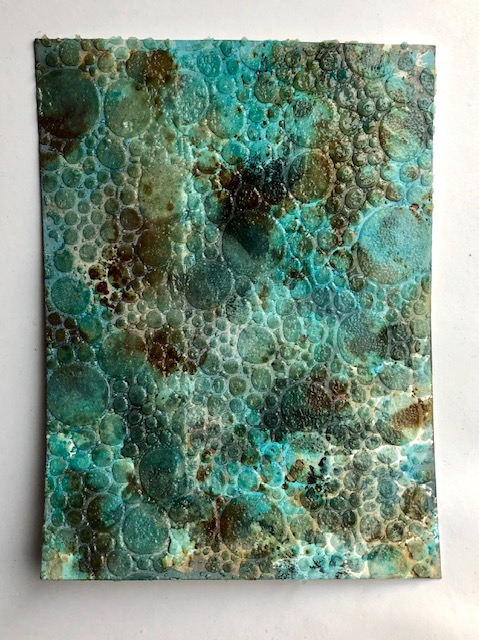
I was asked by a few people to give a step-by-step on creating this bubblicious background. It reminded me at first of a hide of some lizard or dragon, but several people pointed out it looked like the bottom of a pond or something. I hope you enjoy this step-by-step.
Materials Used:
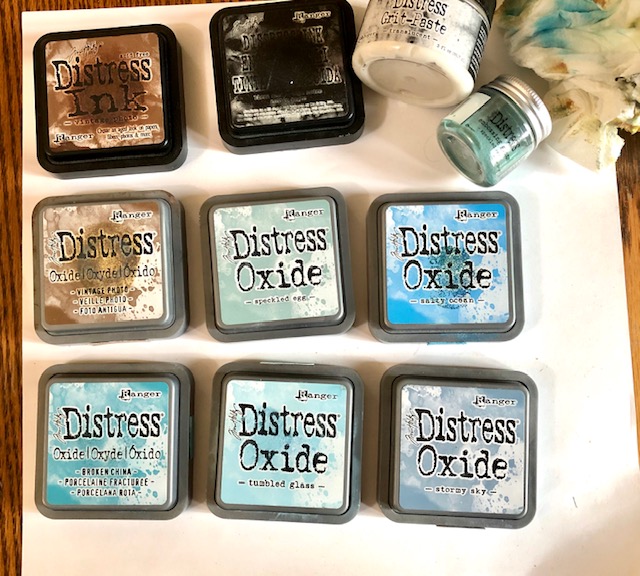
Distress Oxides- Stormy Sky, Broken China, Speckled Egg, Salty Ocean, Tumbled Glass, Vintage Photo
Distress Inks- Vintage Photo, Black Soot
Distress Embossing Glaze in Speckled Egg
Distress Grit Paste- Translucent
Distress Sprayer with water
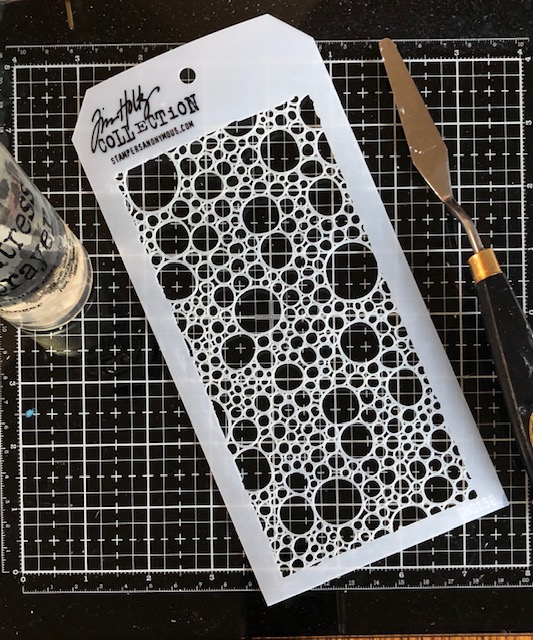
Bubbles Stencil (THS138)
Ranger heat tool
Embossing heat tool
Watercolor paper (you could probably also use mixed media card stock)
Paper towels
Steps:
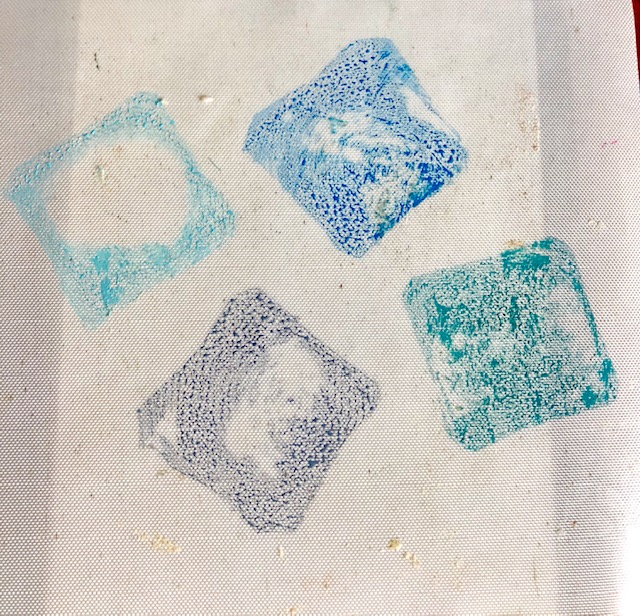
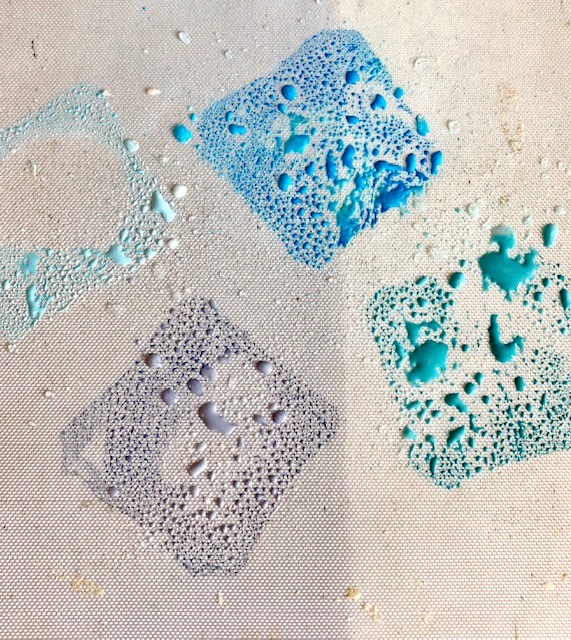
- For each layer the technique is the same. Smudge your inks on your media mat or craft mat, spray with water until bubbles form then dab your paper in the inks. Remember, it is important to dry each layer with a heat tool or air dry before adding the next layer. I also spritzed water drops and dried them in between the layers and used paper towels to dab up puddles I didn’t like.
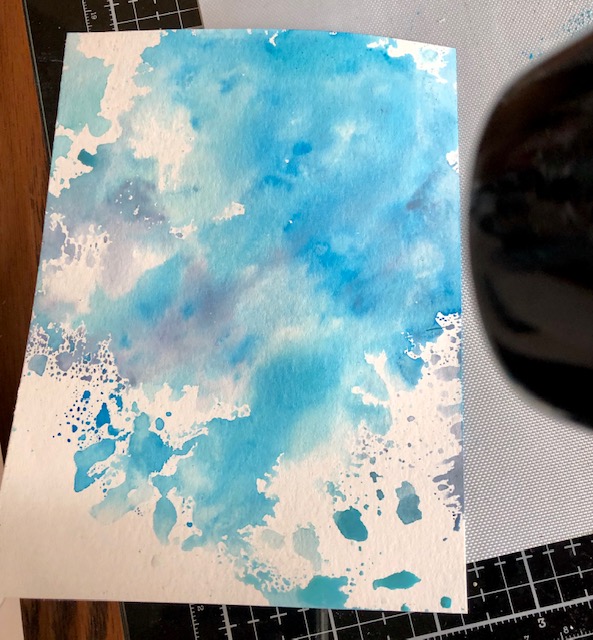
- First and second layers- Broken China, Salty Ocean, Tumbled Glass, Stormy Sky
3. Third and fourth layers- Speckled Egg, Vintage Photo, Vintage Photo ink and Black Soot Ink
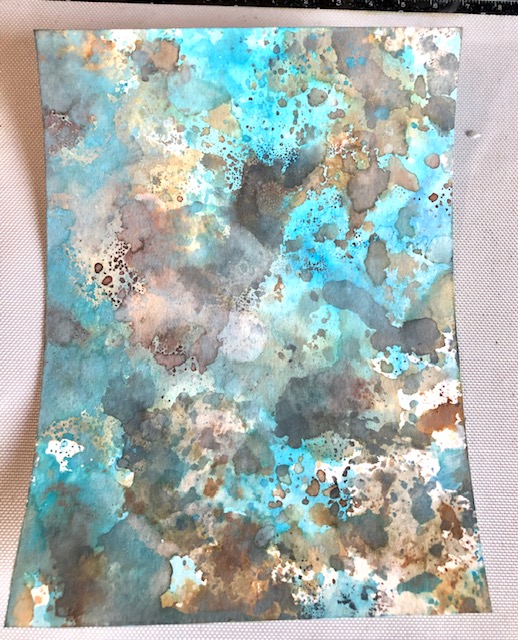
4. Keep adding layers, drying in between until you get the look you want. No real rules here, just keep going until you are happy with it. I liked the look of leaving some white spaces, but you do it how you like =)
5. Once the paper is dry, use a pallet knife to add Distress grit paste through the Bubbles stencil. Remember, it has to be the translucent grit paste for this technique to work.
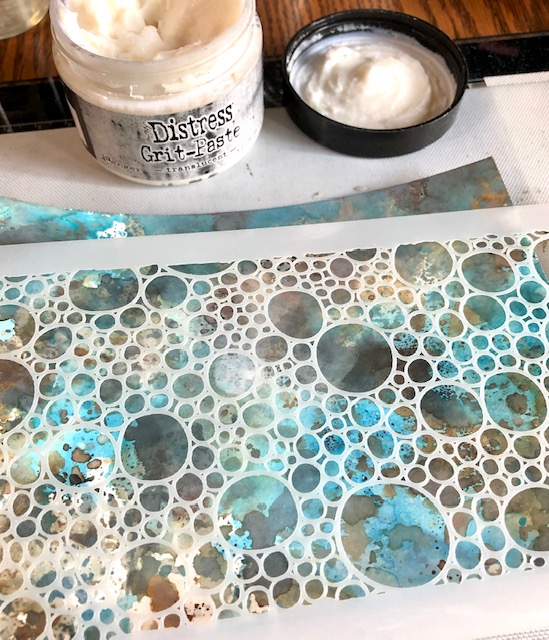
6. While the grit paste is still wet, apply Speckled Egg embossing glaze to it. It will look cloudy. Don’t worry!

7. LET THE GRIT PASTE DRY. This is where you need to be patient, and let the grit paste with the powder dry. It may take some time, so go do something else while you wait =)
8. Heat the project with an embossing heat tool to melt the glaze and Voila! It turns into a bumpy, bubbly dragon hide or pond bottom =)
I usually do an entire project, but so many asked how I made the paper look like this, I decided make a post just on this technique. Hope you like it! Have a great week! -Lisa

Love this, Lisa! Thanks for sharing the process. =)
LikeLike
Thanks so much for sharing your technique…still learning and it helps when I can see how to use some of the things I am buying…and it gives me inspiration to try more things…
LikeLike