
Fall is finally here! Even though we still have a few hot days ahead here in CA, I’m excited about the coming of my favorite season. I finally got my Snarky Cats Halloween stamp set, and was so excited I had to make a card right away. Hope you like it =)
Materials used :
Snarky Cat Halloween (CMS407)
Mr. Bones (CMS345)
Distress Oxides- Fossilized Amber, Speckled Egg, Stormy Sky, Wilted Violet
Distress Inks- Faded Jeans, Black Soot, Vintage Photo
Distress micro glaze
2″ circle punch
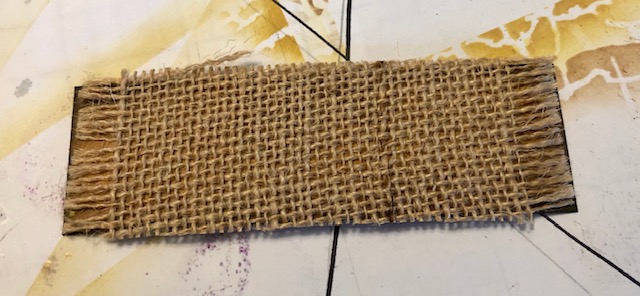
Burlap scrap
Twine- natural FSJ
Journey Glaze FSJ
Decayed Layering Stencil (TH129)- I used this originally on the “hay bale” but decided to cover it with burlap, so this is optional
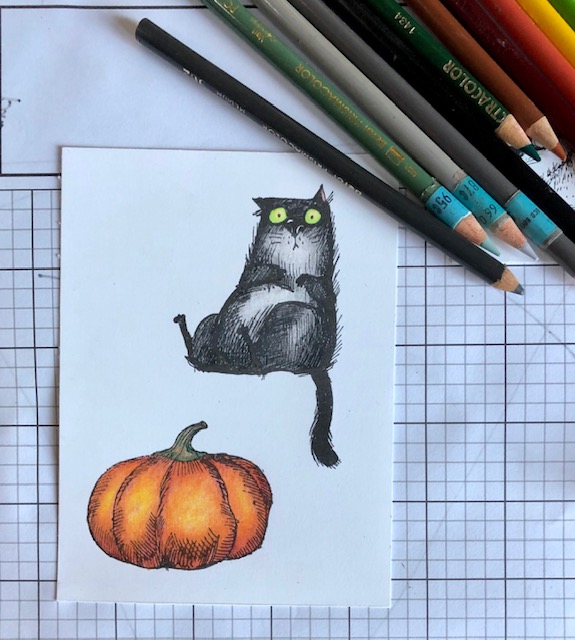
Prismacolor Pencils – see photo below for colors

Steps:
- First I colored my cat and my pumpkin
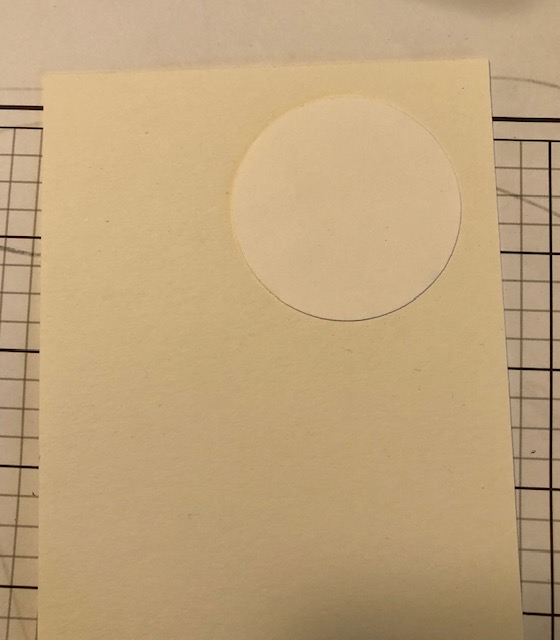
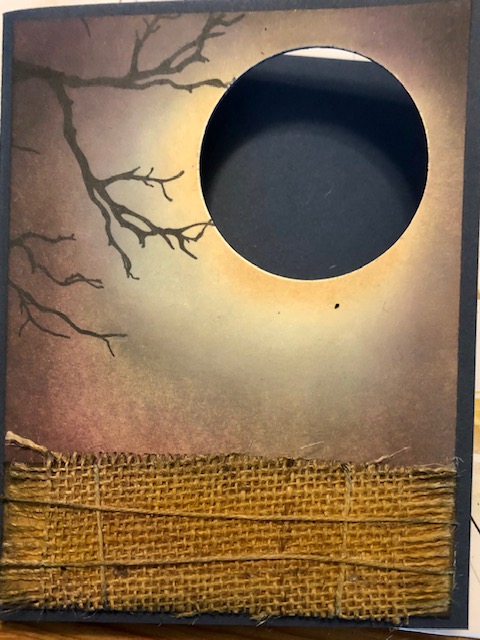
2. Then, I started on my background piece. I knew I was going to have a hole punched where the owl goes, so for reference I punched out a white circle and attached it where I wanted the moon to be. This is totally optional, of course, I just liked having a reference for where my background should be lighter etc. I started around the “moon” with Fossilized Amber, fading into Speckled Egg, then Stormy Sky, then to Faded Jeans ink, Wilted Violet and ending on the edges with Black Soot. Once I liked the way it looked, I went over the whole panel with Distress micro glaze to seal it and make it “pop” a bit more.

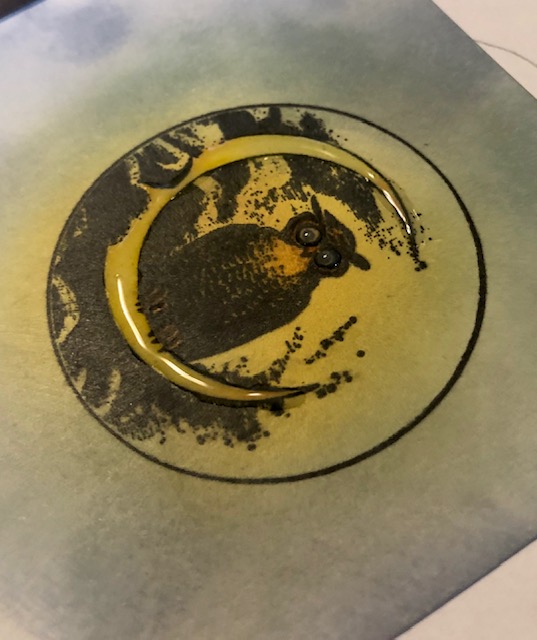
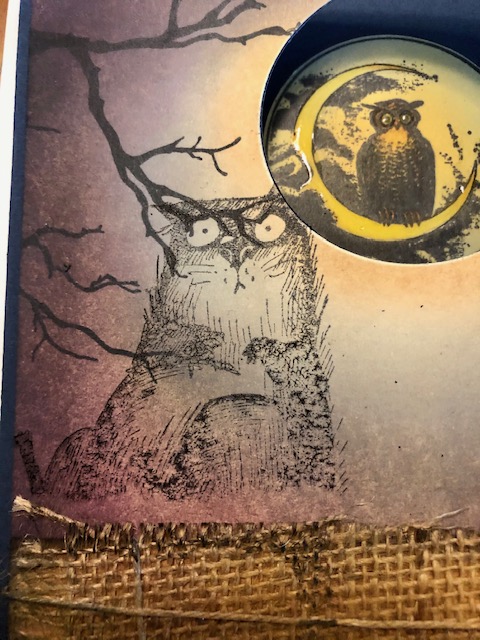
3. For my owl, I created a color “spot” on a new piece of paper using the same first few colors, then stamped my owl onto this “spot”. Use a stamp positioner if you have one, as you may need to stamp it a few times to get it nice and dark.


I added more depth to my owl by coloring with Prismacolor pencils. As a final touch, I applied journey glaze to his eyes and the moon.
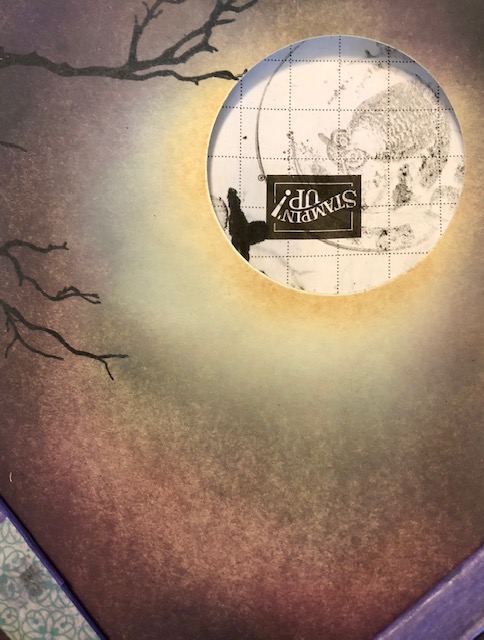
4. I added a few tree branches to my background piece and punched out the 2′ hole where my owl would sit.

5. For my “hay bale”, I cut a 1 1/4″ x 4″ piece of yellow paper and inked it with Fossilized Amer and Vintage Photo. I originally used the stencil, but remembered I had some burlap to cover it with, so the stencil is not necessary if you will be covering it anyway. I inked up the edges, glued some small pieces of twine to the front of it, then attached it to the front of my panel. The panel was then attached to a purple card base (base is a standard 4 1/4″ x 5 1/2″ base)

6. I stamped the cat lightly onto the card base to get all the little hairs that get cut off when you fussy cut (again, optional). Then I fussy cut the cat and the pumpkin and attached them with foam adhesive. I glued the owl piece to the card interior, lining it up with the hole in the card front. I stamped the sentiment on a scrap piece of white card stock and attached it to the hay bale.
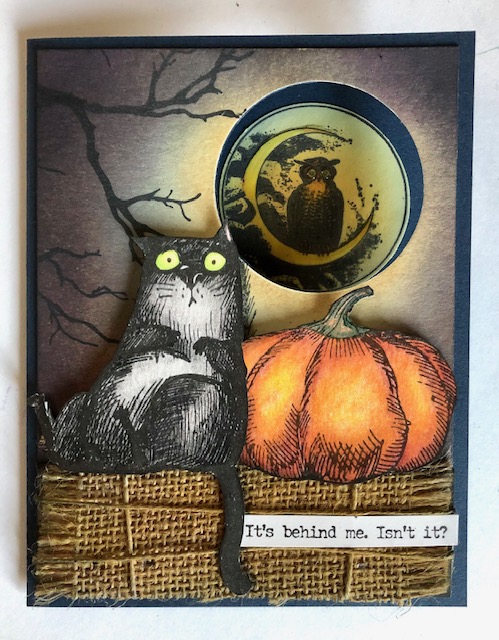
7. On the inside I cut a piece of white card stock 4″ x 2 7/8″, stamped “Happy Halloween” and distressed the edges.

That’s it!. Love these snarky cats, so you will probably see them popping up again. Have a great week!- Lisa

Love it!!!
LikeLike
Your artistry is always a wow for me. The cards are Hallo-winners!
LikeLike
If you keep it up with these hilarious cats, I’m going to have to buy the set for myself!
LikeLike
What a great card. Really love how you did the background. I’ll have to try this. I need to find those Snarky Cats. Have a safe day.
LikeLike