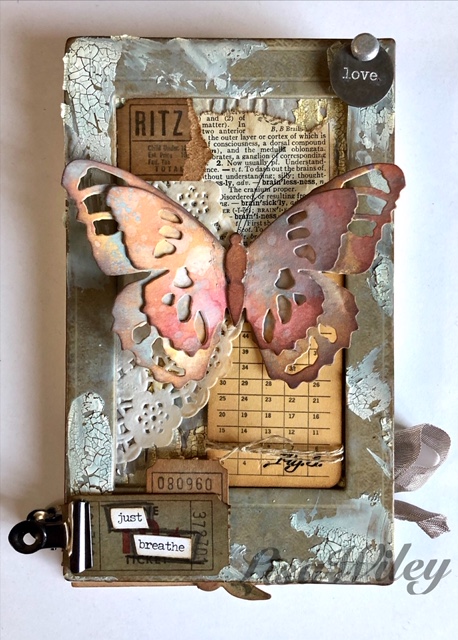
I made this card for my dearest friend who has been going through some stressful times these past weeks. It is an easel card, so it can be stood up as a reminder that she will get through whatever life throws at her.

Materials Used:
Tattered Butterfly Bigz Die (664166)
Ticket Book (TH94036)
Distress Crayon in Picket Fence
Distress Oxides in Speckled Egg, Fossilized Amber, Seedless Preserves and Gathered Twigs
Distress Ink in Vintage Photo
Texture Paste Opaque Crackle
Woodgrain Embossing Folder (656644)
Frame from Layers-Christmas (TH94017)
Salvaged tags (TH94048)
Tim Holtz Hinge clip
Fabric Tape (TH94041)
Small Talk stickers (TH93193)
Tim Holtz typed tokens (TH93203)
Linen Thread
Vintage seam binding
flower ( I believe it is from the Layers: Botanicals pack (TH93554)
Small coin token and cone from my stash
Paper Doily
scrap of black thread
Steps: (Note: I distressed all edges with Vintage Photo Distress Ink)
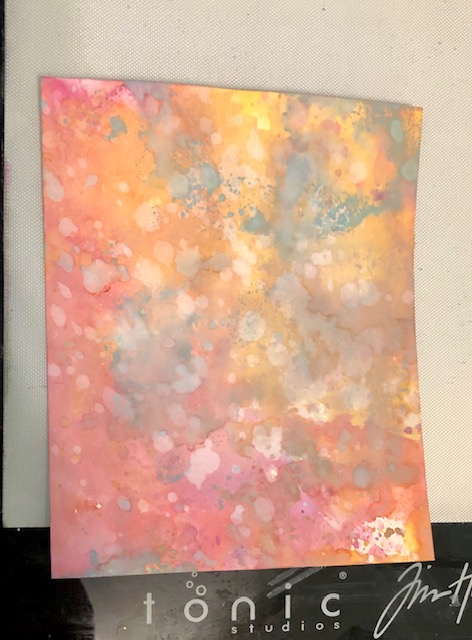
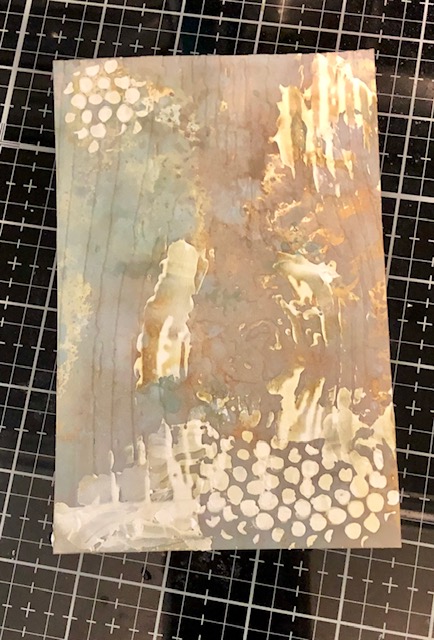
- Make a background. I used Speckled Egg and Gathered Twigs and smooshed them onto my non stick mat, sprayed with water and dipped watercolor paper (approx. 4″ x 6″) into it several times, drying in between to build up the layers.


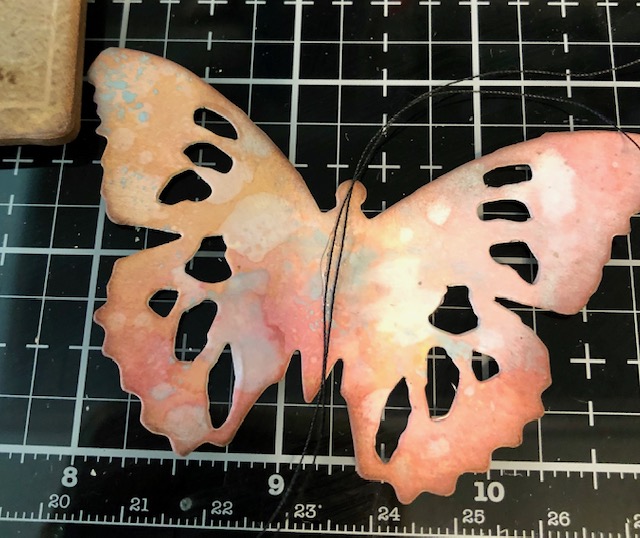
2. For the butterfly pieces, I made another sheet using the same two colors but adding some Fossilized Amber and Seedless Preserves to the mix.
Then I cut both sizes of butterflies using the Tattered Butterfly Bigz and ran the background piece through the Woodgrain embossing folder.

I added some crackle paste to the background piece. I also stenciled on it a bit, but that part didn’t end up showing on the final piece so I skipped it in the directions.
2. I affixed part of a paper doily to the edge of the background piece, leaving the edge open so I could slip things under it later. Then I affixed the background to the back of the frame from the layers pack.
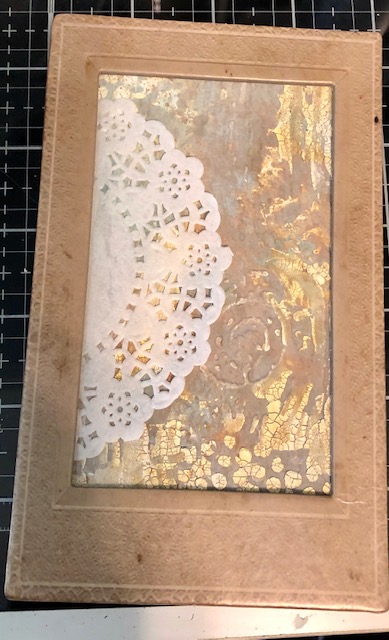
I added more crackle to the frame, then when it was dry I went over the whole thing with more Speckled Egg oxide.


To add “antenna” to my butterfly, I glued a folded piece of black thread along the body of the smaller butterfly, then attached the body piece on top to cover the thread. Then I trimmed the ends.
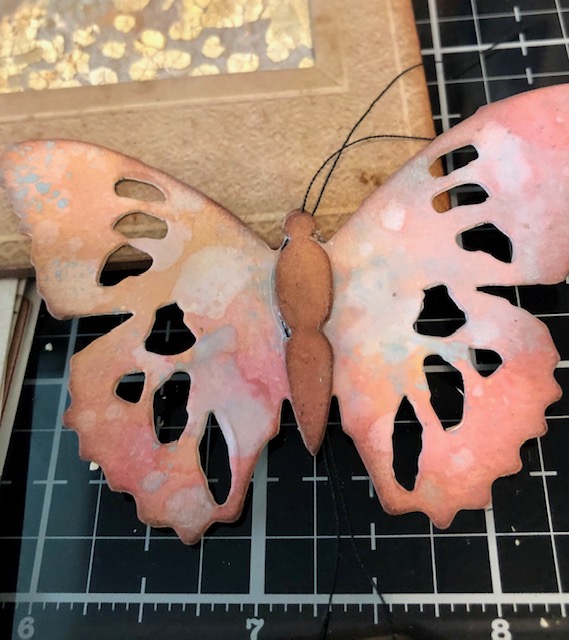
This smaller butterfly then got glued, just along the body to the larger butterfly.
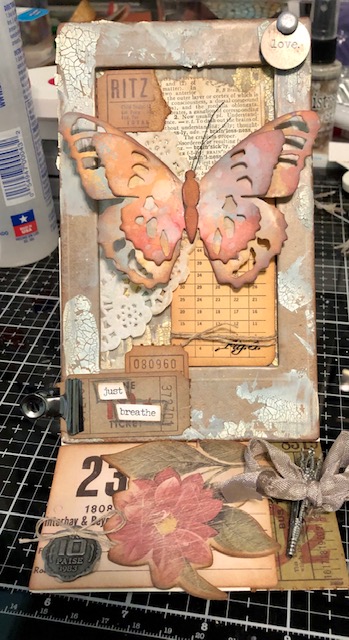
3. The next step was gathering my ephemera and deciding what would go where. Here is what I settled on.
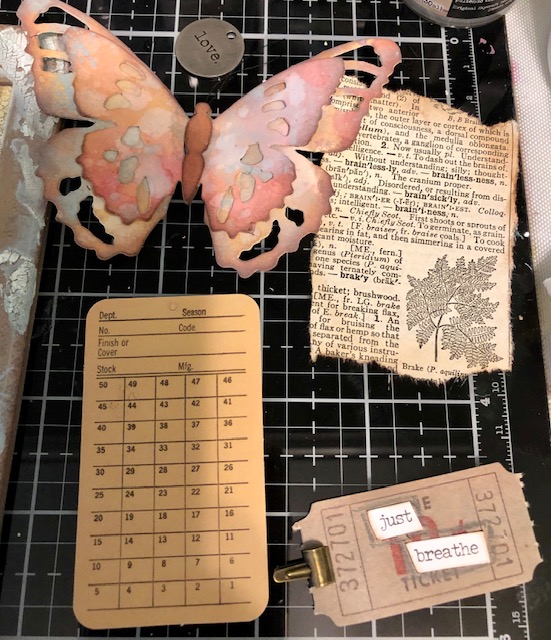
I cut apart the “just breathe” sticker and attached it to a ticket. I then outlined it in pencil so it would stand out (as you can see, I was originally going to use a tiny hinge clip, but I switched it for a larger one on the finished project) . I rubbed distress crayon over the “love” token then wiped off the excess. I popped a silver brad from my stash through the hole in the token.

Then I started adding all the pieces to my background. I tore another ticket in half and put half in the upper left corner and the other half perpendicular to the word ticket on the lower left. I wrapped the large tag with twine and knotted it. The word ticket is not glued, just held on with the clip. This allowed me to glue the card front to the base without dealing with the hinge clip being in the way. I popped up the love token with foam and finished by gluing the butterfly down , again only on the body, leaving the wings free.

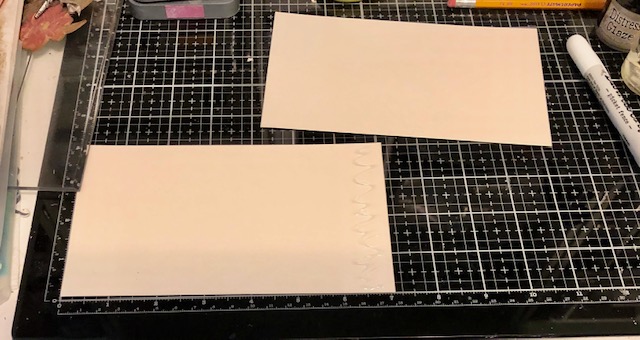
4. The card base. This particular frame measured 4″ x 6 1/2″ so my finished base had to be 4″ x 13″. I ended up cutting two pieces of 4″ x 7″ card stock then overlapping and gluing them to a final measurement of 4″ x 13″
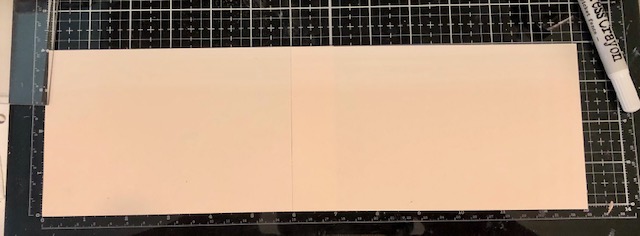
I then scored this new base in half, then scored the front half in half again (3 1/4″)
If you like, you can hide and reinforce the seam by wrapping it in fabric tape.
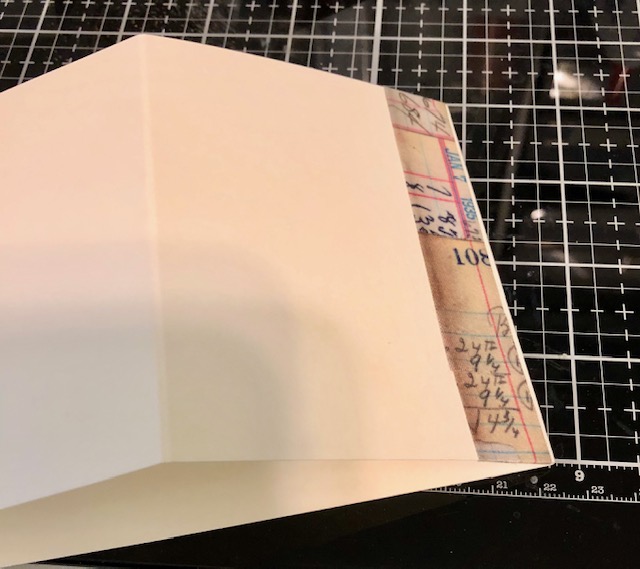
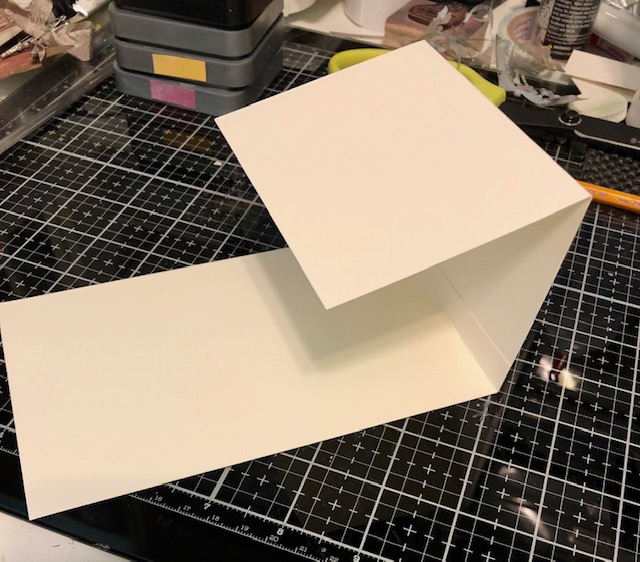
5. Next, I glued the framed front to the BOTTOM HALF ONLY of the card base front. Be sure to only glue the bottom half as this allows the card to fold up into the easel. The area with the clips is the only area glued. I love the hinge clips to hold things together as they dry. Note the word ticket is removed here, and added back on with a hinge clip after the glue has dried.

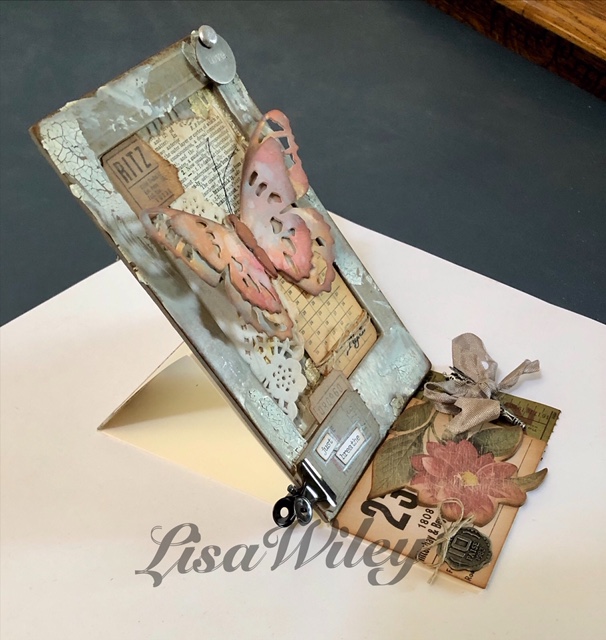
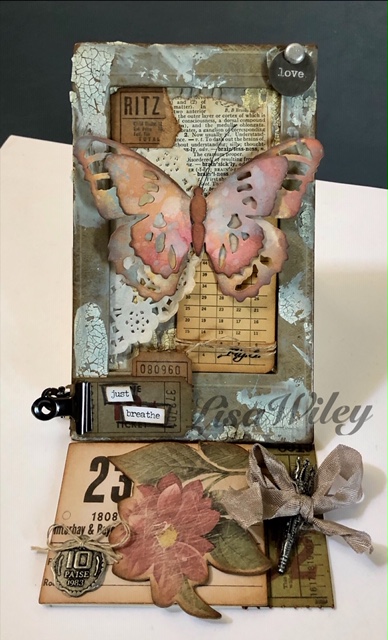
6. Decorate the inside and create a stopper. I gathered more tickets and ephemera and glued them to the bottom half of the inside. I popped up the large ticket to act as a stopper when the card is standing. I added a chipboard flower, some vintage ribbon and a silver coin and filigree cone from my stash.

This is how the card looks standing up. Before giving this to my friend, I added a small pocket to the writing area and wrote a personal message on a tag to tuck into the pocket. This way, if she chooses to display it, you won’t see the writing or the personal message.
That’s it! Hope you enjoyed this tutorial, and that you try your hand at making something special for someone you know. Have a wonderful week! – Lisa

Wow Lisa, that is so beautful. I love butterflies and love all the mixed media steps you took. Thanks for sharing how to make it, great job !!!
LikeLike
Thanks Kelly!
LikeLike