
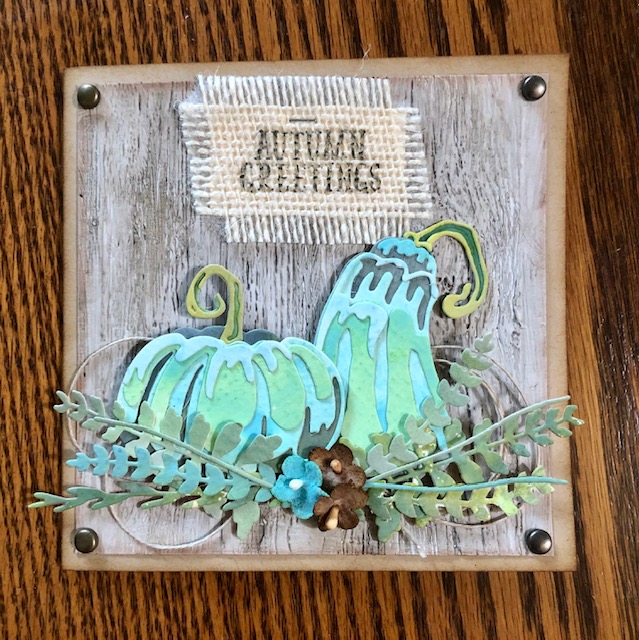
My best friend loves blue/green pumpkins, so as soon as I got this die set, I knew I’d have to make some. Of course I had to put them on a card!
- Tim Holtz/Sizzix Pumpkin Duo- 665999
- Tim Holtz/Sizzix Funky Nature 665215
- Tim Holtz/Sizzix Lumber 3D folder- 662718
- FSJ Hello Fall (sentiment) SS-0450
- Ranger collage medium
- Distress paint in Picket Fence
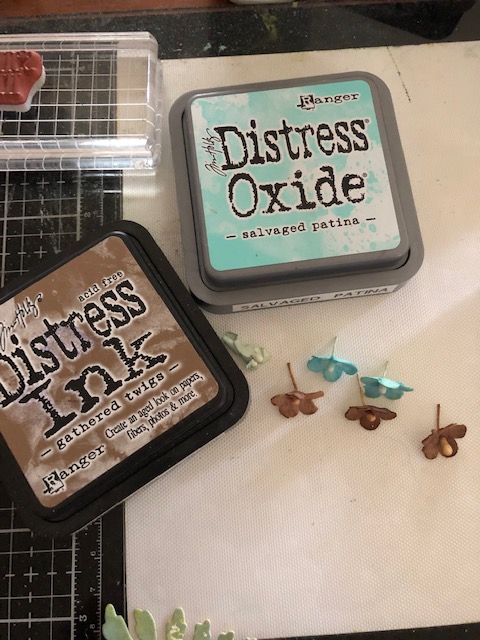
- Various Ranger distress inks and oxides (colors are in directions and in pictures)
- Distress crayons
- Versafine Clair ink in Nocturne
- Tim Holtz Tiny attacher
- Twine
- burlap ribbon
- brads
- Tim Holtz/Idea-ology bouquet TH93569
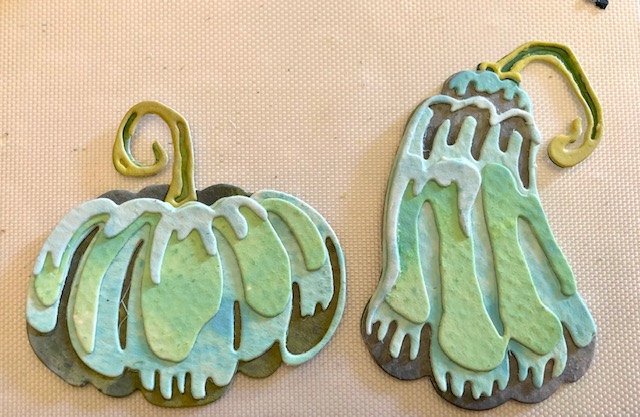
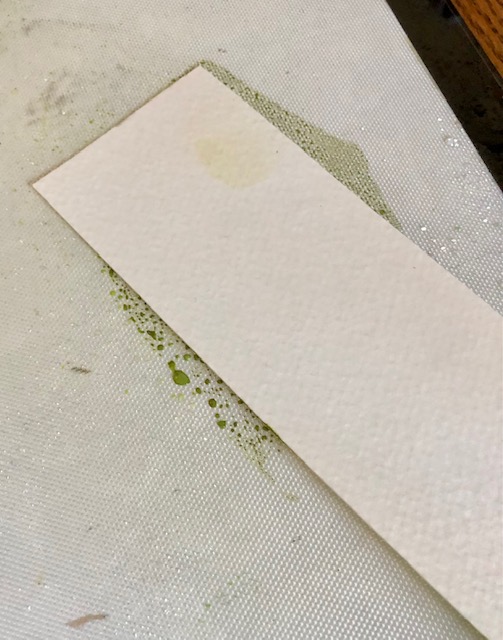
This project all started with the pumpkins. I made both an orange set and a green one, but used just the green ones on this project. First I colored strips of watercolor paper with various distress inks. For each strip, I smooshed the ink on my craft mat, spritzed it with water and dipped the strips in the different colors. I used the colored strips to die cut the various pieces of the pumpkins.
For these pumpkins the colors I used were (using the die pieces as reference): Base piece, stem highlight- rustic wilderness and peeled paint. There are 4 layers on the pumpkins, starting with the bottom layer and going up- Iced spruce, salvaged patina, cracked pistachio, and tumbled glass. I also, cut various leaves from Funky Nature out of the same strips. I set these aside while I worked on my card base.
This card is 5″ x 5″ when finished, so I cut a card base out of kraft card stock 10″ x 5″ and folded it in half.
For the wood looking base: (shout out to Sarascloset for this technique)
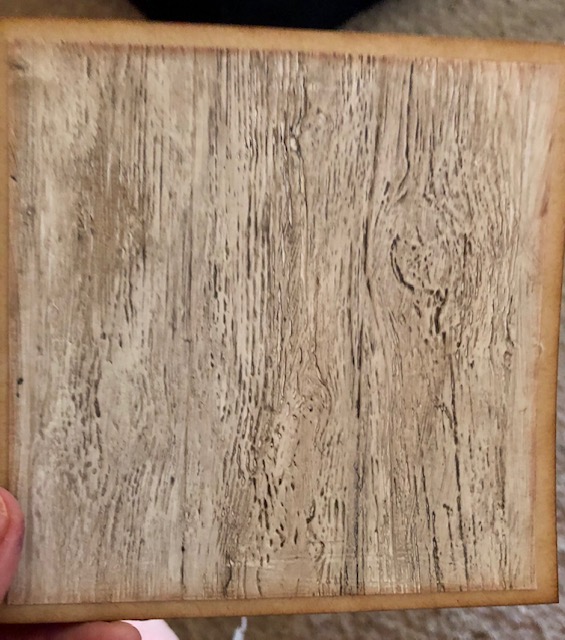
First, I coated a piece of kraft card stock with collage medium, leaving the brush lines. Once dry, I painted the piece with Picket Fence distress paint, again leaving the brush lines. Next, I ran the piece through my machine in the Lumber 3 D folder. Finally, I scribbled over the panel with Hickory smoke, Picket Fence and Walnut Stain distress crayons, blending them with my finger dipped in water. I then cut this piece to 4 5/8″ x 4 5/8″ and attached it to my card base. Later I added some brads to the four corners of the card.

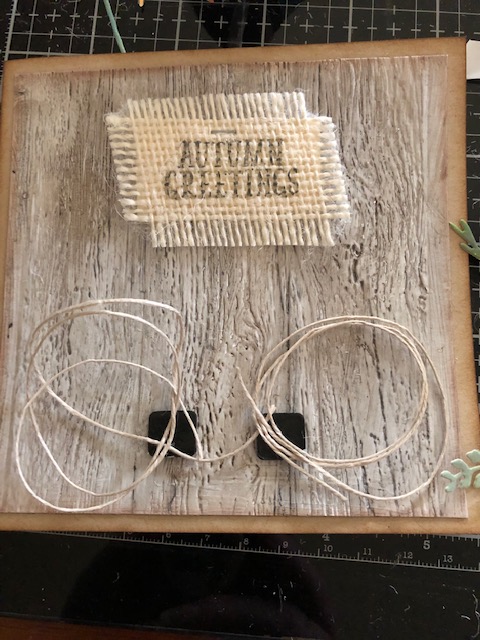
For the greeting, I stamped Autumn Greetings onto a piece of burlap ribbon using Versafine Clair ink in Nocturne. To reinforce this piece I attached a small piece of card stock to the back. I frayed the edges of the burlap by pulling some threads free. This got centered at the top of the card. I added a small staple using my tiny attacher.


I dyed some flowers from Bouquet using the same smooshing technique as the papers.
To assemble the card, I first put some foam squares down and wound two pieces of twine around my hand and stuck them down on the foam squares.
I then added my pumpkins, some of the foliage pieces and some flowers centered between the pumpkins. With that, my card was finished.
I hope you enjoy this project. I am excited Fall is here! Have a great week!- Lisa

SO love this 💚
LikeLike