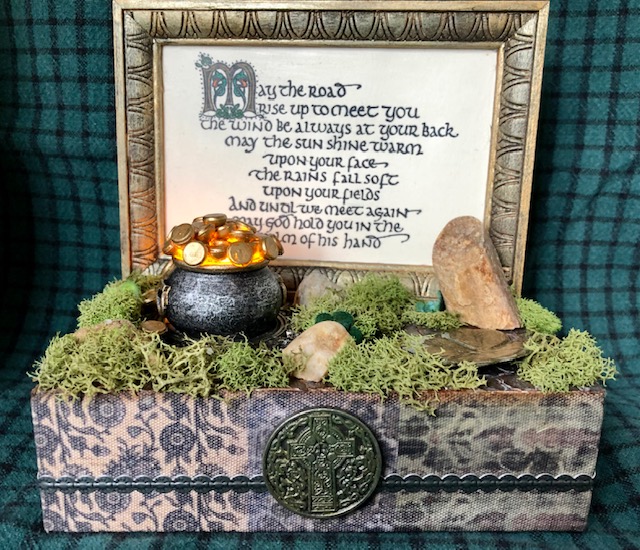
A bit late for St. Patrick’s Day, but life got ahead of me, as it sometimes does. I thought this would be a cute, little decoration and really the blessing is good year round!
- Tim Holtz/Ranger Distress Paint- Ground espresso and tarnished brass
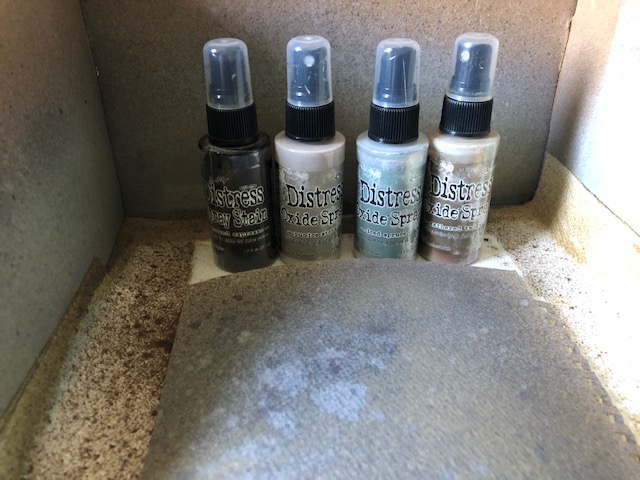
- Tim Holtz/Ranger distress ink sprays-ground espresso, rustic wilderness, twisted citron, vintage photo
- Tim Holtz/Ranger distress oxides sprays- pumice stone, iced spruce, gathered twigs
- Tim Holtz/ Ranger distress crayon in Walnut Stain
- Tim Holtz/ Idea-ology:
- cauldron- TH94171
- tiny lights- TH94019
- baroque frame-TH93267
- vignette wood frame- TH93694
- bouquet- TH93569
- linen tape- patchwork- TH94230
- Vignette box-Th93279
- Industrious stickers- Frames and trims
- Tim Holtz/ Sizzix 3D embossing folder – 665461
- Tim Holtz/Ranger alcohol mixative- gold
- Tim Holtz/Sizzix Lucky Love Impresslit-665227
- decorative filler (coins) Ashland (Michaels)
- Fun Stampers Journey Journey glaze (similar to crystal effects)
Steps
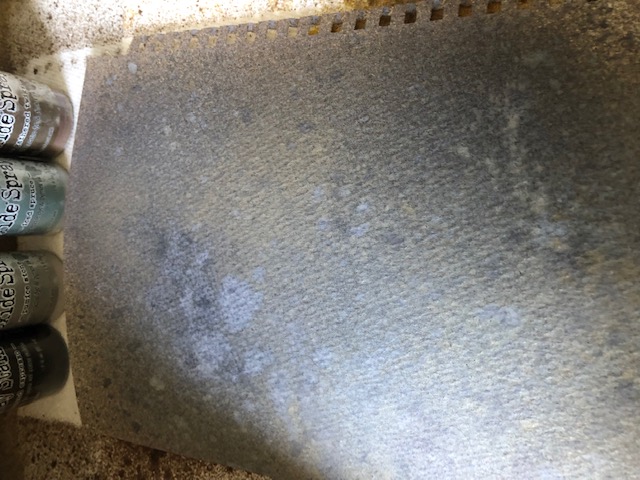
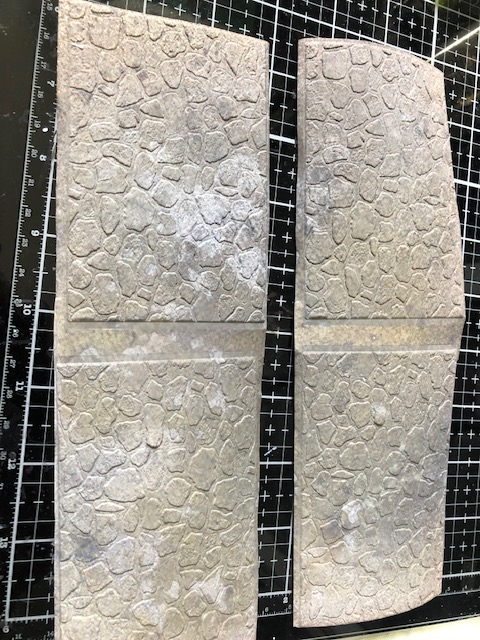
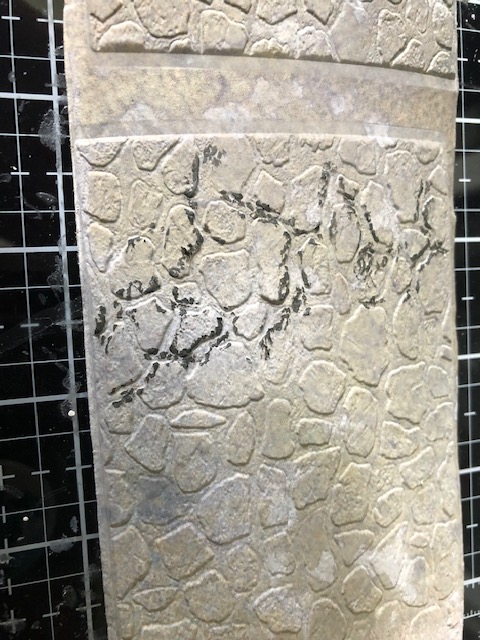
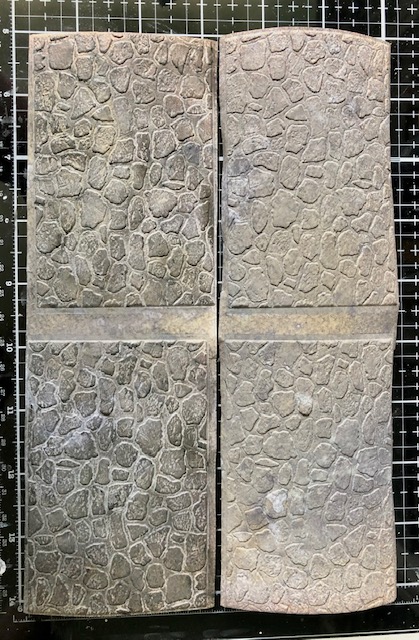
First I worked on the base of the vignette. I used spray stains and oxides to color a piece of watercolor paper, then I embossed it using the cobblestone embossing folder. I went over the spaces in between the cobblestones with Walnut stain distress crayon, and blended it out with my finger. While that was drying, I drilled a small hole in the vignette box where I wanted the cauldron to sit so I could thread tiny lights up to it. Then I glued the cobblestone to the top of the box, trimming the excess. I then poked a hole through the paper using the drilled hole as a guide.

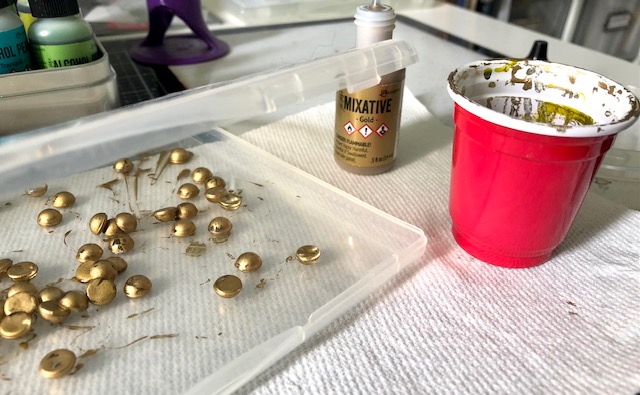
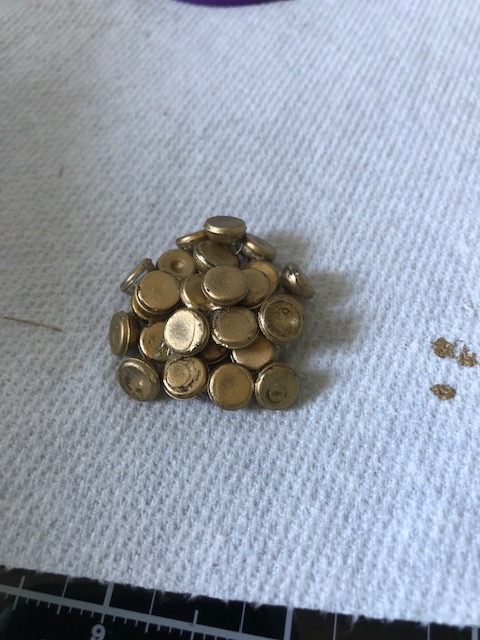
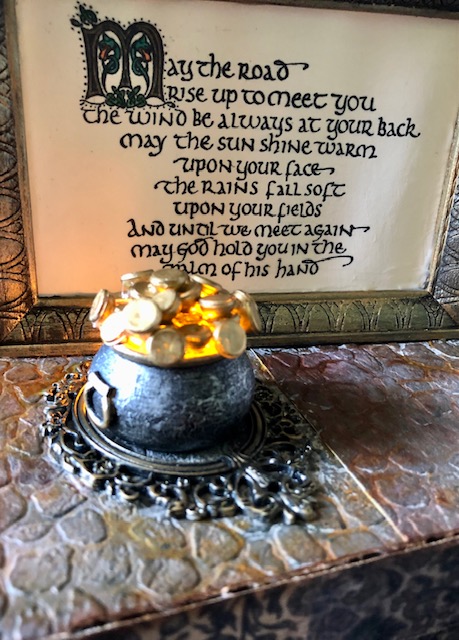
To make the “coins”, I used a decorative filler I found at Michaels that was flat on one side. I colored them using gold alloy alcohol ink, shaking them in a cup until covered, then letting dry.
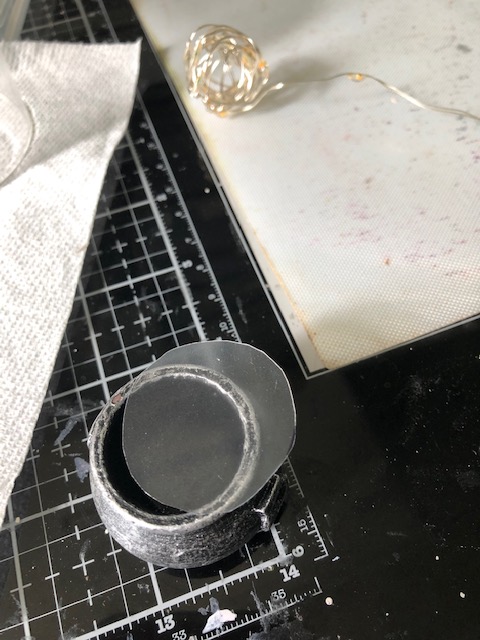
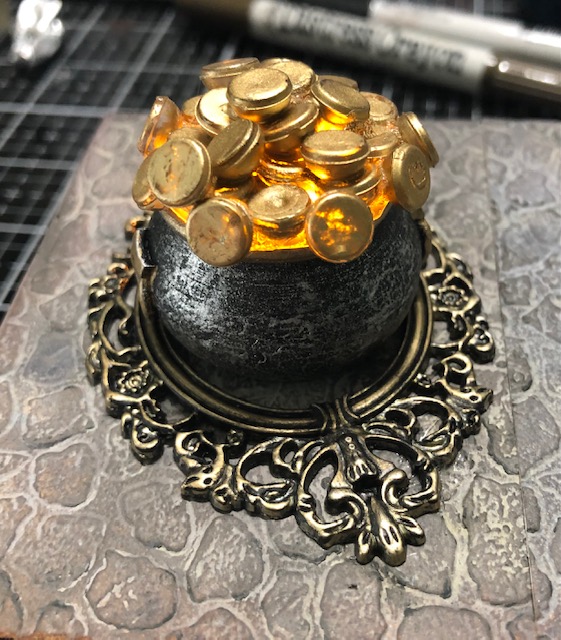
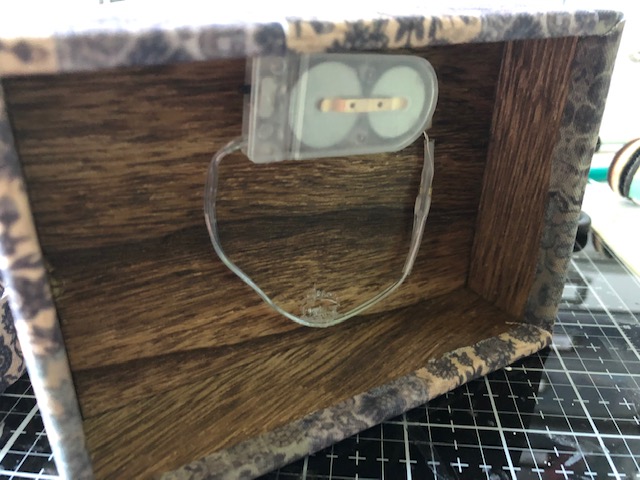
I knew I wanted tiny lights inside the cauldron and I didn’t want coins filling the space so I cut a piece of clear acrylic to fit the top of the cauldron that I could glue the coins to. I cut a notch in this piece to make room for the cord. Then I made a nice stack of coins on top of this piece. I touched up coins using my alcohol pen dipped in gold alloy.
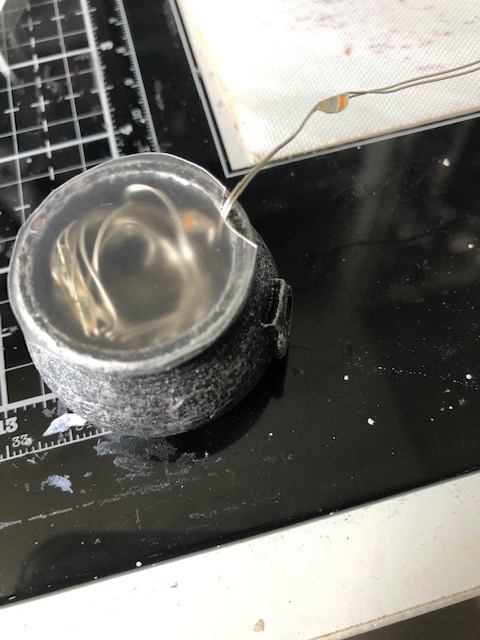
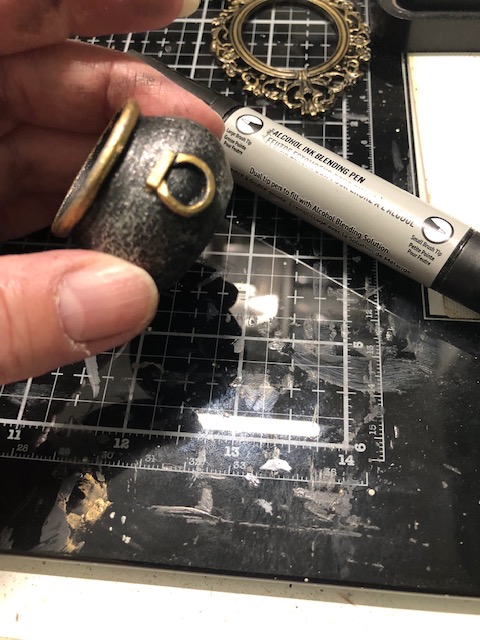
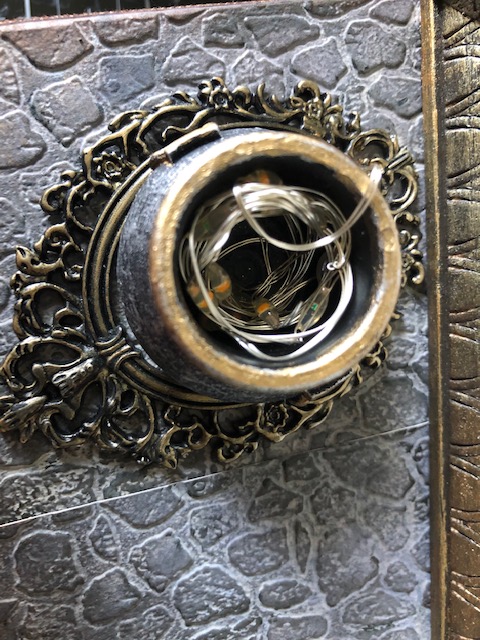
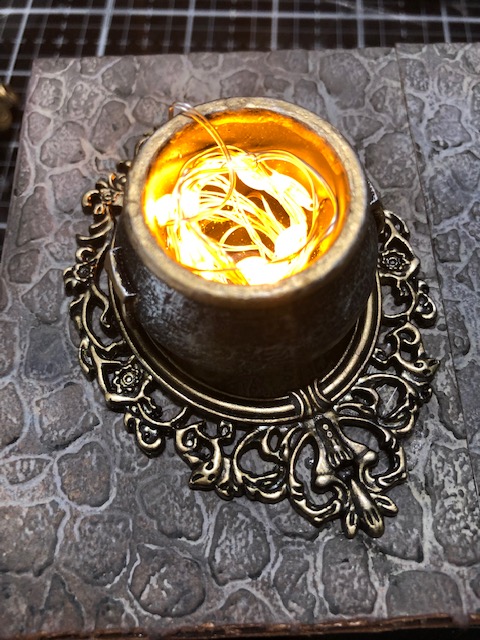
To add some interest to the cauldron, I colored the handles using my alcohol pen and gold alloy. I also ran some over the metal frame that the cauldron sits in. I threaded the tiny lights through the hole in the vignette box, and the frame then coiled them tightly to fit inside the cauldron. I glued the excess cord to the bottom of the box and attached the battery pack to the bottom of the box using a piece of Velcro. I glued the frame and the cauldron to the top of the box. Then I glued the acrylic piece with the coins attached to the top of the cauldron. to finish, I added several more coins dripping out of the cauldron to hide the cord.
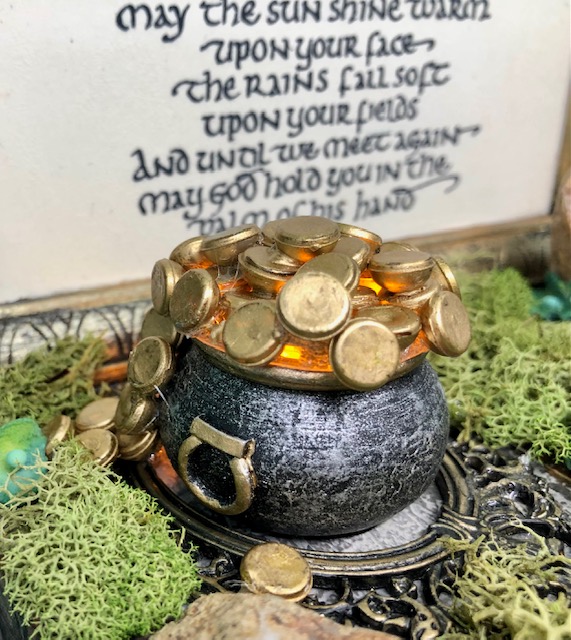
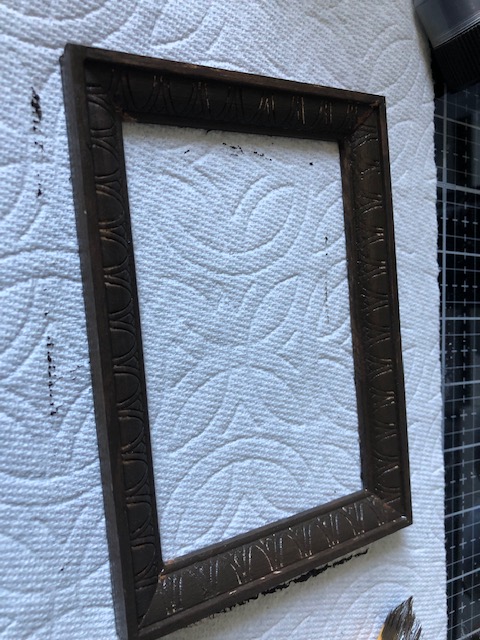
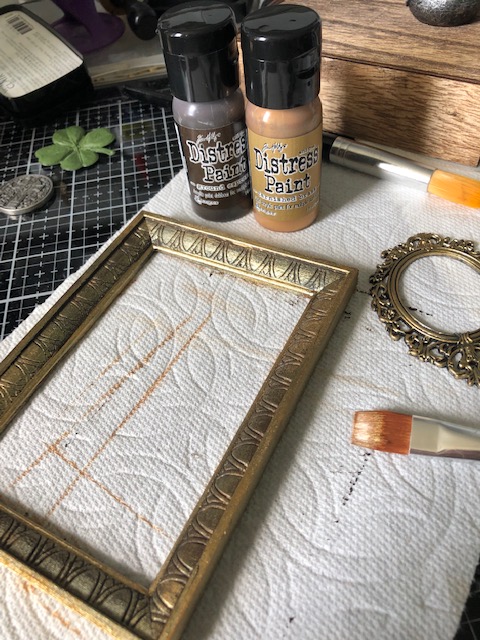
For the backdrop, I painted the wooden frame first in ground espresso, then, once dry, I dry brushed Tarnished brass over it. The sentiment is an old wood stamp I have, that I stamped on some off white paper and colored a little bit with Prismacolor pencils.
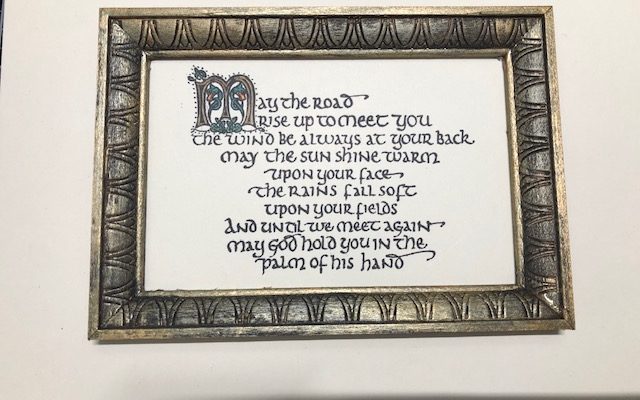
The framed sentiment is glued at an angle along the back of the piece.
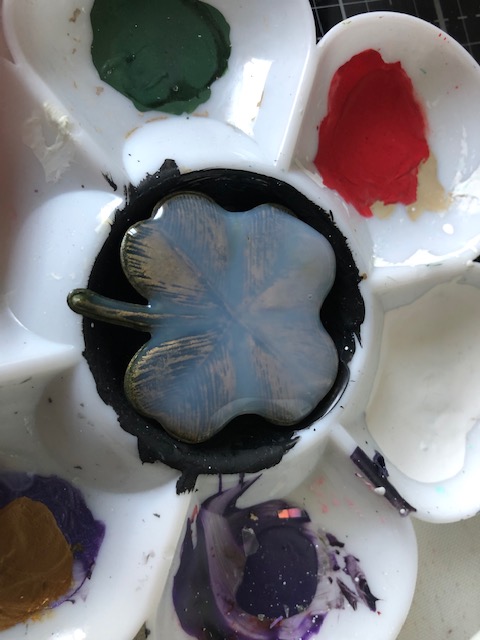
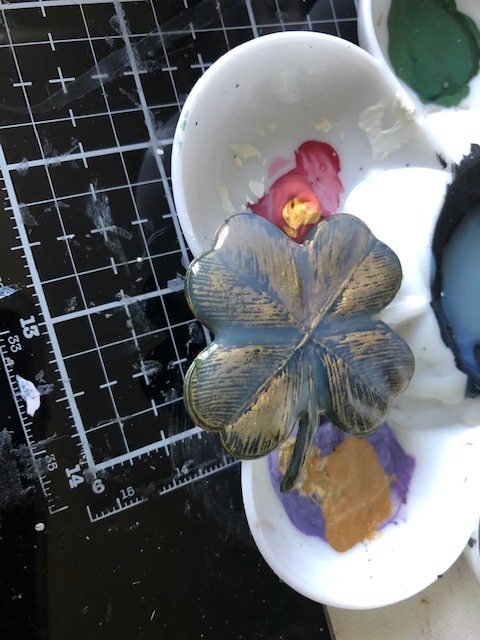
I cut a clover from Lucky Love out of green paper and dry brushed it with Tarnished Brass paint before coating the entire thing with Journey Glaze (similar to crystal effects).
After it dried< I positioned it on the top of the box. Then I got some rocks from my yard and glued them to the top of the box (after I washed them..lol). Then I filled in with moss and a few flowers from bouquet that I had sprayed with Rustic Wilderness and Twisted Citron distress sprays.

For the front of the box, I wrapped it in two layers of Patchwork linen tape, lining up the pattern so it looks like on continuous layer. I wrapped some border strips from Industrious along the seam to cover it.
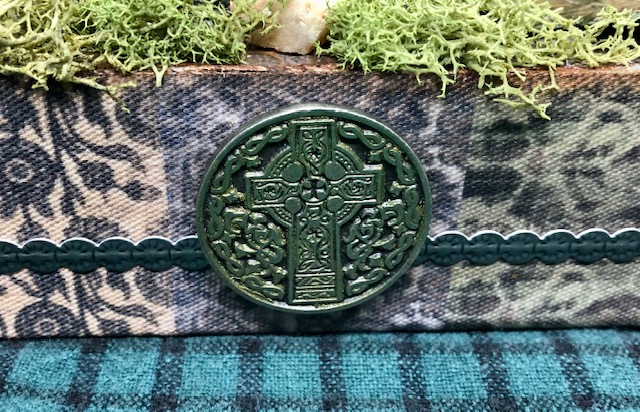
As a final touch, I glued an Irish Blessing coin to the front of the box. This was a coin I bought many years ago. It came in a bag of like 12-15 or so and I had given them out to my family at our St. Patrick’s Day celebration years ago. I still have a few left. The reverse of the coin has this blessing on it: “May your troubles be less, your blessings be more, and nothing but happiness come through your door!”
Have a wonderful week! – Lisa
