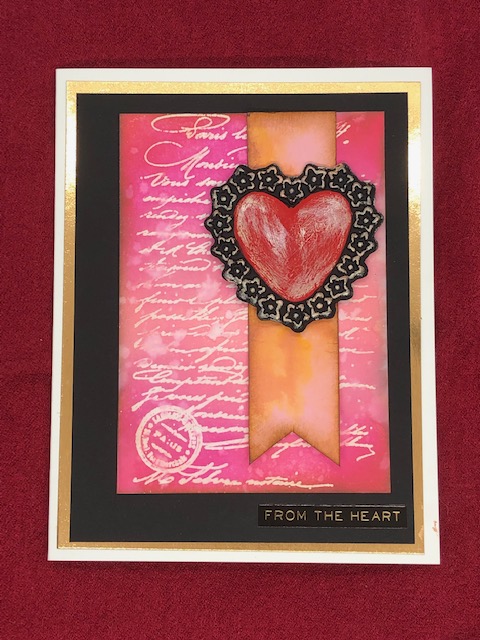
It is getting close to Valentine’s Day so I thought I’d get out my Lucky love Impresslit for this swap card. It takes it’s inspiration from a video Pete at Sizzix did for Valentine’s Day last year (2021). I believe you can find it just by googling Pete, Sizzix, Valentine. This one is fairly straightforward so you can make several at a time for your lucky valentines.
Materials used:
- Stampers Anonymous/Tim Holtz French Marketplace stamp set (CMS071)
- Ranger/Tim Holtz distress oxides in Candied Apple, Worn Lipstick and Rusty Hinge
- Ranger/Tim Holtz distress inks in Picked Raspberry, Vintage Photo
- Sizzix/Tim Holt Impresslit- Lucky Love (665227)
- Clear embossing ink and powder (mine are from FSJ)
- Candy Apple acrylic paint (FSJ)
- Creative Expressions Metallic Gilding Polish in Apricot
- Black and pink card stock (FSJ)
- white card stock (Stampin Up!)
- Gold card stock from Michaels
- Tim Holtz Idea-ology Metallic sticker book (TH94134)
Steps:
- Cut the following layers. The base (white) is a standard 5 1/2″ x 4 1/4″ , from gold- 5 1/4″ x 4″, black- 5″ x 3 3/4″ plus another piece of white for the stamped image -4 1/4″ x 3″. From some pink card stock cut a banner 4″ x 1″
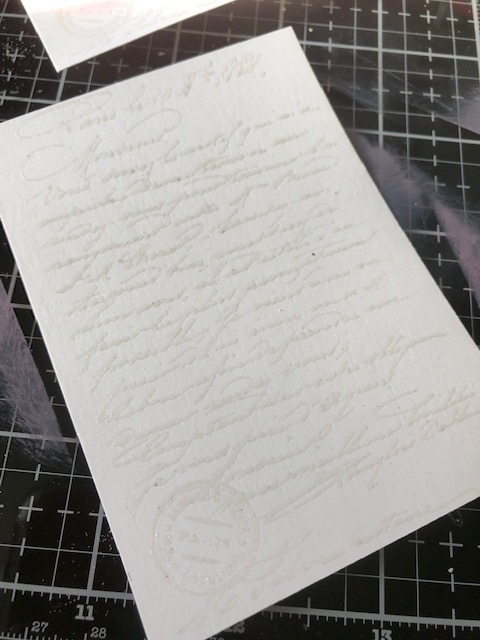
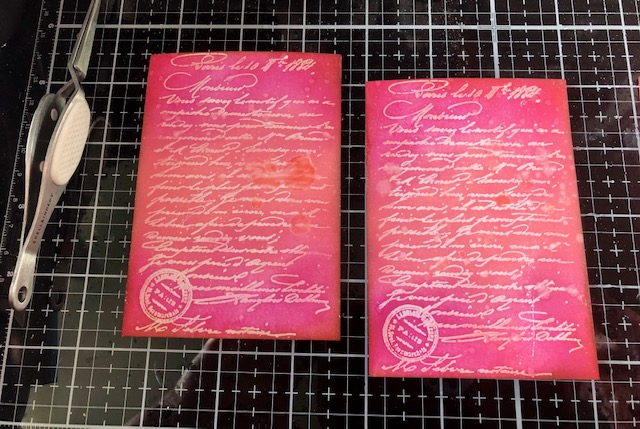
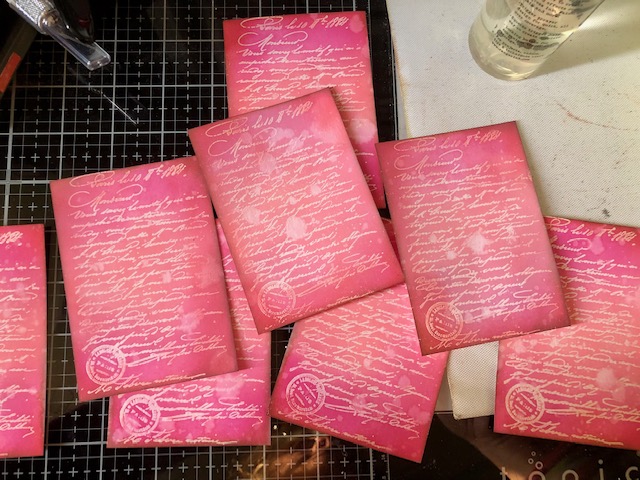
- Take the white 4 1/4″ x 3″ piece of card stock and stamp it with clear embossing ink with the script stamp from French Marketplace. Heat emboss the image with clear embossing ink.
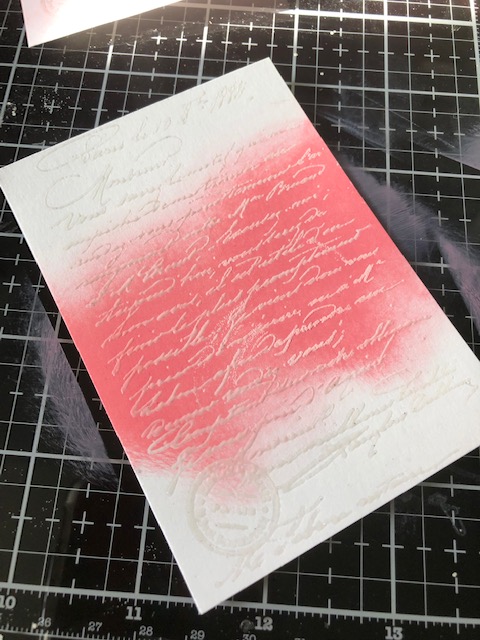
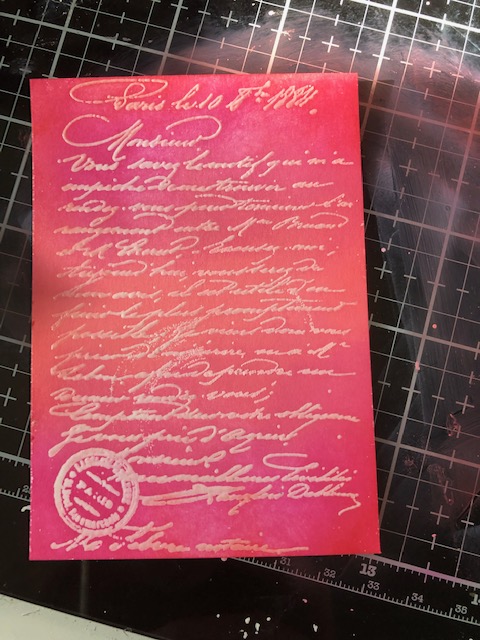
3. Starting with worn lipstick, use a blending too to blend color over the embossed image. Follow with picked raspberry and if desired, candied apple. Finish by blending vintage photo on the edges. Splatter some water over the image and let dry.
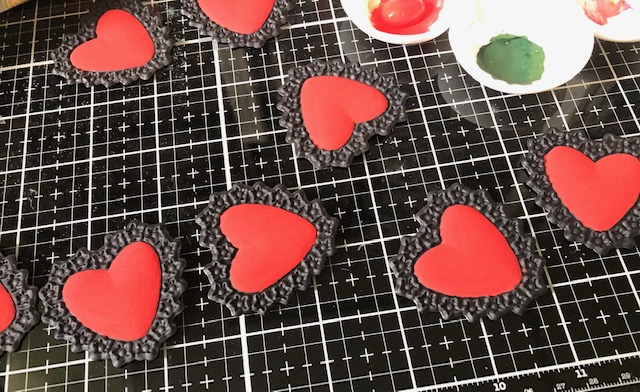
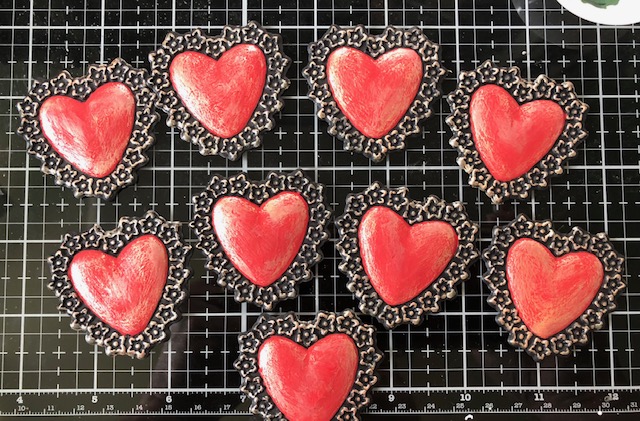
4. Die cut the heart image out of black card stock using the Lucky Love impresslit (You will end up with 4-leaf clovers as well to use later on another project)
5. Paint just the center of the heart using candy apple red acrylic paint and let dry. You may need several coats to get the look you want.
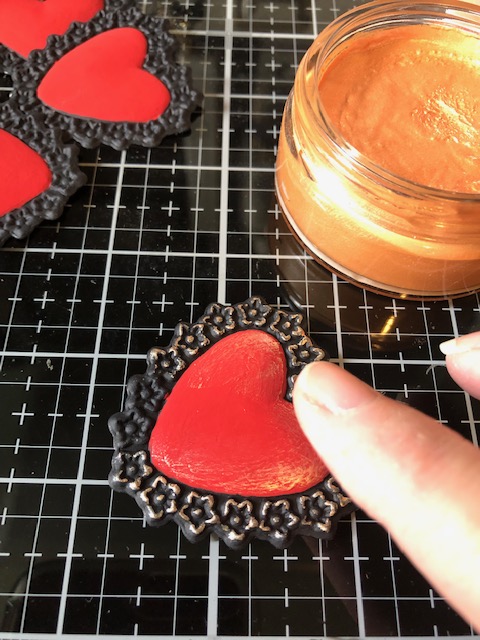
6. Using your finger and apricot gilding polish, lightly rub the polish over the edges of the heart as well as a rubbing a bit over the center heart. Set aside to dry

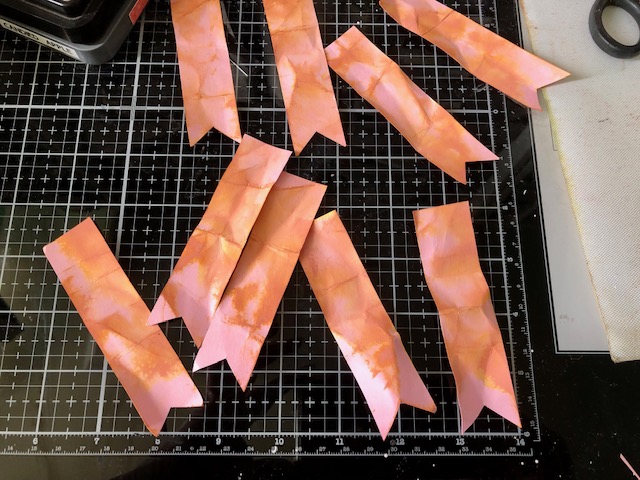
7. Take the strip of pink card stock and banner cut one end. Spray the paper lightly with water and crumple the banner up. Once it has dried lightly rub Rusty Hinge over the surface of the banner and spray again with water. Once dry rub the edges with Vintage Photo Ink.
8. All that is left is assembly. Adhere the gold and black card stocks to the front of your white card base. Adhere the embossed piece slightly offset to the right onto the black layer. Attach the banner piece offset to the right on top of the embossed piece, then pop up the heart using foam adhesive to the top of the banner. Finish with a sticker from the Metallic sticker book on the lower right side of the card.
That is it! Hope you make some for your valentines this year. Have a great week! -Lisa
