For my most recent swap, I decided to make each person a bookmark to start the year in addition to my swap. Each one was made in exactly the same way, using different ephemera and paper dolls. Once I had a plan, they came together very quickly. I hope you like them and perhaps get inspired to get crafting, even if it’s a small project. I’ve posted close ups of the bookmarks both prior to laminating them and after.
Materials Used:
- Tim Holtz/Ranger Ink Distress Spray Oxides in brushed corduroy and frayed burlap
- Tim Holtz/Ranger Distress Spray inks in ground espresso and wild honey
- Tim Holtz/Ranger distress inks in picked raspberry and gathered twigs
- Versafine Clair ink in Nocturne
- Clear embossing ink
- Tim Holtz/Idea-ology Paper dolls. I have a stash of these in a container. I don’t have the original packaging on most of them so I am not sure what series they are.
- Ephemera. As with my paper dolls these are in sealed little bins. I do know some of the pieces were from Thrift Shop- TH93114 which is an older set I believe
- Tim Holtz/Stampers Anonymous stamp set -Ultimate Grunge CMS075
- Unity stamp company sets -I am who I am- JOMA1009A and Hello Beautiful- JOMA1011A
- Seam binding ribbon, various colors
- Tim Holtz distress tags #8 TDA53828
- Various word print card stock
- Laminator- I have a Creative Station by Xyron
Steps:
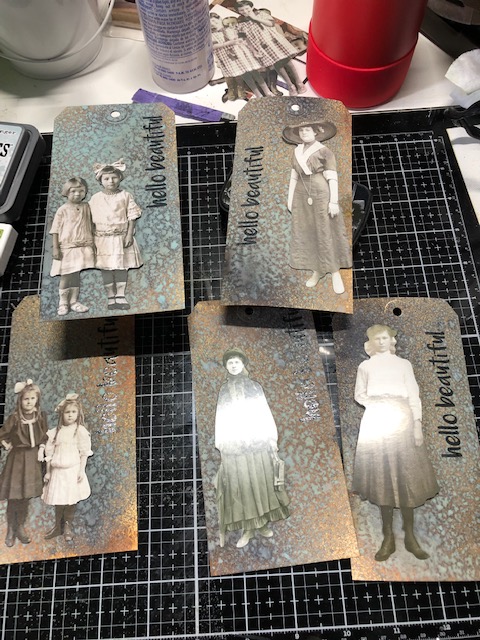
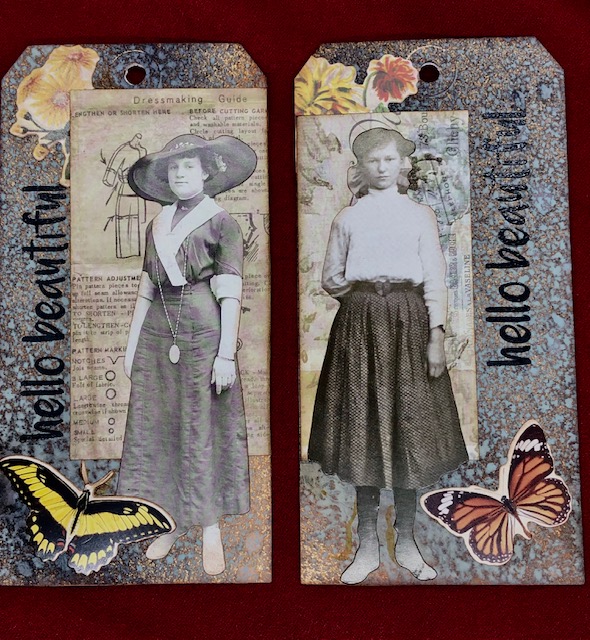
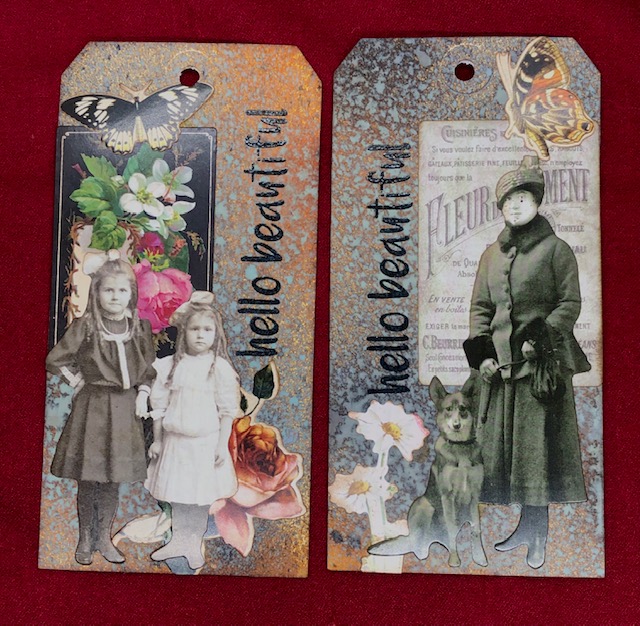
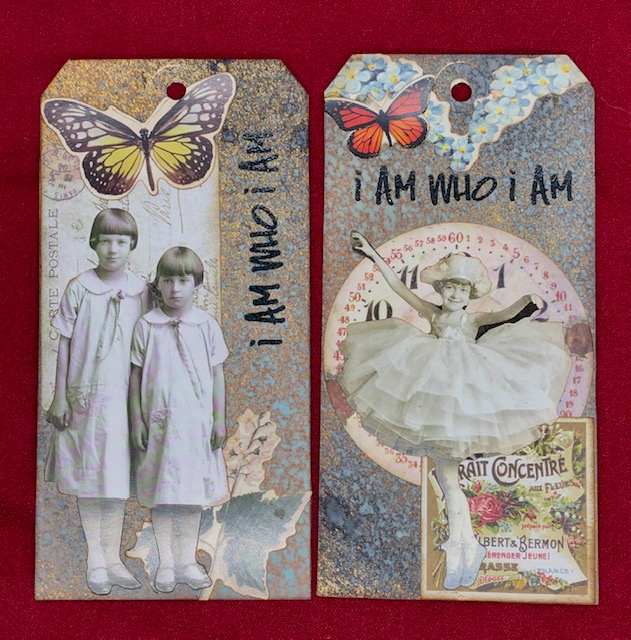
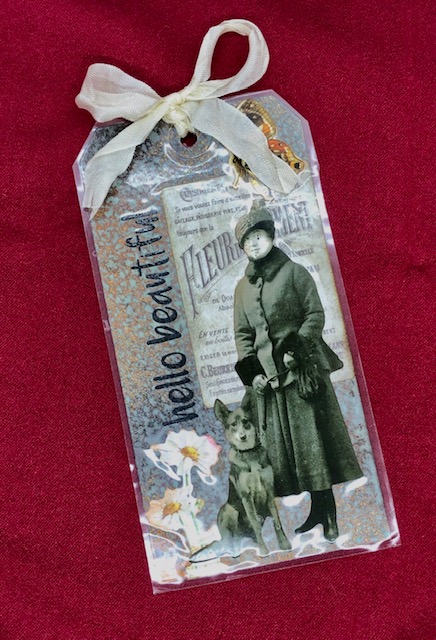
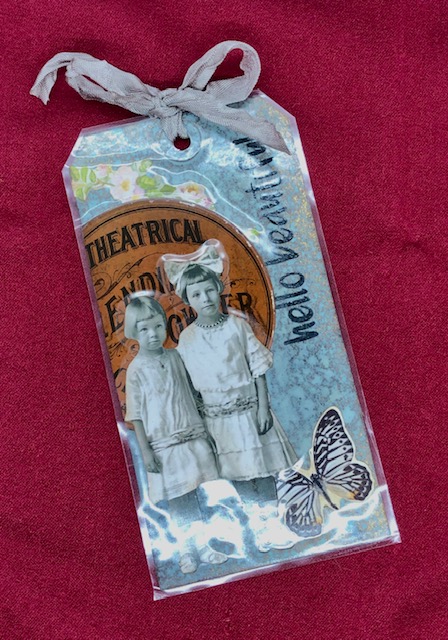
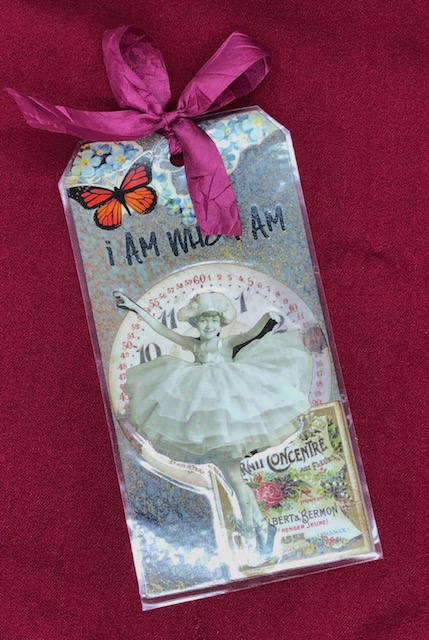
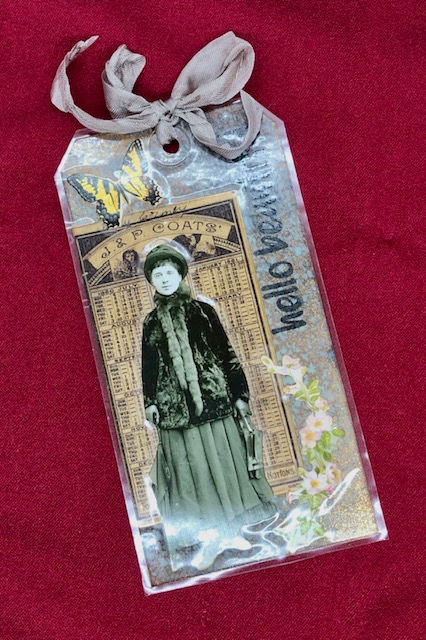
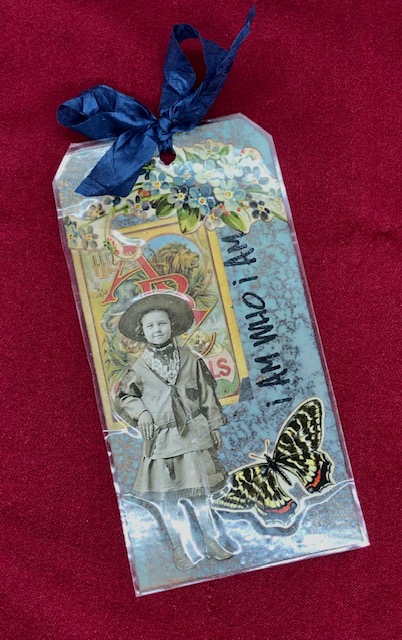
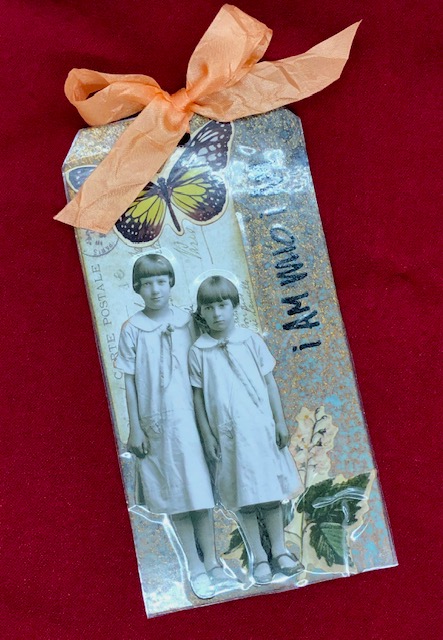
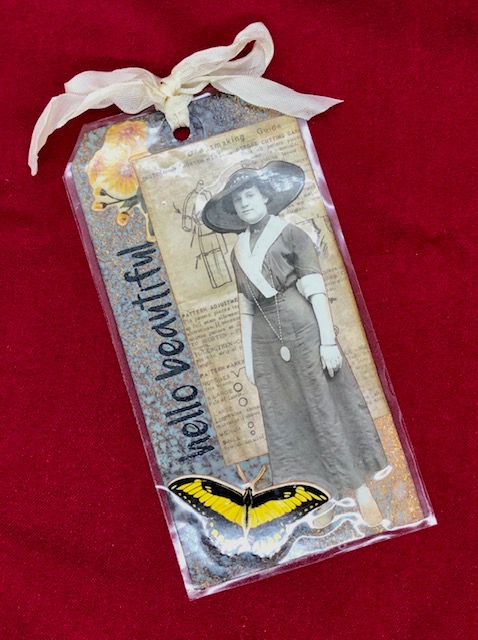
- I sprayed all the tags with the four colors listed above. I let them dry, splattered with water and let them dry again. (I am not sure how I forgot to take a picture of this step, but somehow I did). After they were dry, I chose ten paper dolls, decided where they would be on each tag, then stamped a sentiment (either ” I am who I am ” or “hello beautiful”) in versafine clair ink, then heat embossed with clear embossing powder.
2. Next, I chose a piece of ephemera for each paper doll to act as a “frame” to help them stand out from the tag.
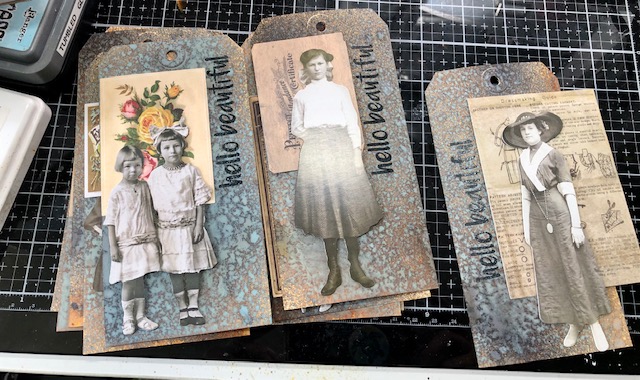
3. I chose two more pieces of ephemera for each tag- one floral and one butterfly. I didn’t worry if the pieces hung over as I planned to trim them to fit.
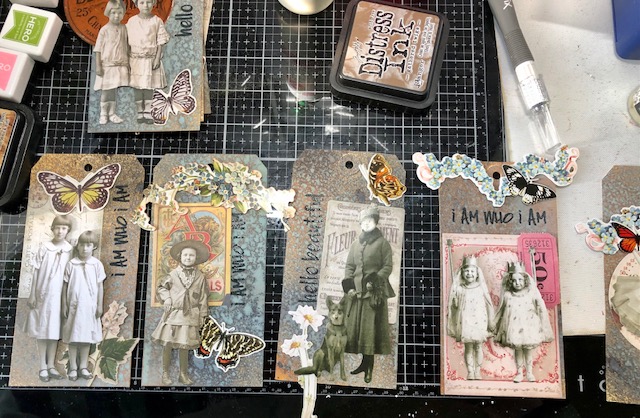
4. Once I was happy with each tag, I attached all the pieces down and trimmed any excess. NOTE: I inked the edges of everything with gathered twigs ink before attaching.

5. I finished the back of each tag by first gluing them down to card stock. I chose to use some that had just words printed on it. Then I trimmed them all down.
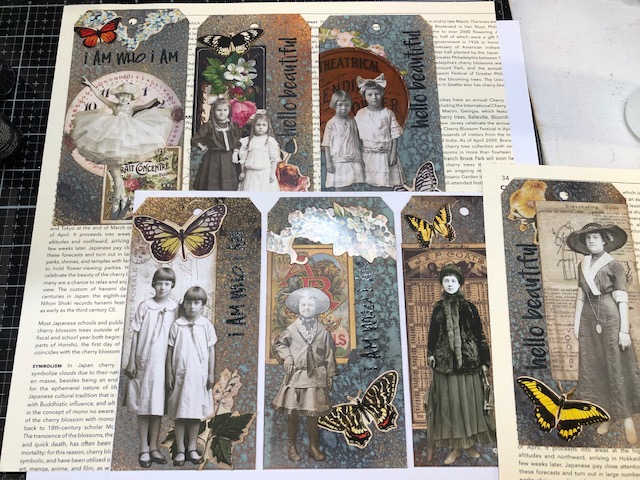
6. I then stamped them all with a stamp from Ultimate grunge in picked raspberry, plus a stamp with my name so they knew who it was from =)
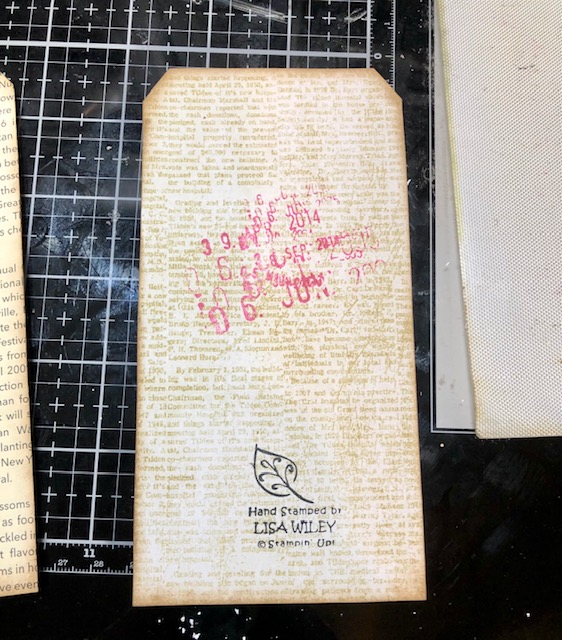
With that, the tags were pretty much done. I knew photographing them after I laminated them might result in more shine, so here they are pre-laminated.

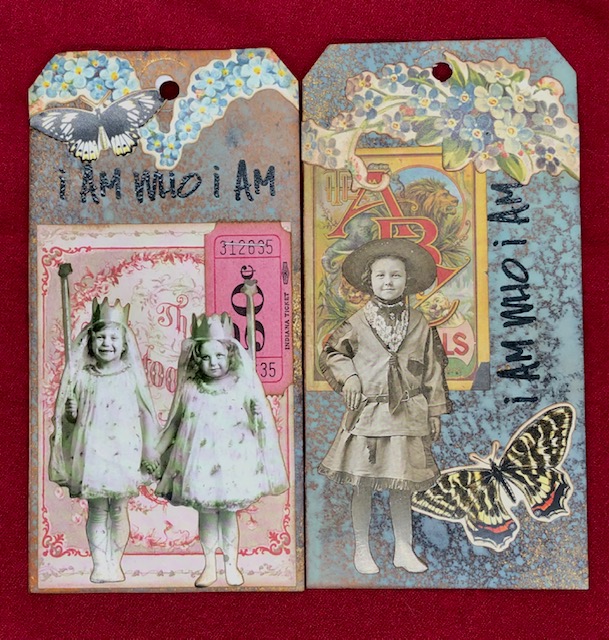
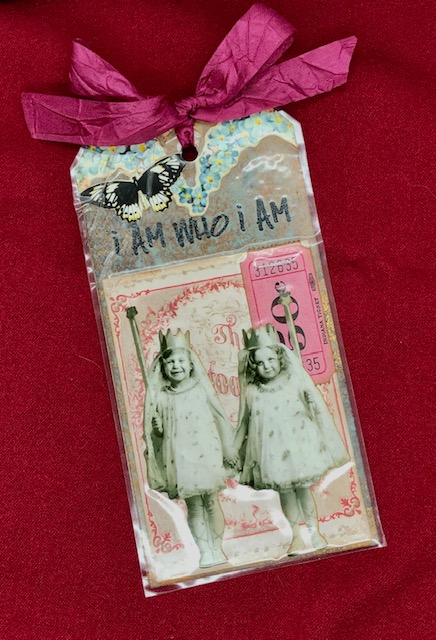
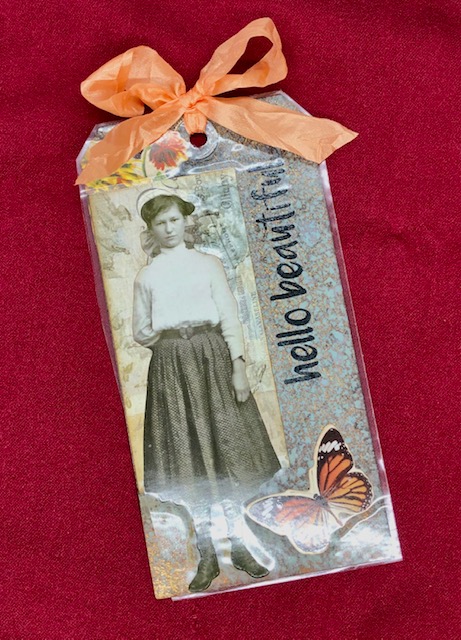
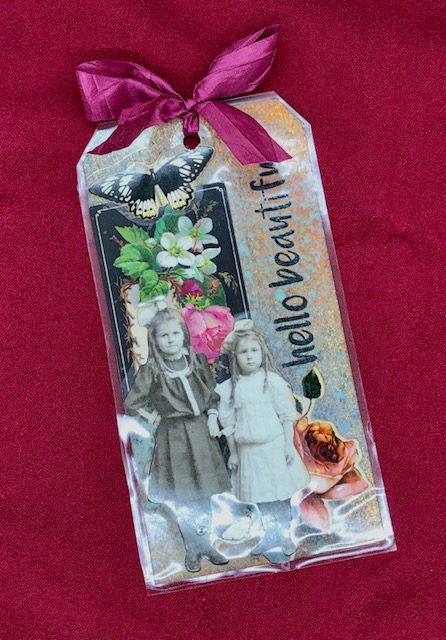
7. I laminated them all to make it easier to use as a bookmark. Then I tied each with a piece of seam binding. Here are the finished tags.
I hope you enjoy these. Once I had a plan, they came together fairly quickly. I am a fairly avid reader so I find bookmarks are always handy, as well as a nice little gift for a friend. Have a great week! –Lisa

So so so good! I love every one of them!
LikeLike
Those are REALLY nice! I wonder if the technique would work with old black and white photos? I have a box full of vintage photos of my parents, grandparents and various unidentified persons. It would be so cool to make bookmarks or Christmas tree hanging as gifts.
LikeLike