
I got these small containers at a local vintage fair. I have no idea what they were for originally or what they are made of. I immediately thought they’d be perfect for some small Christmas trees. Hopefully you can use some ideas here for containers you might find.
- Tim Holtz/Ranger Alloy ink in Foundry
- Tim Holtz/Ranger Distress Oxide Sprays in Weathered Wood, Iced Spruce, Twisted Citron
- Tim Holtz/Ranger Distress mica spray in Tree Top
- gesso
- Tim Holtz/Idea-ology baubles -TH94099
- Tim Holtz/Idea-ology bubbles-TH94180
- Tim Holtz/Ranger glitter in clear rock candy-TDR35879
- mica flakes
- journey glaze (similar to crystal effects etc)
- Tim Holtz/Ranger collage medium matte-TDA47933
- Tim Holtz/ Idea-ology tree lot trees, large TH94212
- Tim Holtz/Ranger distress crayon in picket fence
- Tim Holtz/Idea-ology mirrored stars -TH94207
- Tim Holtz/Idea-ology tiny lights -TH94019
- Xmas typed token (this is an older one and I am not sure they are made anymore)
- seam binding ribbon
- twine
- small container. These measure about 2 1/4″ tall, with a diameter of about 2 1/4″ on the top, tapering to about 1 1/4″ on the bottom
Steps:
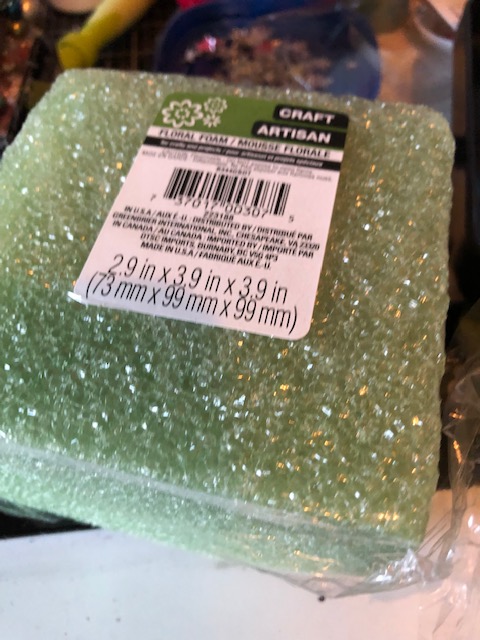
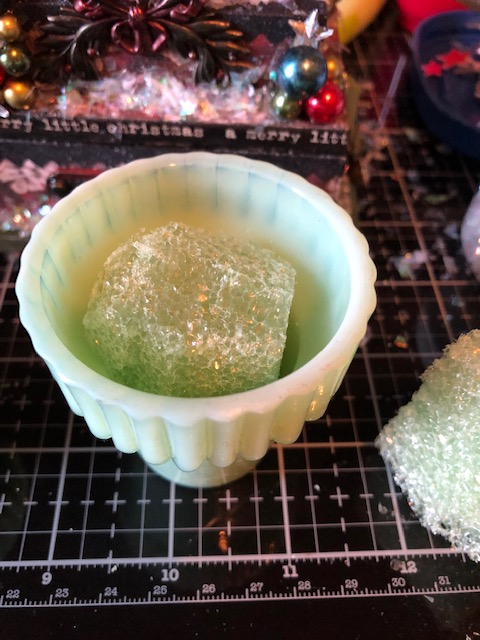
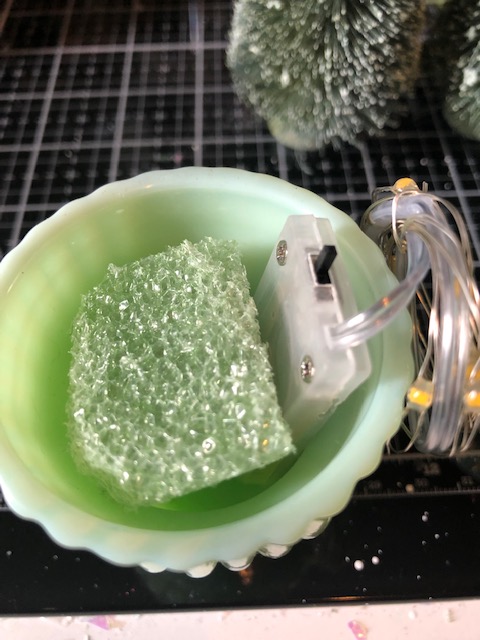
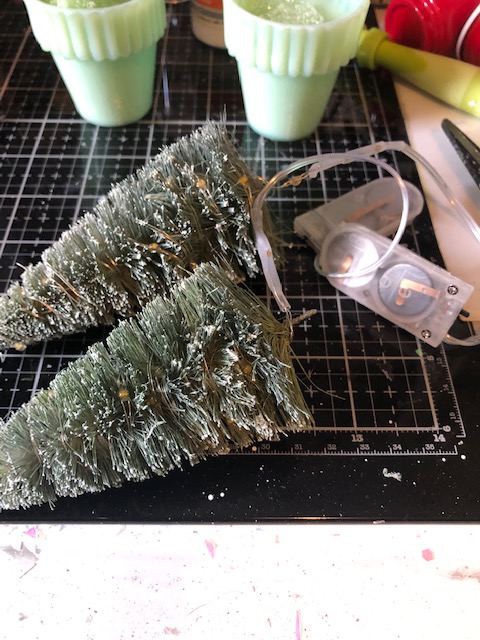
- In order to anchor the tree into the container without permanently damaging the container, I cut a piece of floral foam (this one is from the dollar store) to fit inside. I cut one edge off to fit the battery pack next to it. I used a glue dot to anchor the foam down. This should be pretty easy to remove if needed later.
2. Decorating the tree. To give a snowy look to my tree, I coated the tips of the trees with gesso. I just used my finger to lightly apply it. Let dry. Then I sprayed the trees with the oxide sprays and the mica until I liked the color.
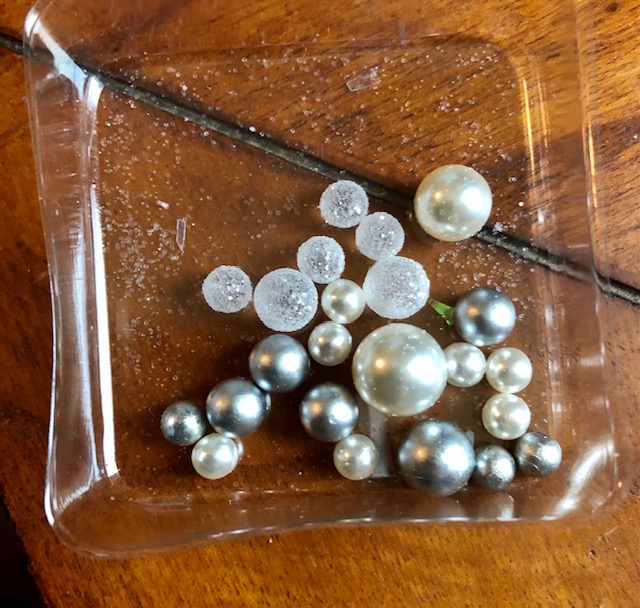
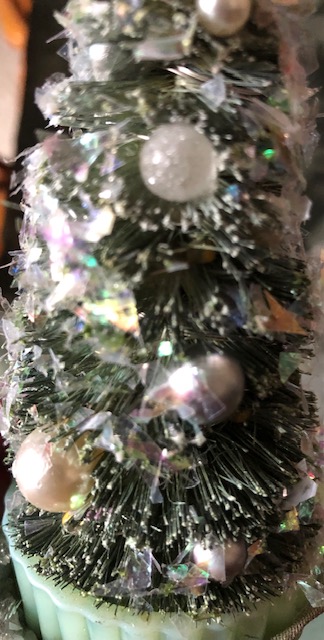
3. Using the foundry alloy ink, I dyed several baubles by putting them in a small cup, dripping a few drops on them and spinning them around to coat them. I rolled them out into another container to dry. For the bubbles, I coated them with glaze just using my fingers then dropped them in a small container containing rock candy glitter. I rolled these out into another container to dry as well. I also used some uncoated baubles on the trees.

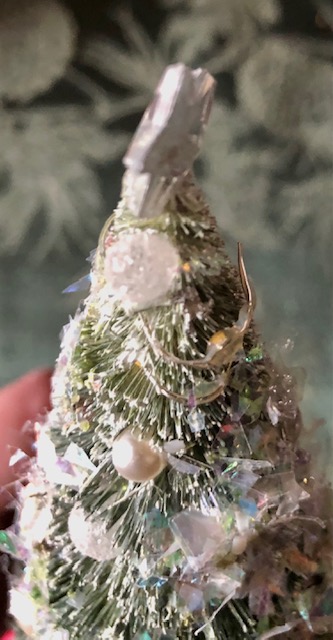
4. Once the trees were dry, I wound a strand of tiny lights around each one. Then I glued the finished baubles and bubbles all over the trees. Using my fingers I rubbed collage medium over the trees then blew glitter on them with my glitter duster as well as dropping mica flakes over the surface of the trees.
5. I applied a bit of glue onto the tree wire and poked them into the floral foam in each pot. I pushed them down far enough that you can’t really see the floral foam or the battery pack from the side.
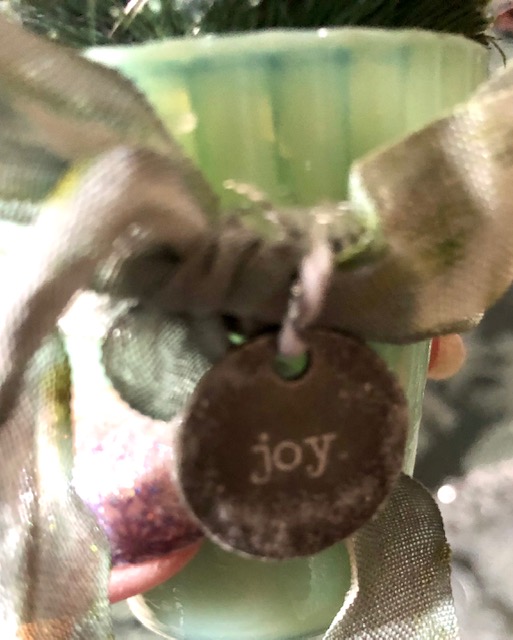
6. I dyed a couple of pieces of seam binding ribbon that I got a vintage fair, using the same colors that I used on the trees. I tied one around each container, using small glue dots to hold them in place. Using the picket fence distress crayon, I rubbed over the word on two typed tokens, rubbing off the excess with my finger. I rubbed glaze lightly around the edges of the two tokens then dipped them in rock candy glitter. Once dry, I tied them onto the ribbon with some twine.
7. I glued two mirrored stars back to back for each tree to make them 3D. Once dry, I glued one complete star to each tree top (so, used 4 stars total)
That’s it! Easy small project. Here are some close ups
Hope you all are having a wonderful holiday season! -Lisa

love the trees
LikeLike