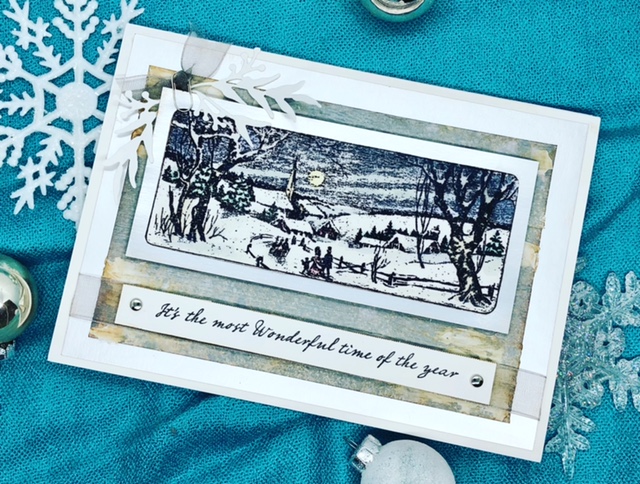
This is a card I did for a class. Though it has several individual steps, it goes together fairly quickly. As always, the silver card stock does not photograph well, but it is very pretty in person =)
Materials Used:
- Tim Holtz/Stampers Anonymous stamp set – Holiday Scenes CMS425
- Tim Holtz/Sizzix 3D embossing folder Lumber 662718
- Stampin’ Up! Frosted frames die (foliage pieces)
- Tim Holtz/Ranger frosted crystal embossing medium TDA78319
- Tim Holtz/ Ranger Texture paste matte TDA71297
- Tim Holtz/ Ranger Distress sprays in Pumice Stone, Frayed Burlap and Weathered Wood
- Tim Holtz/ Ranger distress inks (for coloring scene) in Vintage Photo, Antique Linen, Scattered Straw, Evergreen Bough, Victorian Velvet, Festive Berries, Pumice Stone, Chipped Sapphire
- Tim Holtz/ Ranger distress oxide in weathered wood (also for coloring scene)
- Mixed Media paper
- Silver card stock
- Sheer grey ribbon
- small paper clip
- silver brads
- clear embossing ink
- Black archival ink
Steps:
- Make a 5″ x 7″ card base out of white card stock (I also did a 5′ x 7″ piece of mixed media card stock to cover the front as well because the whites were slightly different, and it bothered my OCD self but that is completely optional). Cut a 4 3/4″ x 6 3/4″ and a 2 1/2″ x 5 1/2″ mat from the silver card stock. Finally cut a 4″ x 6″ piece of mixed media card stock.
- Working with the 4″ x 6″ piece of mixed media card stock, I sprayed it using Pumice Stone, Frayed Burlap and Weathered Wood. I just did a light, random spray just to give it color. Once it was mostly dry, I ran it through my Sizzix with the Lumber embossing folder. After it was completely dry, I randomly scraped some texture paste over sections of it using a palette knife

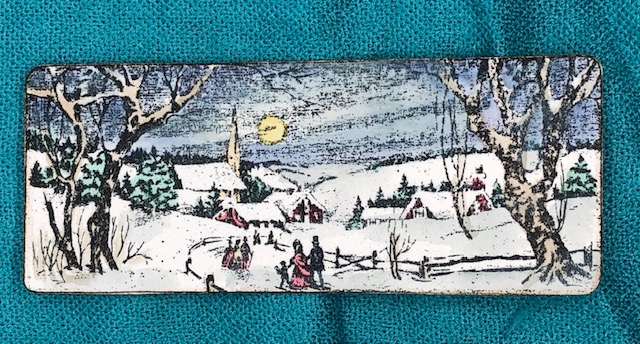
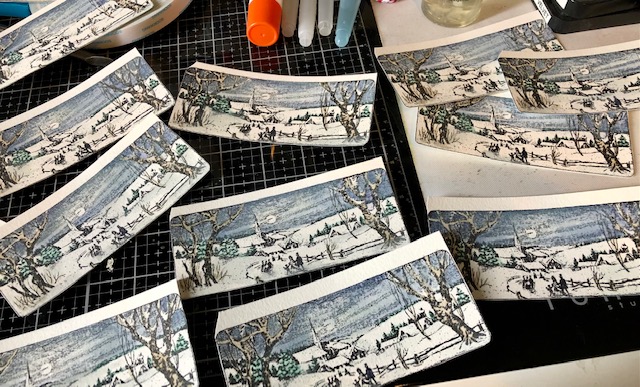
3. Stamp the holiday scene onto mixed media or watercolor paper, masking off the sentiment and stamping it onto a separate piece of paper (5 1/2″ x 5/8″). Fussy cut the the scene and place brads on each end of the sentiment piece. Using a water brush and various distress inks, color the scene. I used a very light touch to just get a touch of color but not over saturate the scene.
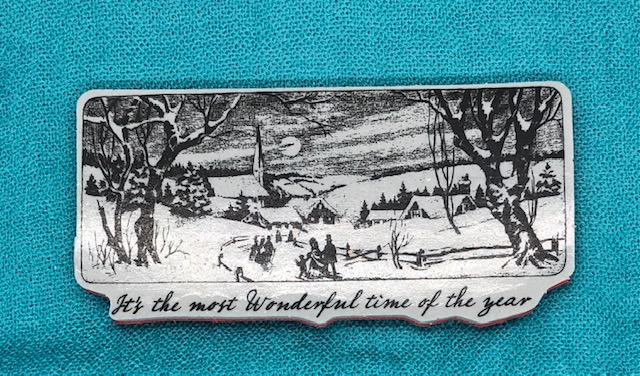

4. Optional: Once the scene was dry, I pressed my embossing ink over the entire scene and coated it with the Frosted Crystal embossing powder and heat set it. It is very difficult to see in the pictures but it gives a very subtle shine and texture to the image. Once this piece is dry mat it to the smaller silver mat.
5. Adhere the Lumber piece to the center of the larger silver mat. Adhere a piece of the sheer grey ribbon to the bottom of the lumber piece approximately 3/8″ from the bottom of the lumber piece. Wrap this to the back of the silver mat before adhering it to the card base. Pop up the matted scene and the sentiment to the lumber piece using foam tape.
6. Tie a small piece of ribbon to the mini paper clip and clip it to the upper left corner of the matted scene. Cut two pieces of foliage from white card stock and glue them to the upper left corner, adjusting the leaves as necessary.
With that, the card is complete. I did add a sentiment to the inside of the card. Hope you like it! Have a great week! –Lisa
