
This project started as an experiment to see if I could take a Colorize die and make it look like a wood carving. I have been following a former Disney artist who lives in Northern CA named Raymond Kinman (you can check him out on FB or Instagram woodcarverguru) and I was inspired to try it. I really like how it came out and it wasn’t difficult at all. I hope you experiment with some of your dies.
Materials Used:
- Tim Holtz/Sizzix Santa’s Wish colorize (664745)
- Tim Holtz/Sizzix Festive Words (665575)
- Tim Holtz/Sizzix Texture Fade- Woodgrain (656644)
- Tim Holtz/Idea-ology ETCETERA Trims Scallop (THETC008)
- Tim Holtz/Idea-ology Vignette panels (TH93295)
- Tim Holtz/Idea-ology Trim tape Halloween (TH94078)
- Tim Holtz/Idea-ology Layers Baseboard Frames Christmas (TH94017)
- Tim Holtz/Idea-ology Ephemera Pack Christmas (TH93627)
- Tim Holtz/Idea-ology Mini Hardware set (TH94123)
- Tim Holtz/Idea-ology green velvet trim (TH94113)
- Tim Holtz/Ranger Distress texture paste Icicle (TSCK78227)
- Tim Holtz/Ranger distress crayon – vintage photo and black soot from set #3
- Tim Holtz/Ranger distress ink in Vintage Photo
- Tim Holtz/Ranger textured grit paste
- Tim Holtz/Ranger collage medium
- acrylic paint in red, green, white and black
- chain (just bought some chain from the jewelry section at Michaels)
- eye screws (from a picture hanging set)
- wood snowflakes (these are super old ones I’ve had in my stash for years)
- white fun foam (readily available at most craft stores)
Steps
- I first embossed some watercolor paper sheets using the woodgrain embossing folder. Then I cut out all the pieces of my Santa twice, once out of the embossed watercolor paper and once from white fun foam. (you can cut first and emboss second if you like. My embossing did get a little flattened out when I die cut it so if you want it more pronounced I would cut first)

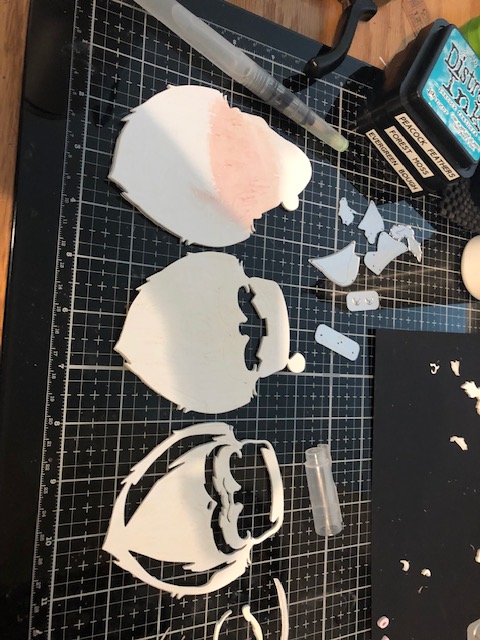
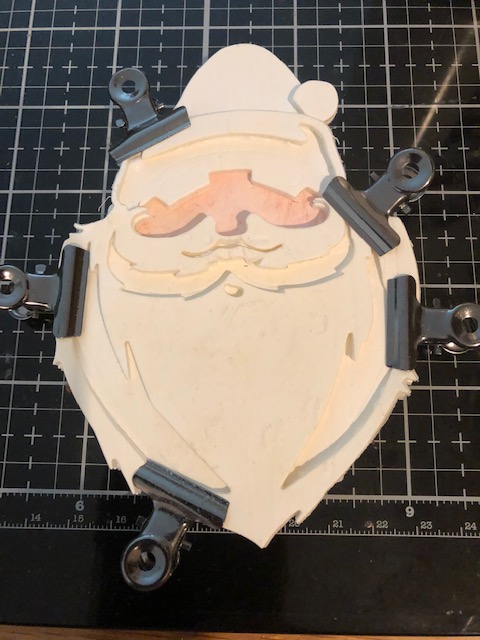
2. Layer each paper piece to it’s corresponding white foam piece and attach. NOTE: Do not layer your paper nose circle piece to a piece of foam. It looked too weird sticking out so far, so that is the ONLY piece that is not layered onto a foam piece. Then start assembling your Santa following the Sizzix video as needed. I held my Santa together with hinge clips while it dried.
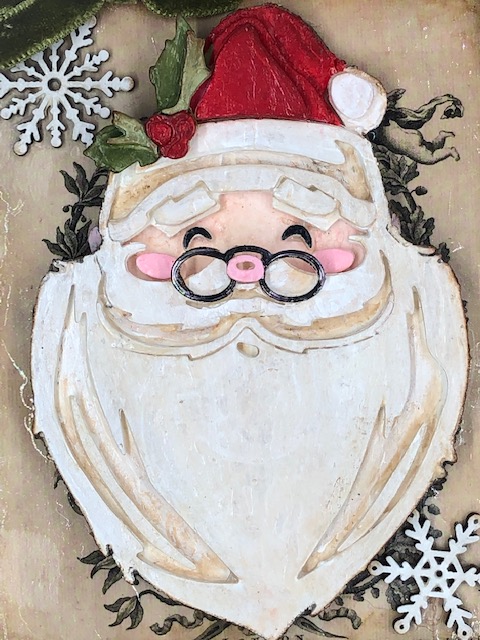
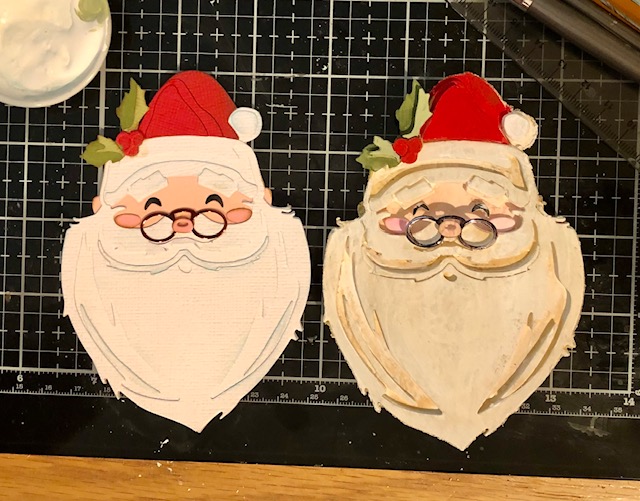
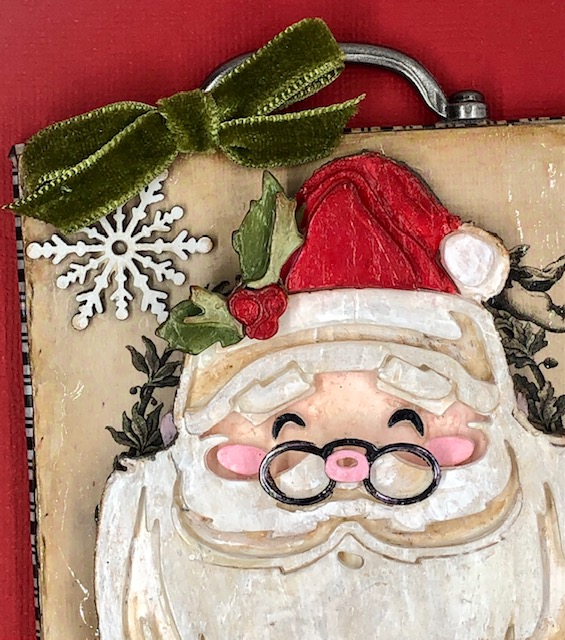
3. Once it was dry, I filled in the edge of my Santa with textured grit paste (you could also use regulare texture paste, I just happened to be out of it at the time…lol). Then, using acrylic paints, I painted him to get nice bright colors. Then to “antique” him and bring out the wood grain, I brushed over him using watered down Vintage Photo Ink and a small paint brush. Note the little pink nose is not popped up with foam…trust me, it looked weird with foam…lol

4. I used two of the vignette panels that come in a pack- the 4″ x 5 1/2″ one and the 3 14″ (approx.) x 2 1/16″ one. I painted them pale blue and inked them with watered down vintage photo and finally splattered them with gesso. Originally these were going to be the front….
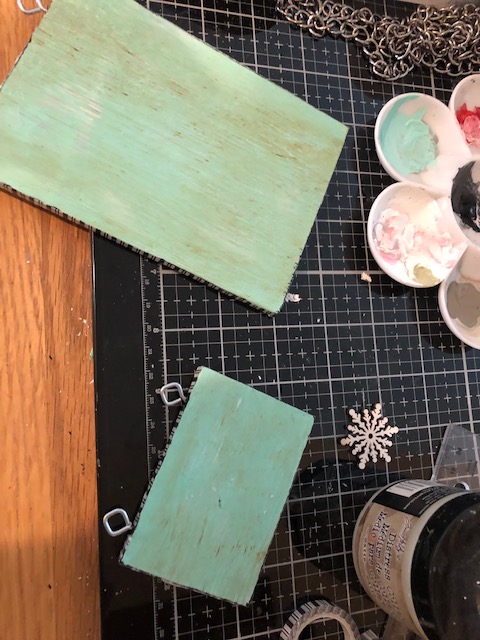

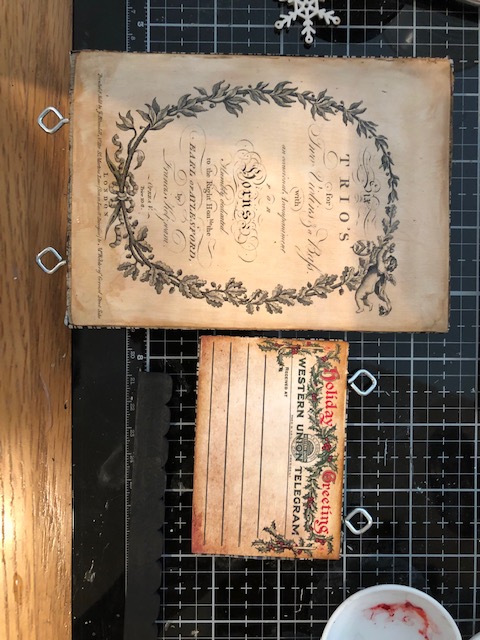
5. Instead the front became the side where I adhered a baseboard and a piece of ephemera. (Nothing ever ends up how you originally plan lol). I distressed this with Vintage photo and then, I coated the panels with a layer of collage medium. Once that was dry I applied a layer of the icicle texture paste. The cracks are very difficult to see in photos but they are there . I also painted one of the scalloped trims green and applied the crackle to this piece as well. On the trim piece, once it was dry I went over it with Black Soot distress crayon to really see the cracking. I inserted eye screws in the small panel first then into the large panel making sure to match up the screws how I wanted to hang them. I trimmed each piece with trim tape for a nice finished edge.
6. I cut out the “JOY” from the festive word set twice- again from embossed watercolor paper and fun foam. I adhered them together, painted them and filled in the side with grit paste using the same method as the Santa. This got attached to the smaller vignette panel. I painted three snowflakes white and adhered them around the Santa and the joy panel. The green trim piece was attached to the bottom of the Santa panel. I then went over the entire project with collage medium to have a nice uniform finish.

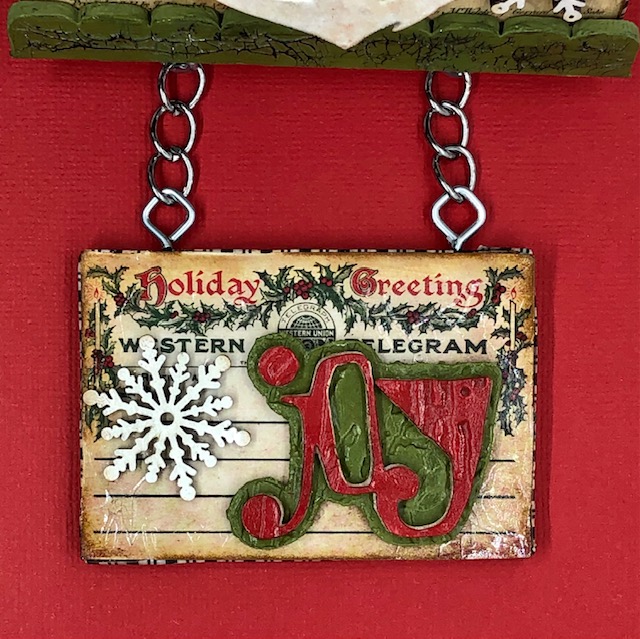
7. I attached the two panels together using 4 links of chain. Then I attached the drawer pull from the mini hardware set to the top of the large panel. I glued a green velvet bow to one side of the handle and filled the holes on the handle with a couple of brads that I cut the arms off of.
That is it for this project. I really like how it turned out and I hope you do too! Have a fantastic week! – Lisa

Love love love this!
LikeLike
Thanks Renee!
LikeLike