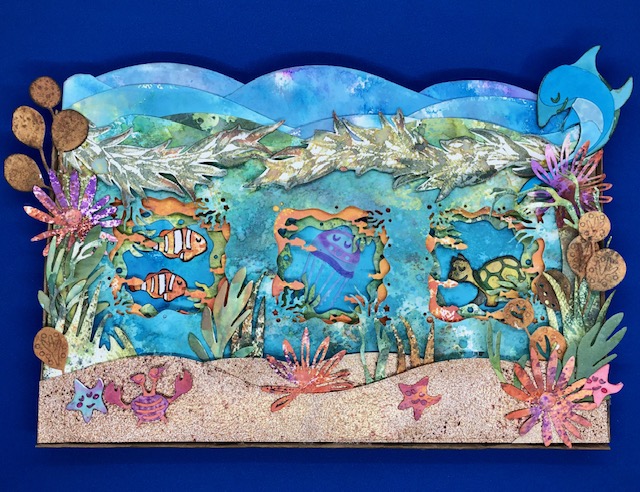
This week I have a project that I have a love/hate relationship with…lol. It took me a long time because I kept running into creative blocks with it. I finally finished it and I think I like it but it’s one of those things where it took so long, with so many issues that I may need to re-look at it in a few weeks to really decide.

Materials used:
- Tim Holtz/Sizzix Under the Sea Colorize #1 and #2 (665377 and 665378)
- Tim Holtz/ Sizzix Funky Floral Large (664158)
- Hero Arts Looking Glass Die- Underwater Reef (DI896)
- Tim Holtz/Sizzix Stacked Squares 9664438)
- Fun Stampers Journey Fresh Foliage Stamps and dies (SS-0559 and DI-0415)
- Hero Arts Alignment Tool HT207
- Hero Arts Sand embossing powder
- Clear embossing ink
- Distress Oxides in several colors including Tumbled Glass, Salty Ocean, Broken China, Speckled Egg, Rustic Wilderness, Seedless Preserves, Worn Lipstick, Vintage Photo, Candied apple, Stormy sky, Rusty Hinge etc etc
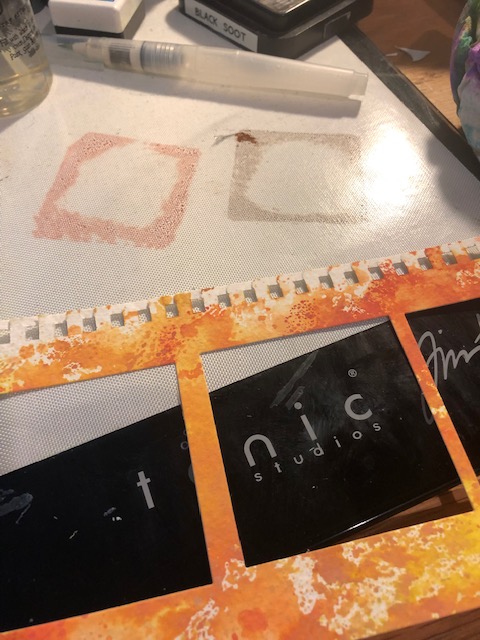
- Distress Ink in Black Soot
- chip board
- Spellbinders embossing folder- Blistered (SEL-007)
Steps:
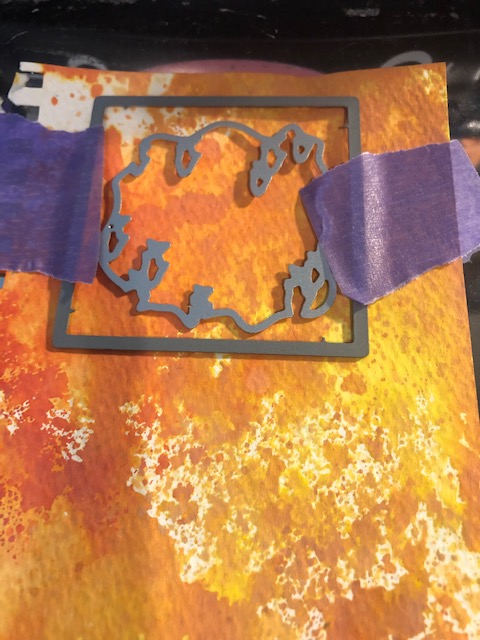
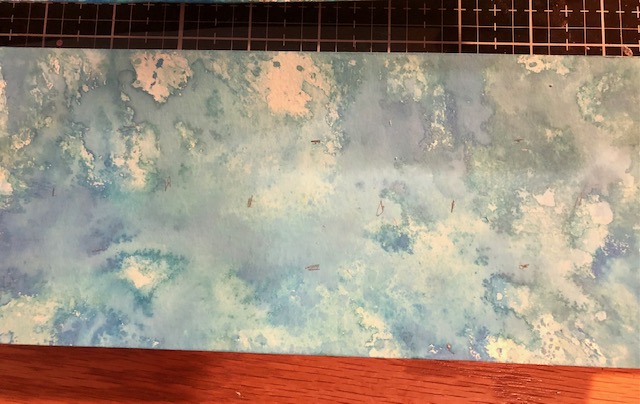
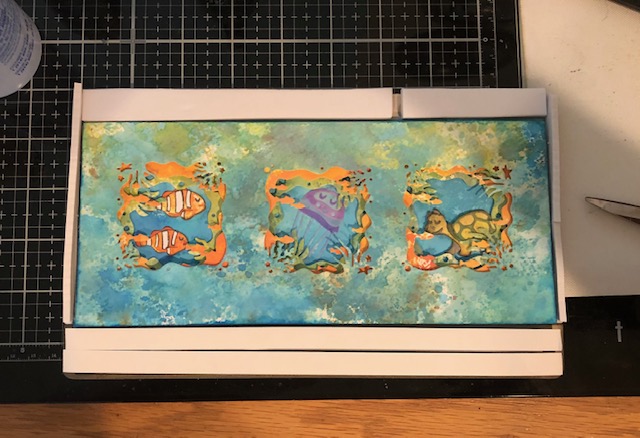
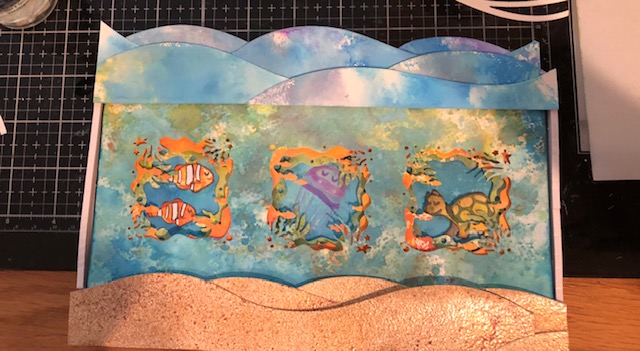
- Make several backgrounds using a variety of distress oxides and water. I tried to make one in blues/greens for the ocean waters, one is mainly greens for the plants and one in oranges to some of the fish and flowers. This project started out as a slimline card so, these panels measured approximately 3 3/4″ x 9 1/4″. Choose one of the blue panels as your background piece which will not be cut, and one for your foreground piece to be cut with one of the looking glass layers.

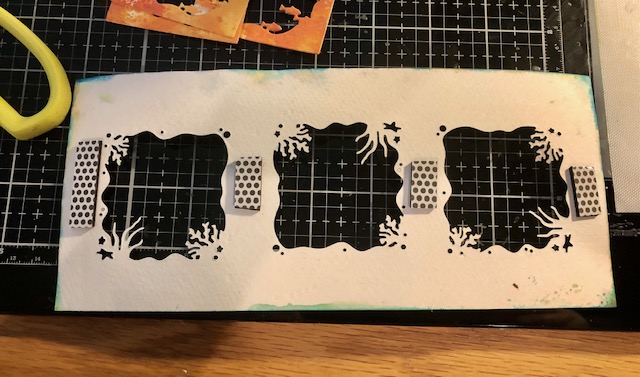
2. Using the alignment tool mark on your foreground panel where your windows will be. I used the smallest stacked square dies to punch out a small square for aligning the Looking Glass die.


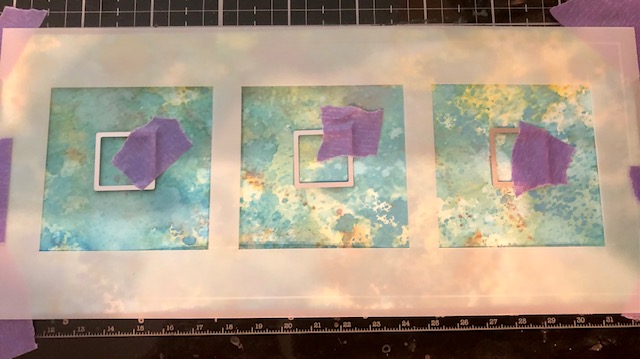

Use the squares to align the looking glass die and punch out each one. I rotated the die to make them look slightly different.

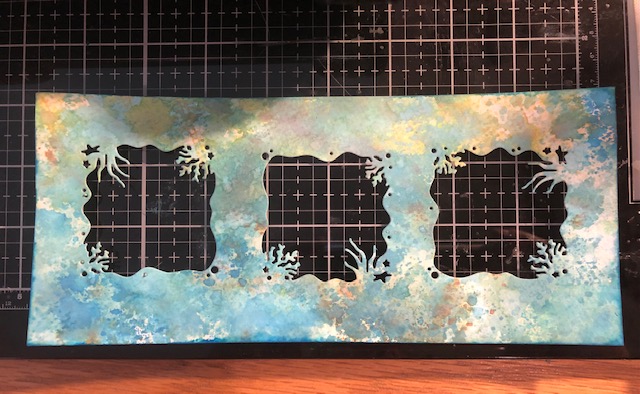
For the other two layers use an appropriate stacked square to layer in the other looking glass dies. These will be mounted behind the above complete layer. Set these aside for now.


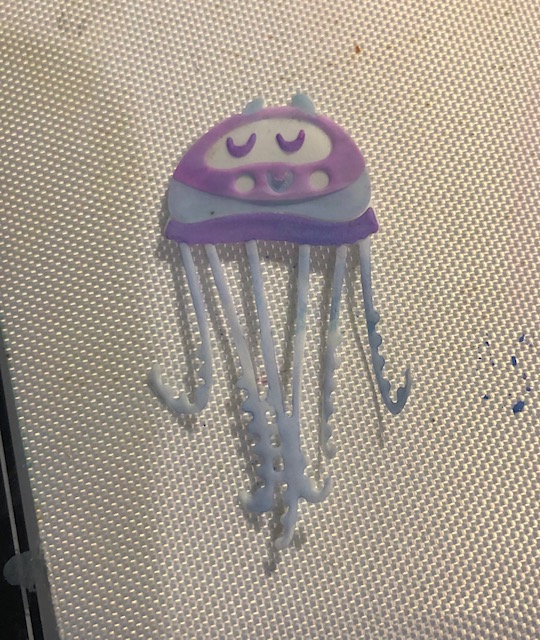
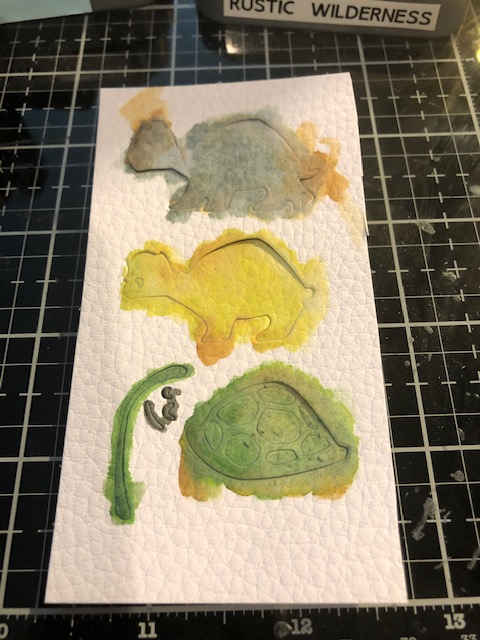
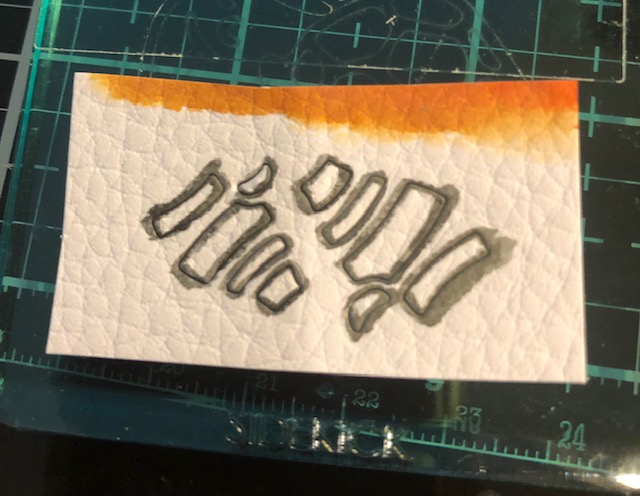
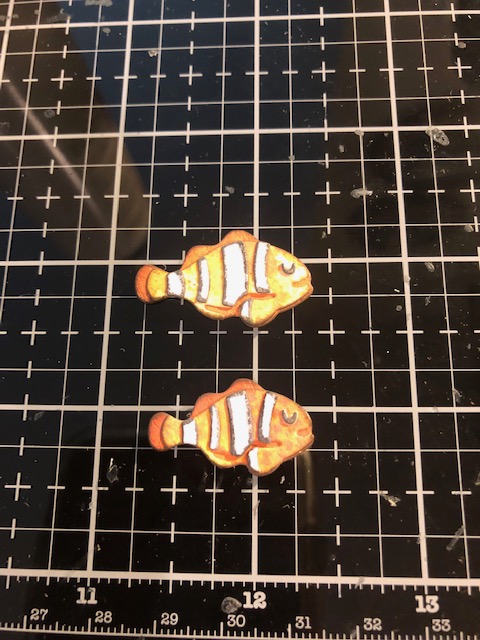
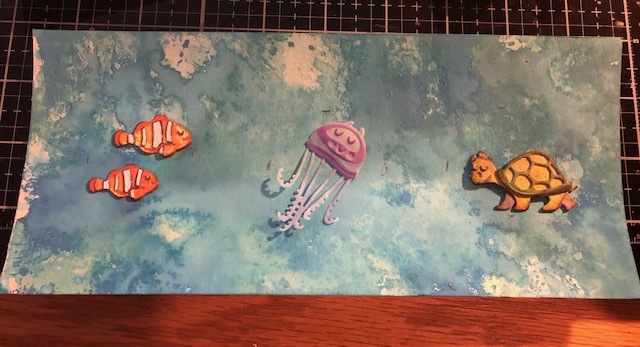
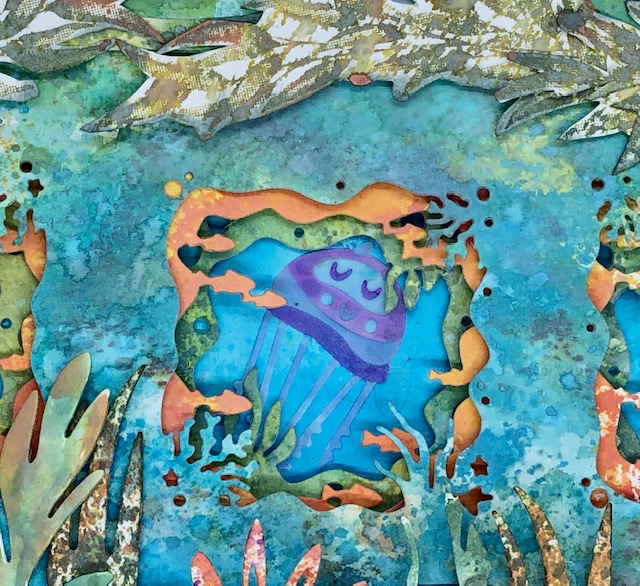
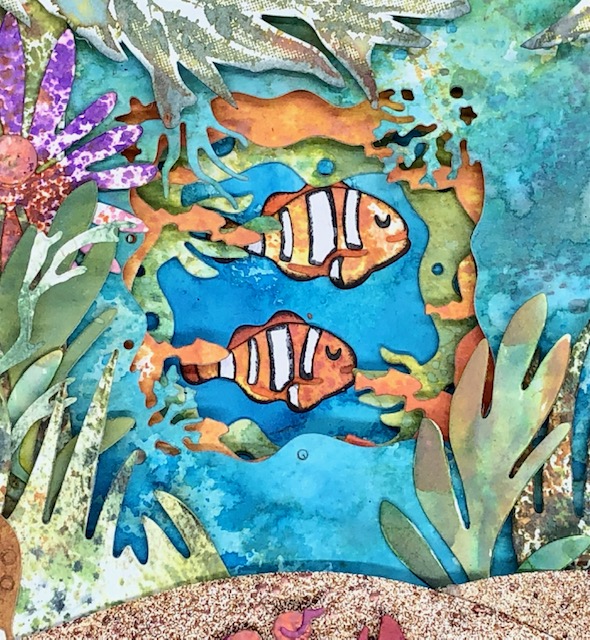
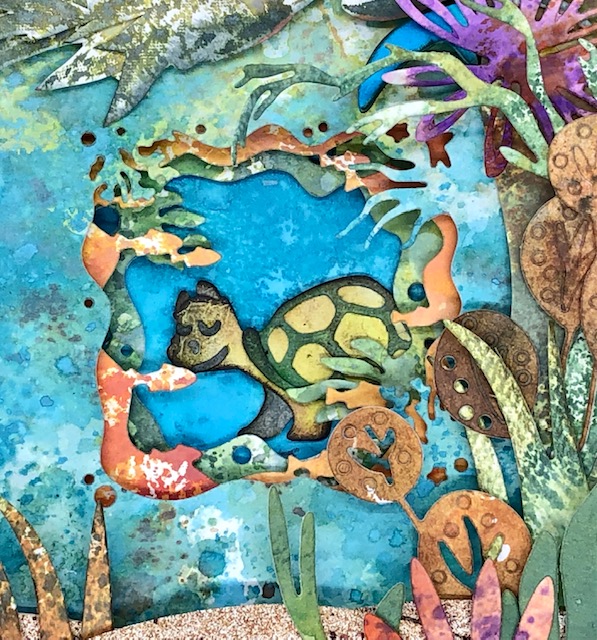
3. Use scraps or make new background papers to make your critters. For the jellyfish I used oxides to color on some vellum. For the turtle I cut him out of plain white distress leather card stock and used a water brush and oxides to color each piece. For the white stripes on the clown fish, I tinted the edges of the stripes in black soot before I took them out of the paper.


4. I again used the alignment tool to figure out the placement of my featured critters on the back ground piece from step 1. Once you are satisfied with their placement, you can attach them to the back ground piece.
5. Use foam tape to pop up the two additional layers

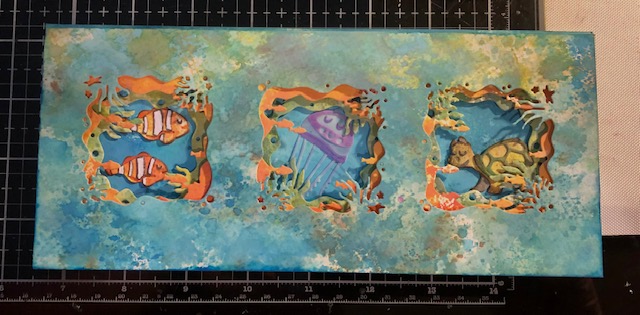
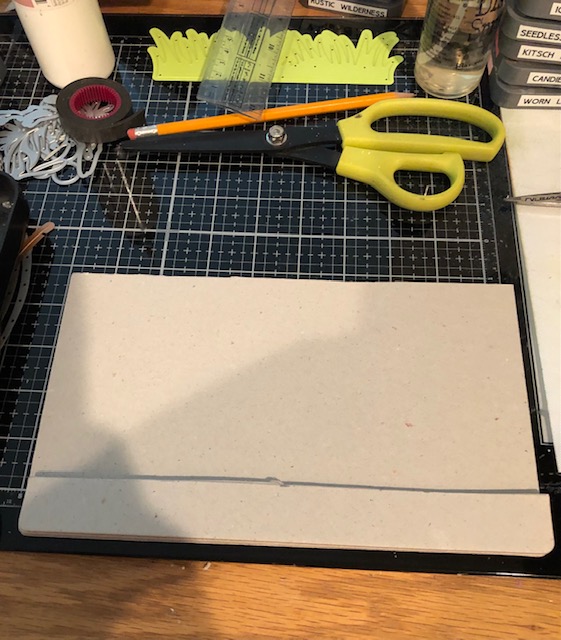
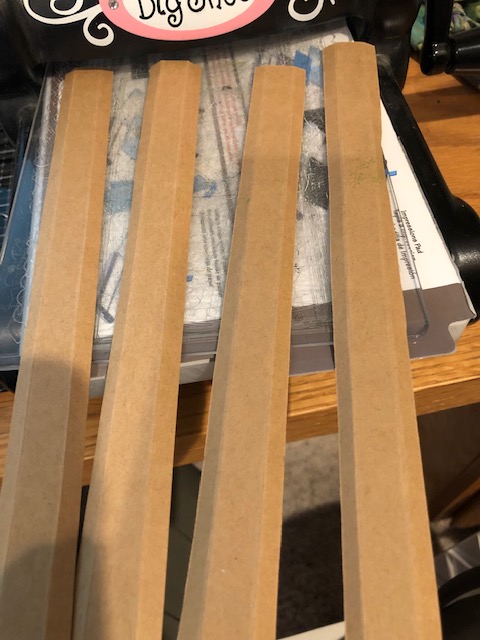
6. I decided at this point my card would become a decorative piece instead. I decided to mount it on chipboard for sturdiness so the next steps involve that. If you would rather leave it as a card, you can stop here and just mount it to a card base. From chipboard I cut a piece 9 1/4″ x 5 5/8″. I then cut several 1″ strips (x 9 1/4″) to build up the bottom until the seascape could rest at the same level. I inserted the seascape, mounted more chipboard (approximately 3/4″ wide) along the top and filled in all of the sides with foam tape strips.
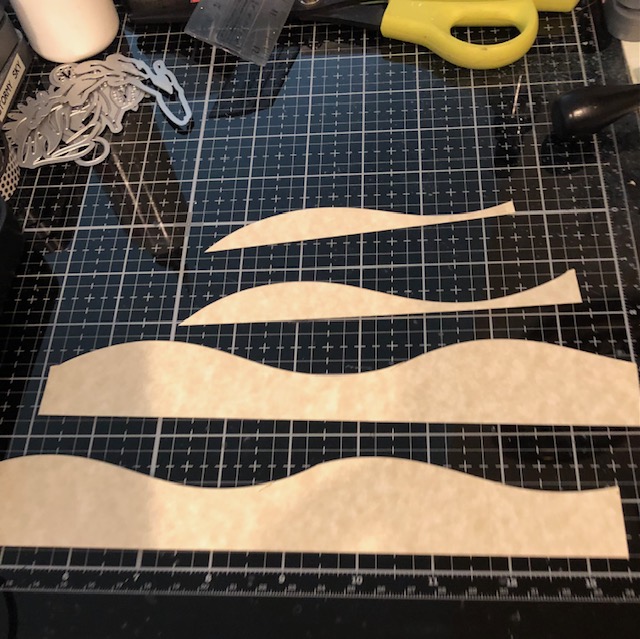
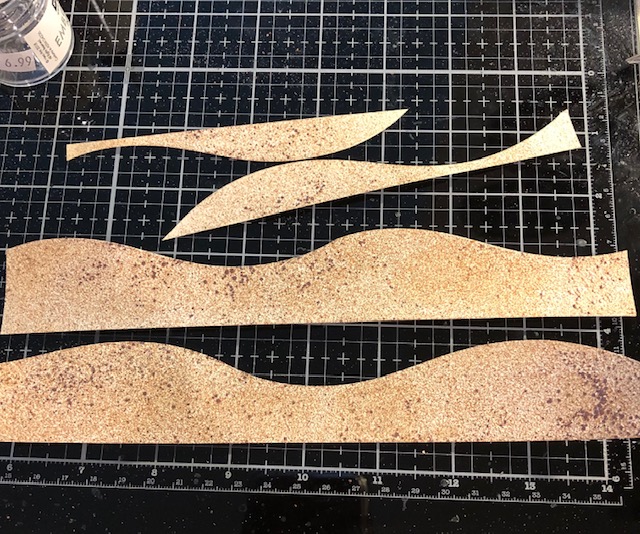
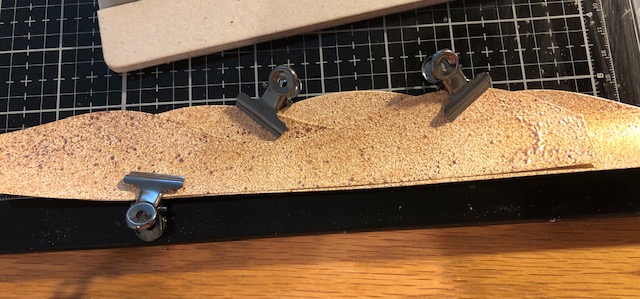
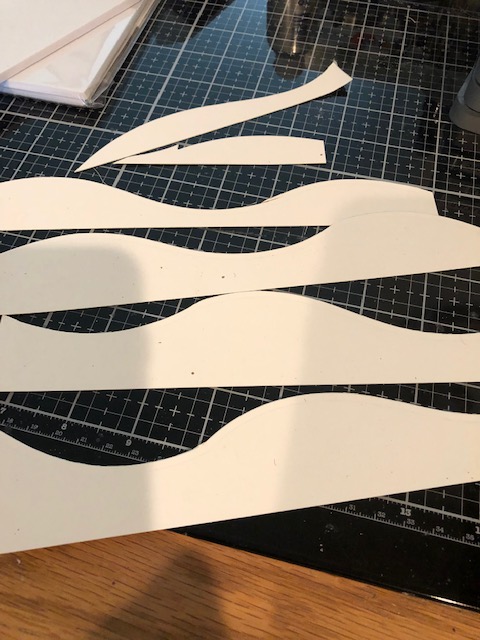
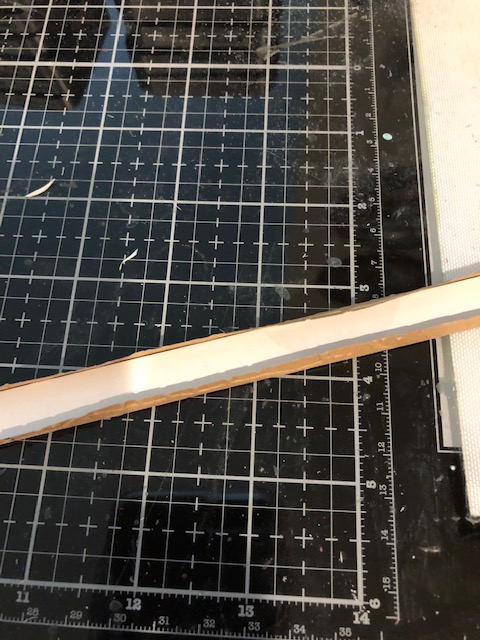
7. I cut some wave strips from ivory parchment card stock and embossed them twice with sand embossing powder. It really looks like sand in person. I distressed the edges with Vintage Photo. I cut more wave strips from watercolor paper inked in various blues and purples. I then layered these pieces along the top and bottom of the seascape.

8. Time to make some decorations. I used oxides to dye water color papers and cut out a variety of plants and flowers. I also used some to cut out the crab and a few starfish.

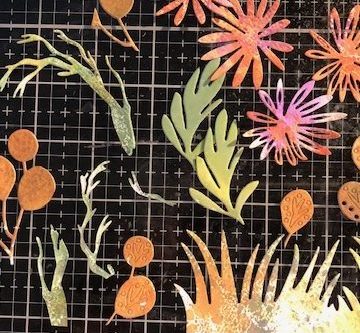
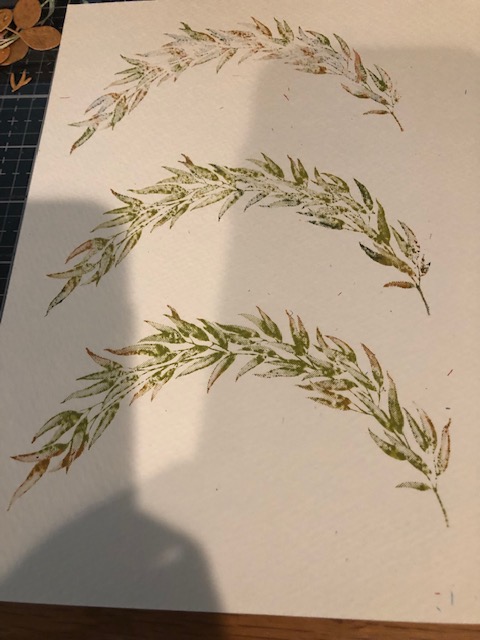
9. I stamped the FSJ foliage arches in a few distress oxides and spritzed them with water. Once dry I die cut them out and distressed the edges a bit.
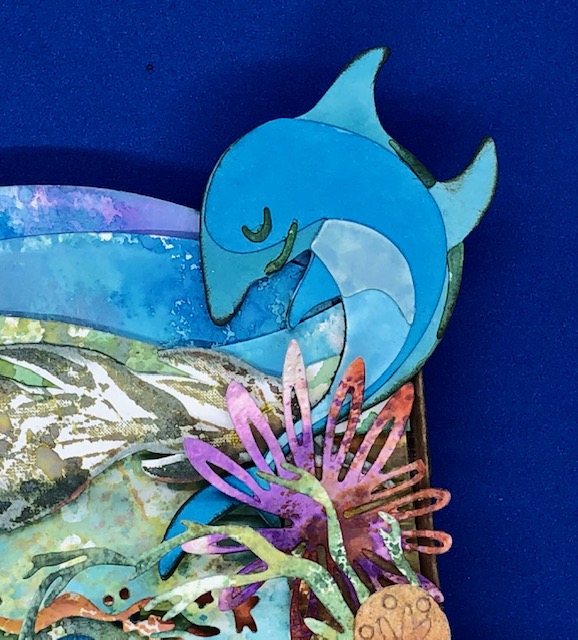
10. Add foliage, flowers, the arches and the other small critters to the scene, being sure to cover any foam pieces along the side, as well as the seam along the top of the seascape. In addition, I added a dolphin to the top right corner.
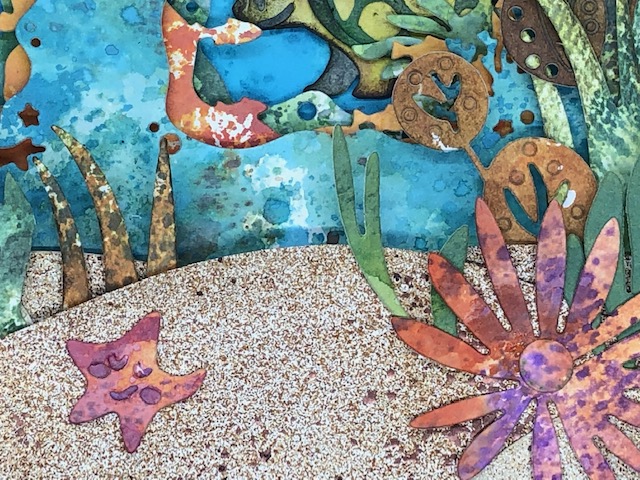
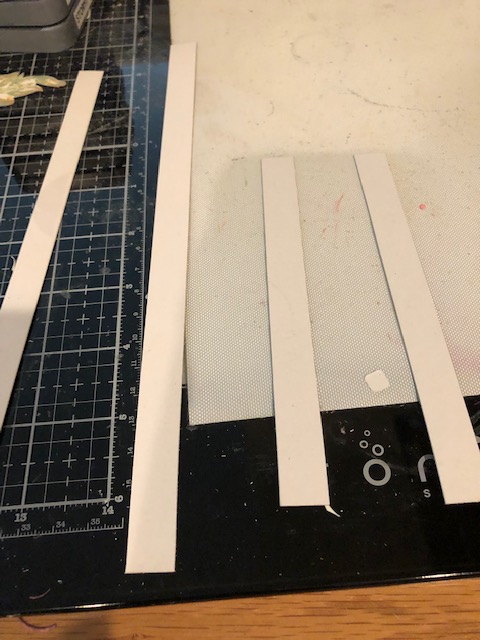
11. Optional. To cover the sides and make it look a little tidier. I cut thin chipboard strips and covered them with card stock embossed with the Blistered folder and distressed in Vintage Photo. I used these 1/2 ” strips to cover the sides and hide any foam.


That is it for this one! I hope you liked it even if it seems a little scattered to me…lol. Have a fantastic week! – Lisa
