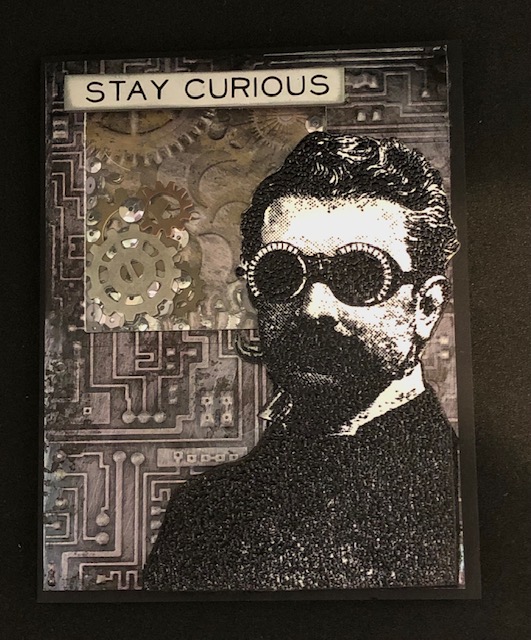
It’s the time of year for graduations! This card is for the son of a friend of mine, who is graduating high school this year. It’s a shaker card that came together fairly quickly. The finished size is 4 1/4″ x 5 1/2″ .
Materials used:
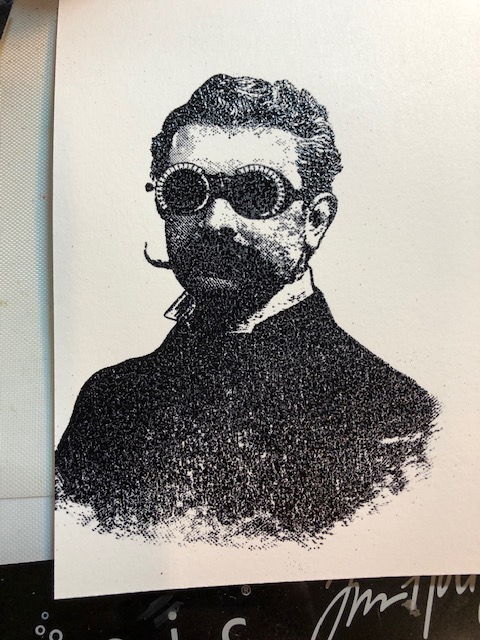
- Tim Holtz/Stampers Anonymous The Professor CMS395
- Tim Holtz/Stampers Anonymous The Journey CSS25900
- Fun Stampers Journey Inside and Out SS-0576
- Spellbinders Tagged Pocket Die DI-0001
- 3 1/4″ and 2 3/8″ square dies (this is an old Stampin Up! set)
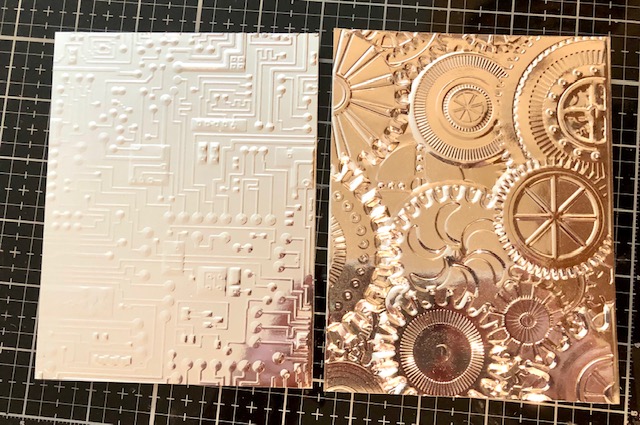
- Tim Holtz 3D embossing folders – Circuit 665372 and Mechanics 662715
- Quote Chips TH93563
- Ranger TH alcohol inks- Pitch Black, Gold Mixative, Mushroom
- Ranger Alcohol Ink surfaces- Foil TAC45793
- Ranger Distress Ink in Black Soot
- Ranger Archival Ink- Jet Black
- Black embossing powder
- silver sequins and metal gears for shaker contents
- piece of acrylic sheet (old packaging works great for this if you don’t want to buy sheets)
- foam tape
- black card stock
- piece of thin, black fun foam
Steps: Note: Distress all edges with Black Soot Distress Ink
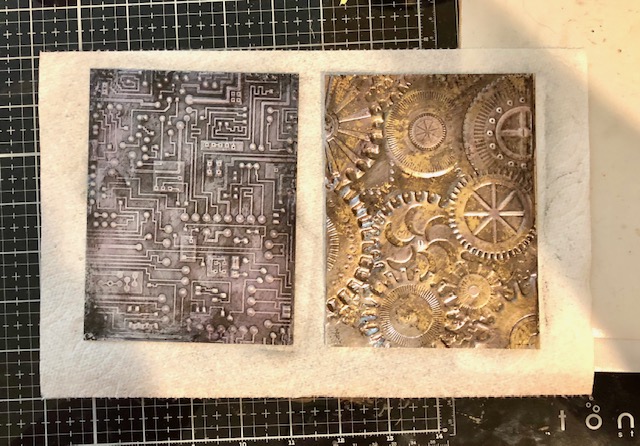
- Emboss two of the foil surface sheets, one with Circuit and the other with Mechanics. These are both silver, despite how the picture looks =). Trim the circuit piece to 4″ x 5 1/4″
2. Rub pitch black alcohol ink over the Circuit piece, using a dauber and a felt applicator, (dripping the alcohol ink onto the felt). Drip pitch black, mushroom and gold mixative onto another felt piece and use this mix on the Mechanics piece (gears).
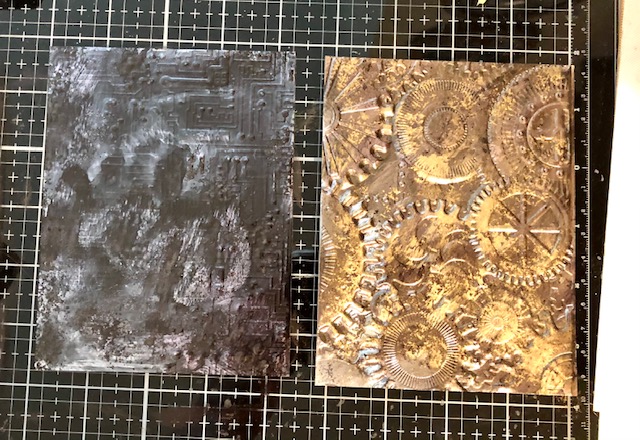
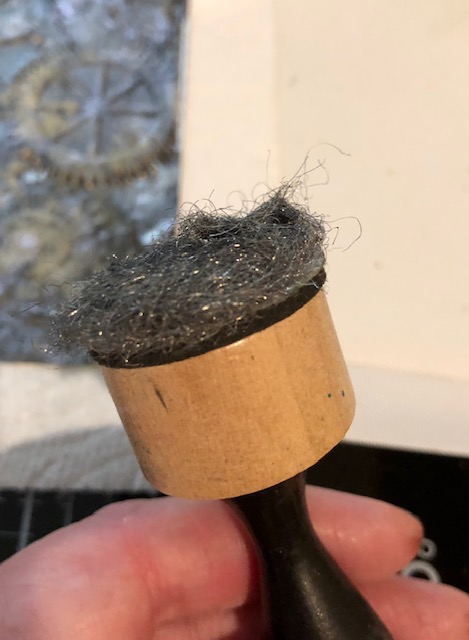
Once dry, rub both pieces with steel wool. I followed Tim’s advice and attached a small piece of steel wool to a dauber. Add inks and rub off until you get the look you want.
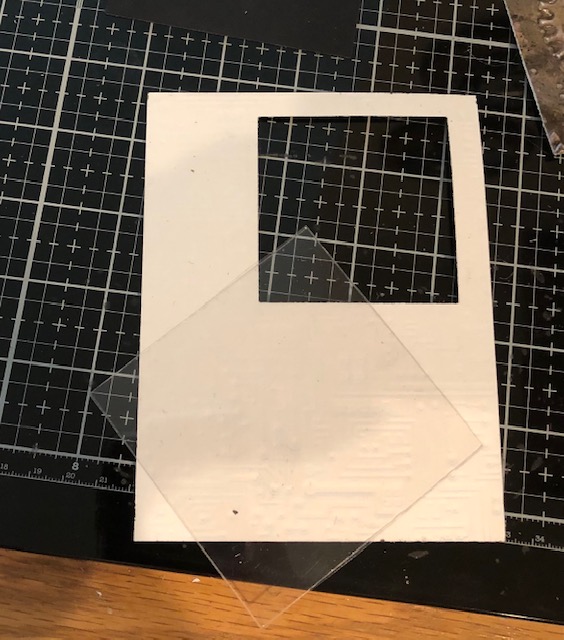
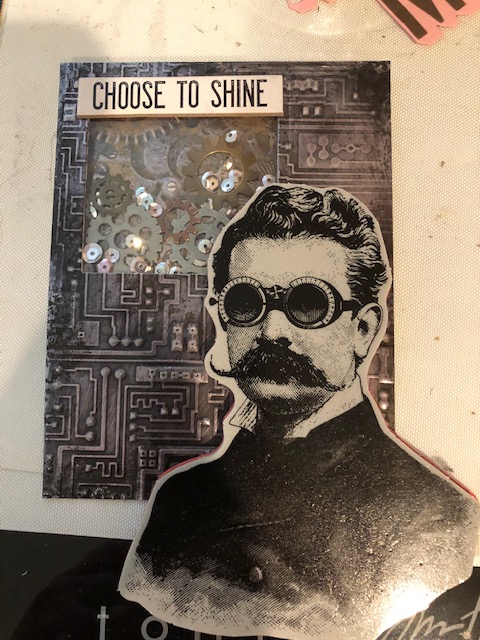
3. Using the larger of the square dies, cut a square from the Mechanics piece. Using the same square cut a piece of acrylic sheet. Then using the smaller square, cut your window out of the Circuit piece in the upper left corner. I realized afterwards that I should have distressed the inner part of the cut out with Black Soot, so do that now if you’d like.

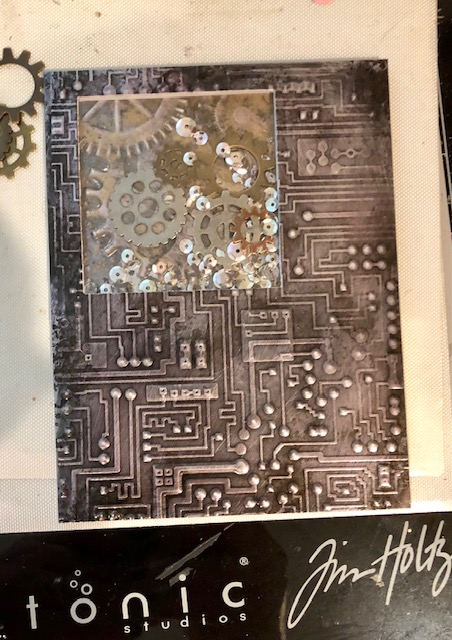
4. Make your shaker. Attach the piece of acrylic to the back of the circuit piece over the window. Outline the window with foam tape, making sure there are no holes for wandering sequins to escape. Add a small pile of gears and sequins to the center of the square. Remove the foam tape backing and add the square from Mechanics to the back of the window.
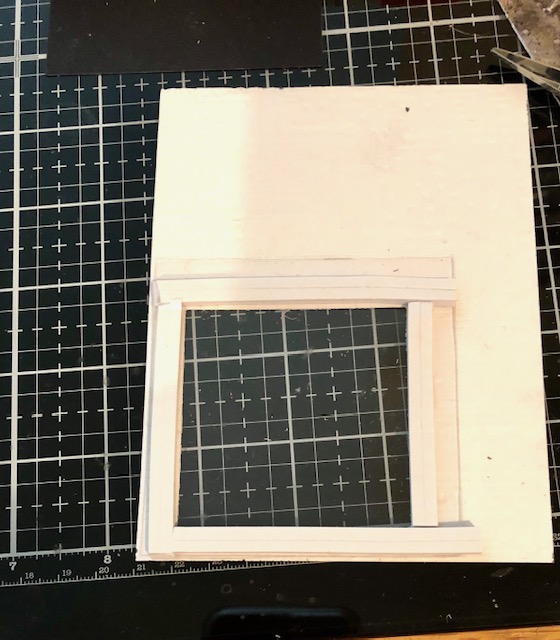

5. Place foam tape around the remainder of this piece.

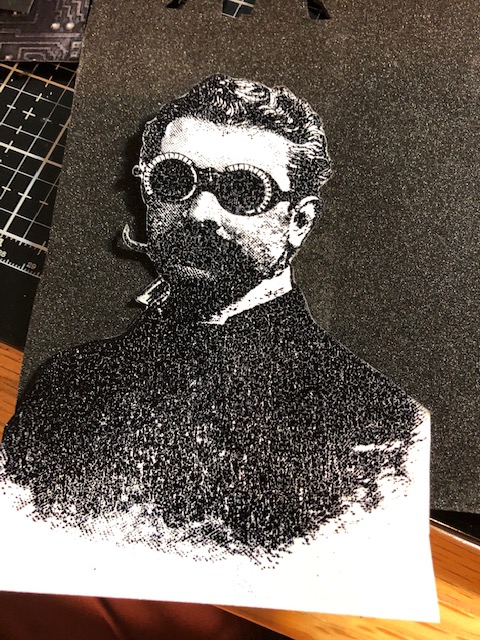
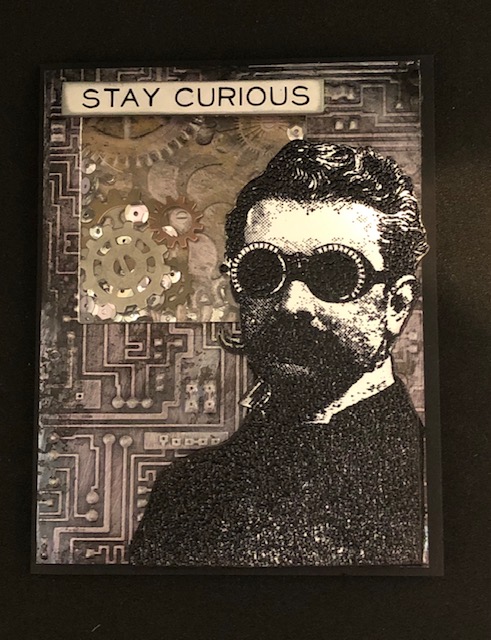
6. Stamp The Professor, using Black Archival on a piece of white card stock and emboss using black embossing powder. Fussy cut him out. Just to give him a little more sturdiness and to pop him up slightly, I attached him to a piece of thin fun foam and fussy cut around that as well.
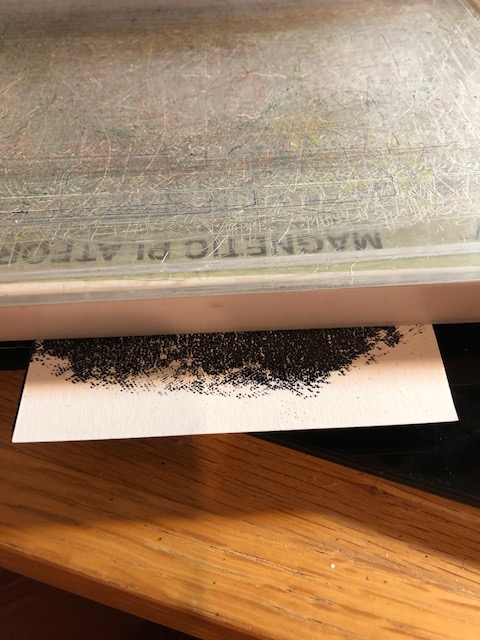
7. Attach the Professor to your card front, then trim any excess. I left his hair sticking over the embossed piece just a little bit. Attach this whole piece to a black card base that will measure 4 1/4″ x 5 1/2″ when folded. I weighed it down with my magnetic base just to make sure it all was adhered well. Attach your desired quote chip. Other quotes I liked were “Choose to Shine” and “Dwell in Possibility”, but ultimately I went with “Stay Curious”.

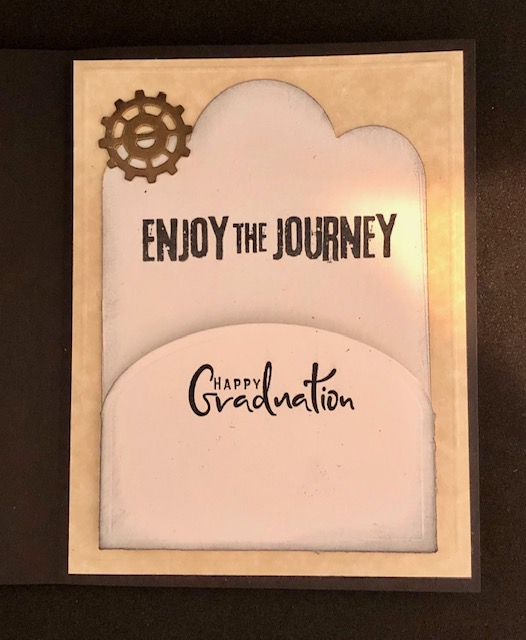
8. For the inside of the card, I cut a piece of parchment patterned paper 4″ x 5 1/4″ and scored 1/8″ around all the edges then attached it. Then I cut a tagged pocket out of mixed media card stock and stamped “Enjoy the Journey” on the back and “Happy Graduation” on the pocket where I will tuck a gift card. Finally I attached a gear to the upper left of the pocket.
That’s it! It was a pretty quick card to make. The pictures don’t do it justice, because the shaker part is kind of nifty and doesn’t photograph well. Hope you like it and make one for your graduates. Have a great week! – Lisa
