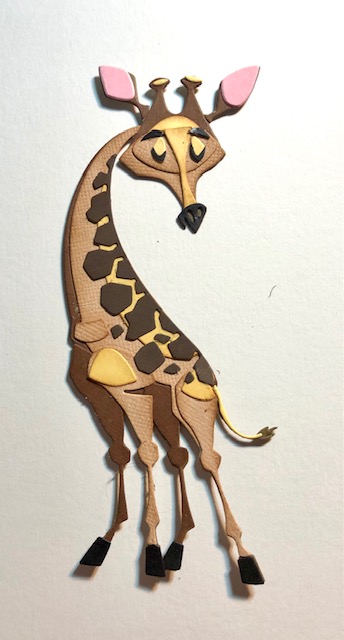
I made this card for my mother-in-law to celebrate Mother’s Day and the great job she did raising her son/my husband. The little black line near Gertrude’s chest must have been a little scrap I missed before taking the photo, but it is not on the actual card. Hope you enjoy.

Materials Used:
- Tim Holtz/Sizzix Colorize die- Gertrude 664429
- Tim Holtz/Sizzix Alphanumeric Shadow Upper 664729
- Tim Holtz/Sizzix Funky Nature 665215
- Tim Holtz/ Sizzix Winter Wardrobe (Optional)- 664754
- Karen Burniston Long Nature Edges- 1152
- Karen Burniston Long Rectangles- Crosshatch -1151
- Vintage Photo Distress Ink for edges- (optional)
- black funky foam- (optional)
- simple flower punch (optional)
Steps:
- Make Gertrude. Sizzix.com has great videos showing how to put together the Colorize Dies. Here is a photo of the pieces/colors I used. I also cut out the largest base piece from black funky foam to pop it up on the finished card. (note there are two of one of the face and tail pieces (yellow) as I thought I had lost one on my desk…lol)

2. Make a card base out of white card stock to measure 3 1/2″ x 8 1/2″ (unfolded 7″ x 8 1/2″). Using the largest KB cross hatch rectangle, cut a layer out of pale blue card stock.
3. Cut a green tree layer with the KB nature edges die and line it up on the pale blue piece where you want it to be positioned on the card. Note, I actually forgot to measure how tall the piece was before I mailed it off to my MIL, but this one does not need to go all the way to the bottom of the card as it will be covered by other layers. attach and trim off the side edges.
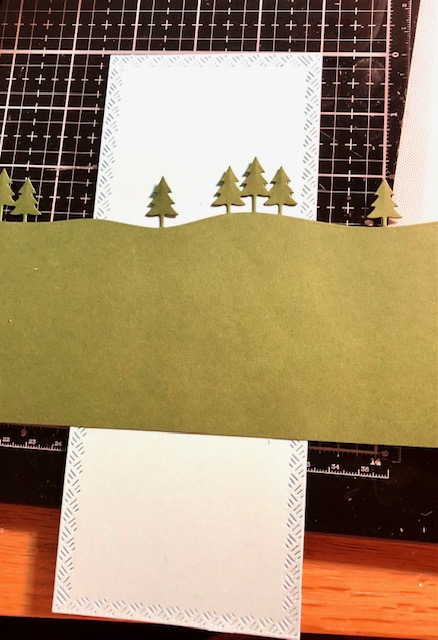
4. Next edge a paler green piece using the KB stitched hill die. (my lighting on my desk makes this look yellowish, but it actually is green…lol) Line this up over the tree line, attach and trim the side edges.

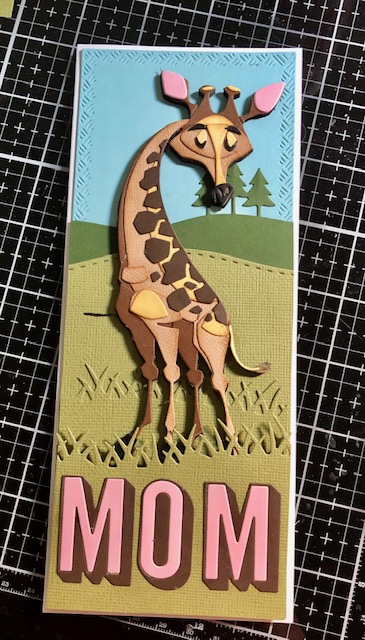
5. Next you will cut two layers using the grass edge. One will be attached now over the hill layer. Save the other to go over Gertrude.

6. Attach Gertrude (mine is lined with fun foam, if you did not cut a fun foam layer, pop her up with foam tape or foam dots). Pop up the last grass layer, covering the bottom of her hooves. Trim any excess. Cut out “MOM” using the shadow dies. I used brown for the shadow layer and pink for the insert. Attach this onto the grass layer. Attach this whole layer to the white card base.
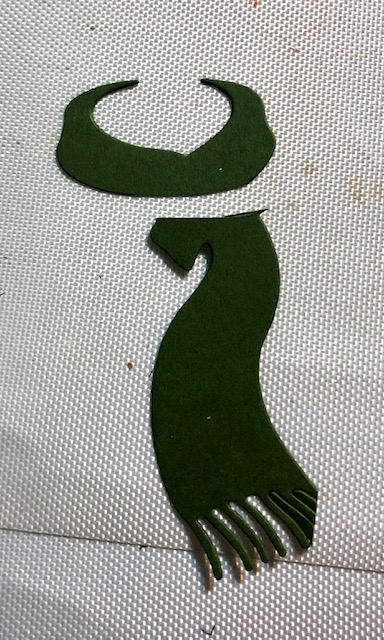
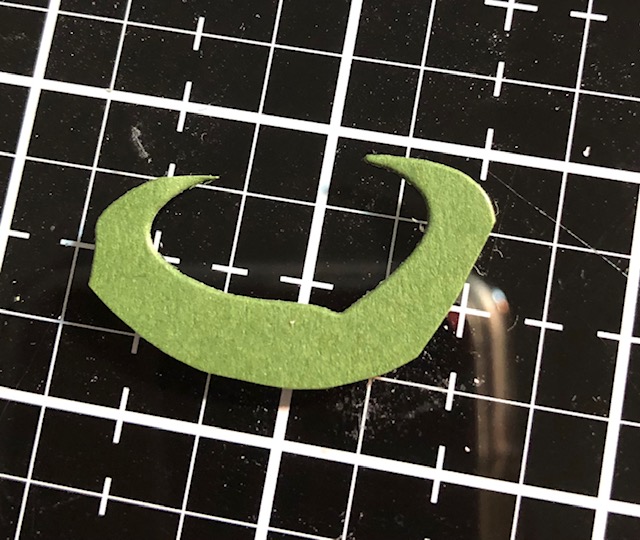
7. For her wreath, I cut out the scarf from Winter Wardrobe and trimmed off the tail and part of the circle to use as a base piece. It is probably not necessary to do this step, it just makes it easier for me personally to attach the flowers to something rather than attaching them directly to her, but it is entirely optional.
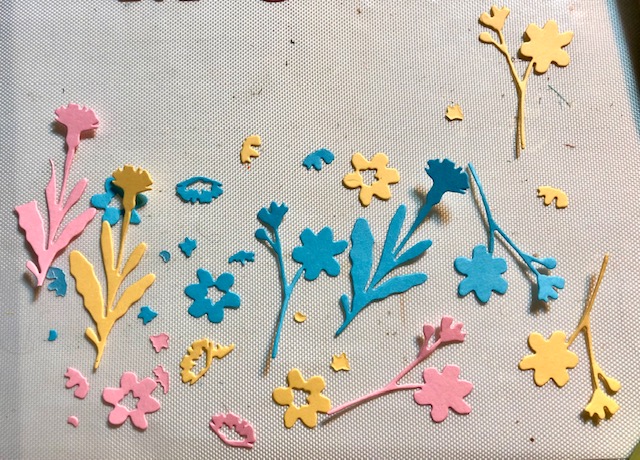
Cut out several flowers from Funky Nature and assemble them. Cut off the stems. I also punched out some simple flowers with a punch to use as filler/back flowers.
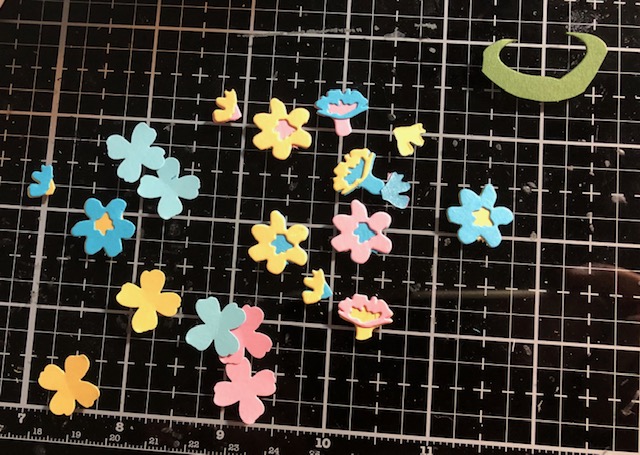
Arrange the flowers on the neck piece as you like (you will likely have leftovers for another project). When you like the arrangement glue the wreath around Gertrude’s neck.
With that our card is done! Have a fantastic week everyone and Happy Mom’s Day to all the moms out there! -Lisa
