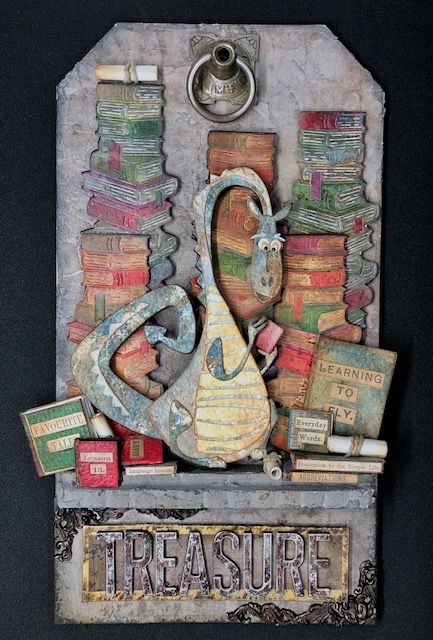
I am finally getting to part three of Rupert. I had a slight delay due to feeling cruddy after Covid vaccine shot number 2. Excited that I’m vaccinated though. Today I will do a step-by-step on Rupert’s treasure sign and put everything together.
Materials:
- Sizzix Thinlits die set – Alphanumeric Shadow Upper- #664729
- Ranger/Tim Holtz foil tape sheets- TAC58533
- Tim Holtz/Idea-ology Halloween Accents-TH93979
- Graphic 45 gloss gold architecture washi tape
- Ranger/ Tim Holtz alcohol inks- Pitch Black , Mushroom
- Distress Ink – Vintage Photo
- Steel wool
- Leftover pieces of Departed Paper Stash from Part 2
- fun foam or foam squares/dots
- thin chip board (I think this is G45 chip board sheets but I didn’t keep the packaging)
Steps:
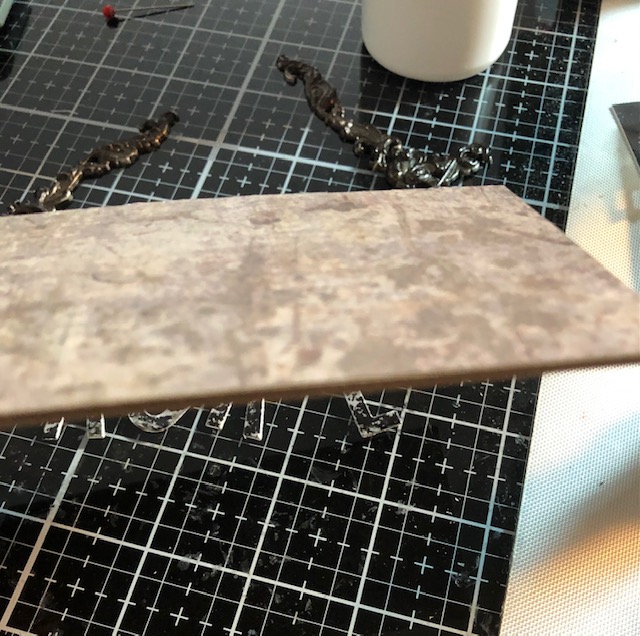
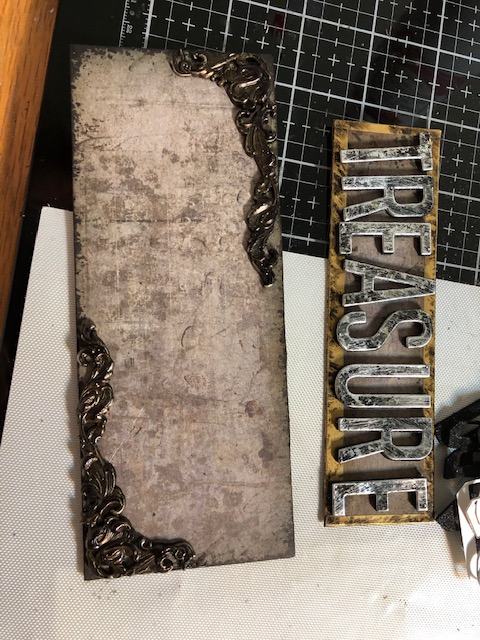
- Cut three pieces of chip board 6 1/2″ x 2 1/2″ and one piece 5 1/4″ x 1 1/2″. Stack and glue the three pieces on top of each other. Cover this stack as well as the smaller piece with paper left over from covering the thick board tag in Part 2. Ink the edges with Vintage Photo ink
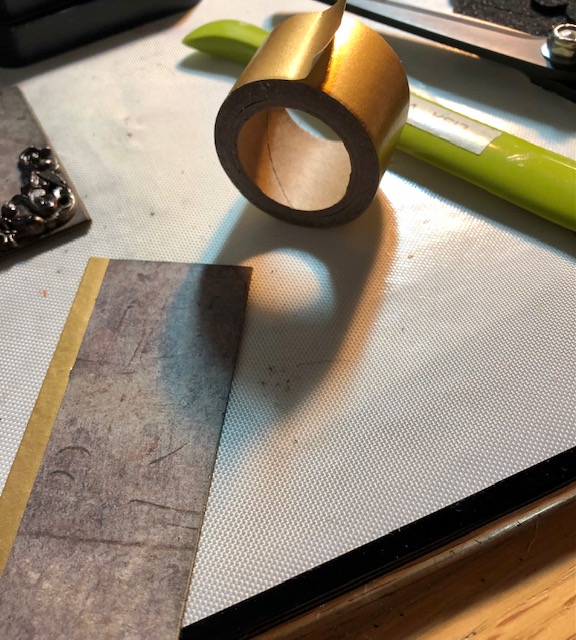
2. On the smaller piece of chip board add gold washi tape to the edges, folding the excess to the back.
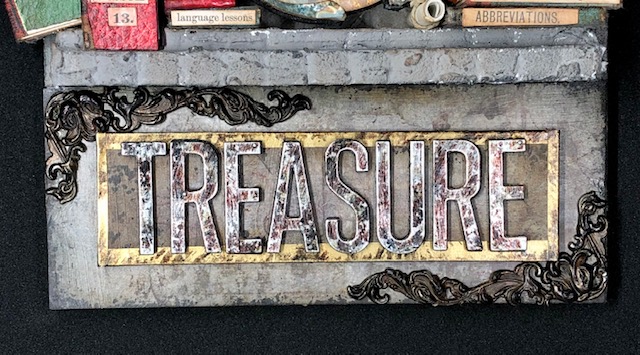
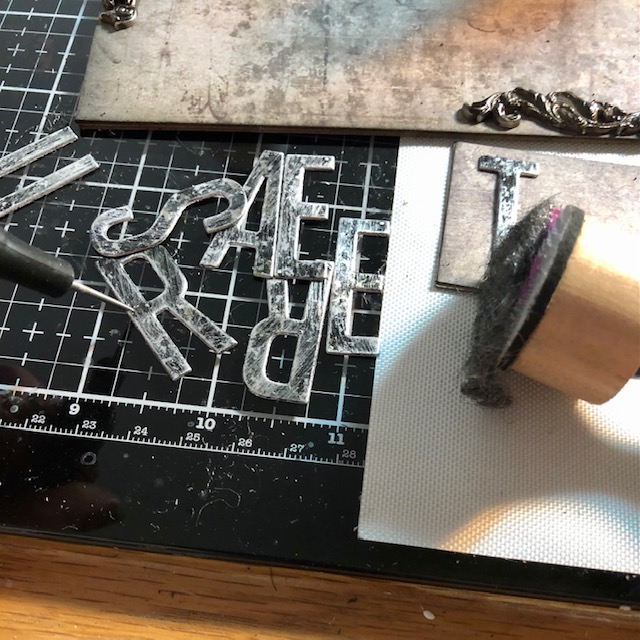
3. Adhere the silver foil tape to a piece of card stock. In this case, I adhered it to a piece of silver thick card stock. Cut out the letters to spell “treasure”. In addition, you can cut out the letters from fun foam. Save the shadow pieces for another project. Put a few drops of pitch black and mushroom alcohol inks onto a felt applicator pad and tap over all the letters as well as the two metal accent corner pieces. You can also tap ink onto both the larger and smaller pieces of covered chip board as desired.
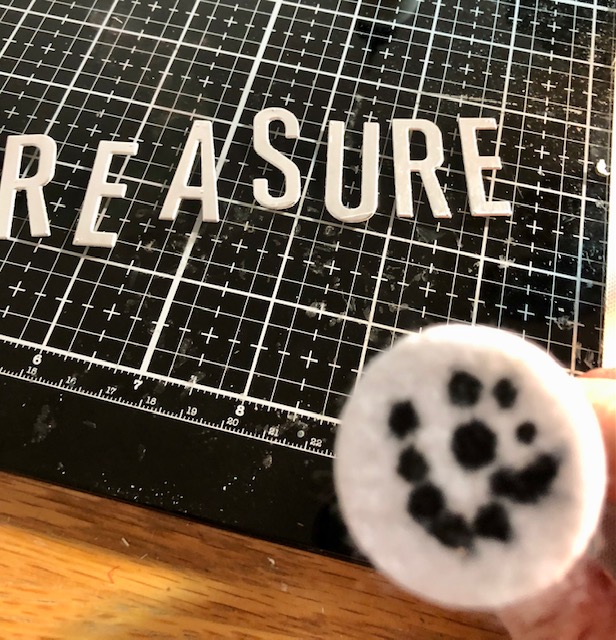

4. Once the letters are dry, distress them further by running steel wool over the letters. I attach a small ball of steel wool to my ink dauber so I don’t have to touch it.
5. Attach the two metal corners to opposing sides of the larger chip board piece. Attach the foam letters (or use foam dots/squares) to the back of the distressed ones to pop them up on the smaller piece of chip board.
6. Use foam to pop up the Treasure piece to the center of the larger chip board piece.

7 Assembling everything. Glue the treasure sign to the bottom of the thick board tag, lining it up with the bottom of the tag. Next glue your ledge in place, lining it up with the top of the treasure piece. Glue your book stacks down, popping them up at different heights for interest. Adhere Rupert , popping him up with different levels of foam depending on the positions of his body parts (ie. his tail tip may need more if it is up against the back of the tag rather than on a book stack). Position and adhere your loose books. I made some little scrolls simply by rolling up some small pieces of copy paper, gluing them closed, then wrapping twine around them. Finally add a decorative metal piece to the top of your tag. This is an old piece from the Singer company that I got at a flea market, but I believe you can find something that would work in Tim Holtz’s line. For example, the large piece in Vignette accents (TH93687) or a compass coin (TH 93061) would work or even a vignette base. All done!
I hope you enjoyed this step-by-step. It seems really long, but it was super fun and I hope you try something similar. Have a fantastic week everyone! -Lisa

Amazing conceptual art in making, thank you
LikeLike