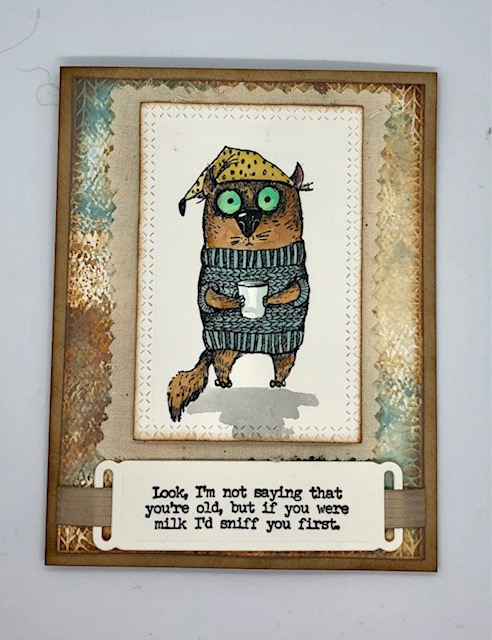
For this card, I thought the Stamptember snarky cat image paired well with this sentiment from the original Snarky Cats stamp set. My card swap group had “humor” as the theme this month, so I thought this was perfect.
Materials Used:
Tim Holtz Stamptember 2020 stamp set
Tim Holtz Snarky Cats -CMS392
Crazy Talk stamp set -CMS236
Distress Oxides: Vintage Photo, Speckled Egg
Distress Inks- Vintage Photo, Speckled Egg, Scattered Straw, Cracked Pistachio, Black Soot
Rubbernecker stamp company die- Nested Rectangle X stitch – 5144-03D
Spellbinders label die- this was from a card kit I got many years ago, but I am sure there are similar dies out there.
Fun Stampers Journey Cozy knit embossing folder- EF-0032
Crumb cake ribbon- Stamping Up!
clear embossing powder
VersaFine CLAIR ink in Nocturne
muslin scrap, pinking shears
Steps: Note- I distressed all my edges with Vintage Photo ink. Finished card is 5 1/2″ x 4 1/4″
- Make your background: I smooshed Vintage Photo and Speckled egg oxides on my craft mat, sprayed it with water and tapped watercolor paper (5 1/4″ x 4″) into the colors. I did several layers and dried between each layer of color. Once it was dry I used the cozy knit embossing folder to emboss the layer. I finished by inking the edges with Vintage Photo distress ink.

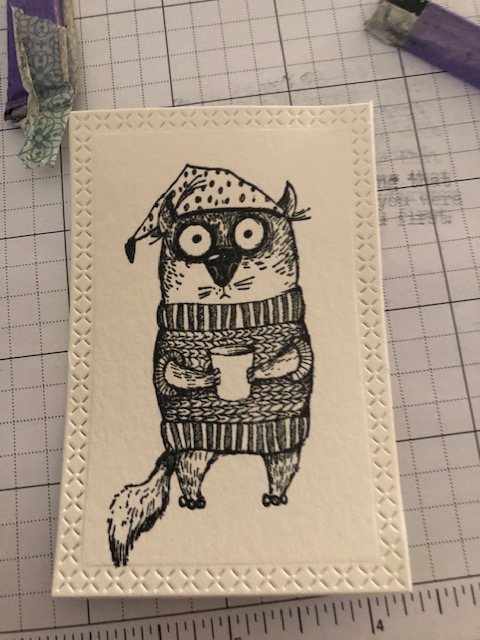
2. I die cut a stitched rectangle that fit the cat image, then used a stamp positioner to stamp all my cats in VersaFine ink. To mask off the Xmas tree on the cup, I used a small piece of label before inking up the image. After stamping I used clear embossing ink to emboss the image.

3. I cute rough rectangles out of muslin using pinking shears. My shears are in desparate need of sharpening so it is a pretty rough cut, but I kind of liked it being a little frayed looking.

4. I colored my cats, using distress inks smooshed on my craft mat, a bit of water and a paintbrush.
5. I die cut the label tag and used a stamp positioner to stamp my sentiment.

6. To assemble: I threaded some ribbon through the sentiment, popped up the sentiment with foam dots and attached it to the mat piece, tucking the ribbon ends under the mat. I used a bit of glue in the center of the muslin piece and attached it to the mat. I popped up my cat onto the center of the muslin piece, then attached the entire mat to my card base.
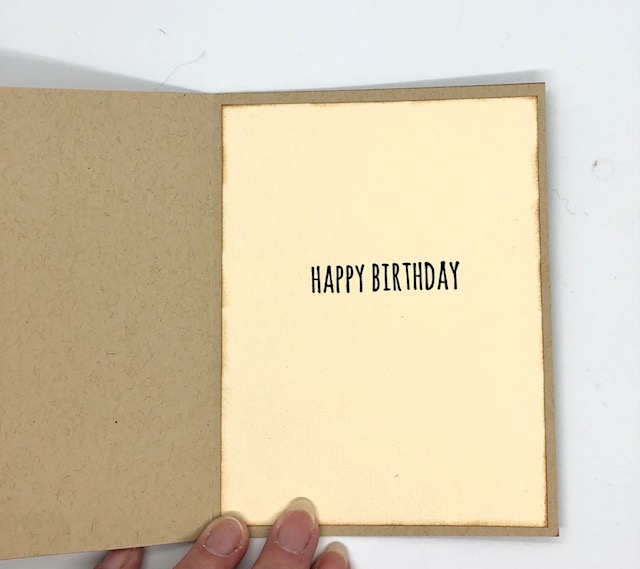
7. For the inside of the card, I used the Happy Birthday sentiment from the Crazy Talk stamp set on a piece of ivory cardstock and attached it to the inside of the card.

That it! Pretty simple card this time. This swap, is an “assembly only” swap, so all the work has to be done ahead of time so that the recipient can just “assemble” the card, therefore it can’t be too complicated. I love these snarky cats. Does that mean I am a little snarky? LOL. Have a good week everyone – Lisa

That’s Awesome!!!
LikeLike