Tombstones

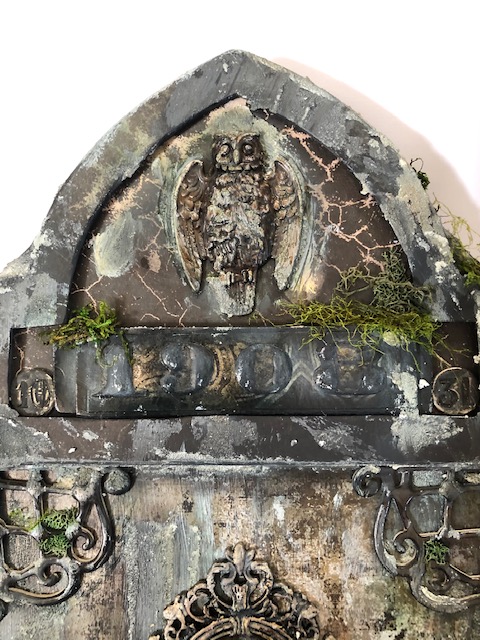
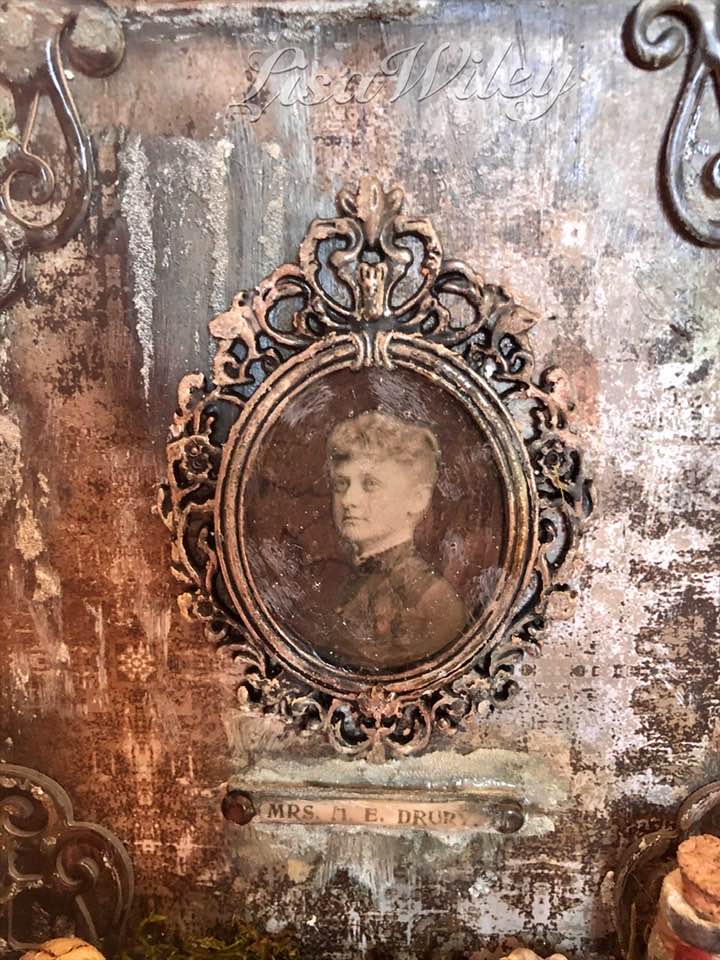
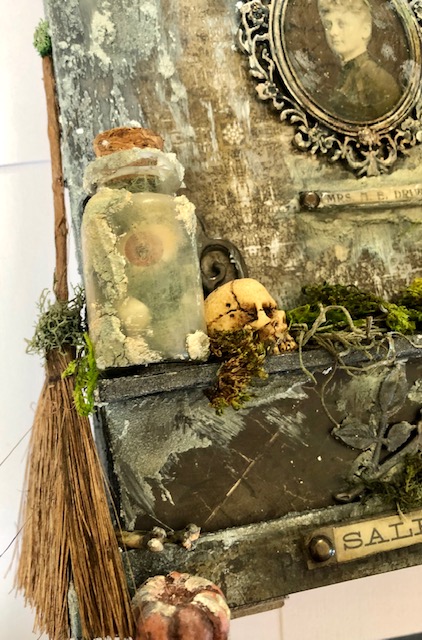
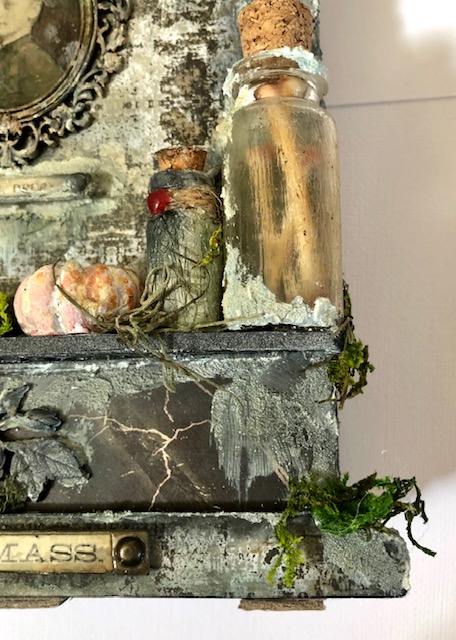
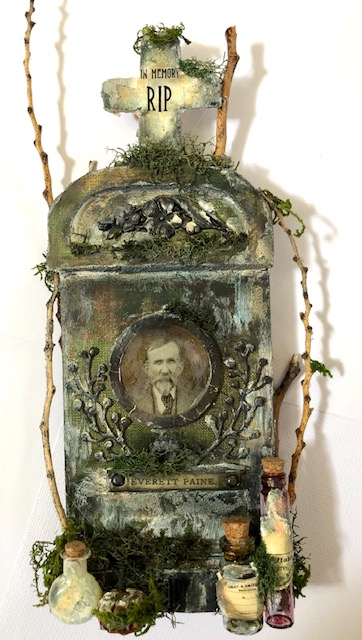
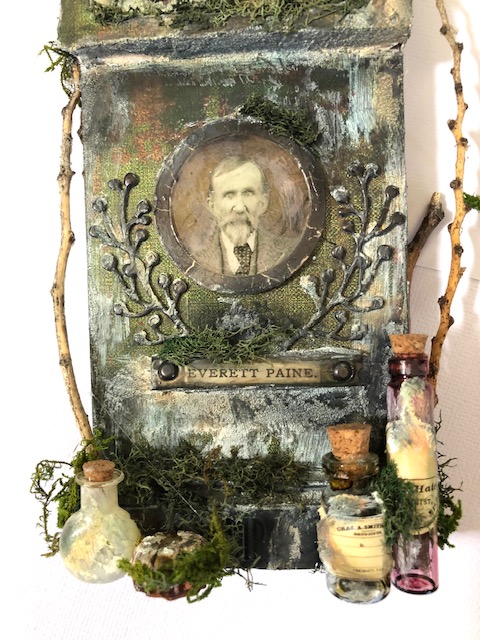
The last couple of weeks have been crazy. Three other designers and I do an annual holiday card kit class, so I have been busy prepping kits. In addition, my normal swap group has kits due this week, plus I’ve been getting ready for a trip for a family wedding. Bottom line is I don’t have a new project for this week….lol. A friend of mine suggested I post some pictures of a couple of tombstones I did last year for inspiration. Although I don’t have a step-by-step, hopefully they will inspire you to create something similar. I can tell you that lots of grit paste, the Abandoned paper stash, paper dolls, and lots of Tim Holtz accessories, like the pumpkins, skulls, and bones were used to make these, as well as the ETC tombstones. There are notes under each picture to help see what I did. Enjoy!

This tombstone actually has another etc tag glued to the back for extra thickness and stability. I also made a box and glued it to the back for even more stability. (picture at end)
I’m weirdly proud of this part. The numbers were actually part of the paper. I fussy cut and glued another set on top of it and added dimensional glaze on top of that. I thought it looked like the numbers are carved in the stone. =)
She was a paper doll I mounted on a background. Distressed the whole thing and glazed it and framed her. The name was a sticker I mounted on a scrap of chipboard. This was also filled with dimensional glaze.
Always have to have a jar filled with eyeballs…lol. Added a skull, moss some bones and pumpkins and a witches broom.
more bones and moss
Side showing the double thickness and the small box for stability

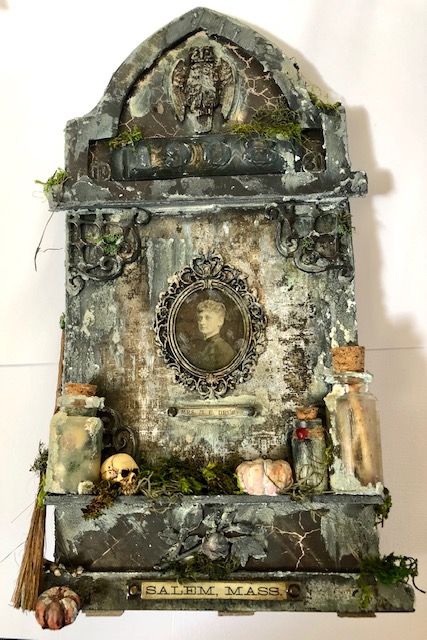
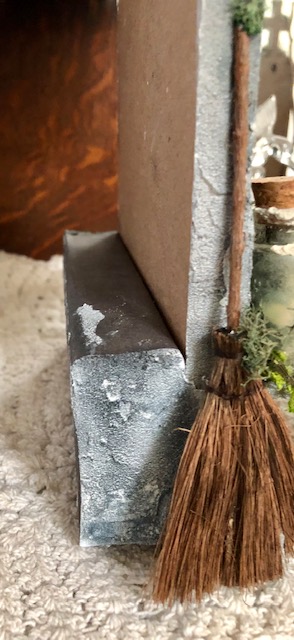
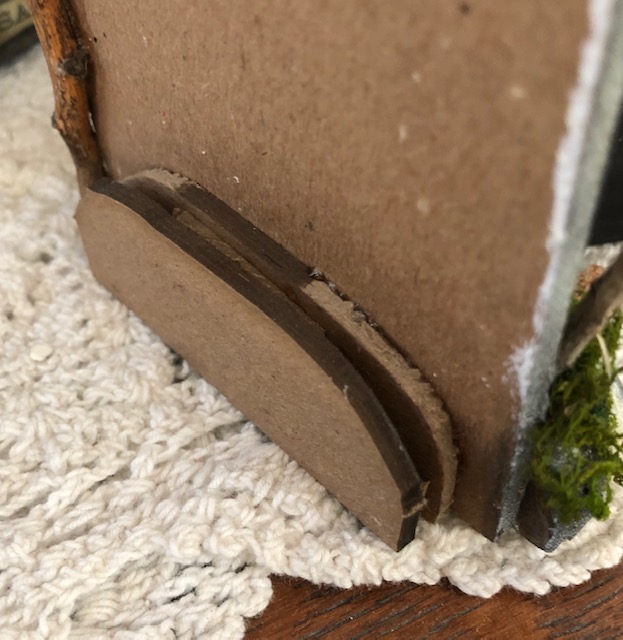
Small tombstone. I didn’t double this one as it is quite a bit lighter and smaller. I did add a couple of extra pieces to the back, so it would stand without wobbling.

I believe the RIP was a rub on. This tombstone came with the cross topper. Some metal embellishments, moss and lots of sticks
The floral bits were die cut from paper. I think the red is from dripping alcohol ink into the bottle on the right. More grit paste, bottles, labels and moss…plus…a pumpkin =)

Hope these inspire you to make your own creepy creations. After these few upcoming busy weeks, I’ll be back to my regular weekly posting.

Happy Halloween! – Lisa

Published by CoyoteGirl

Hi, my name is Lisa and I love all things crafty. I hope you enjoy your visit and get inspired to create unique projects for your home and your loved ones.

Leave a comment