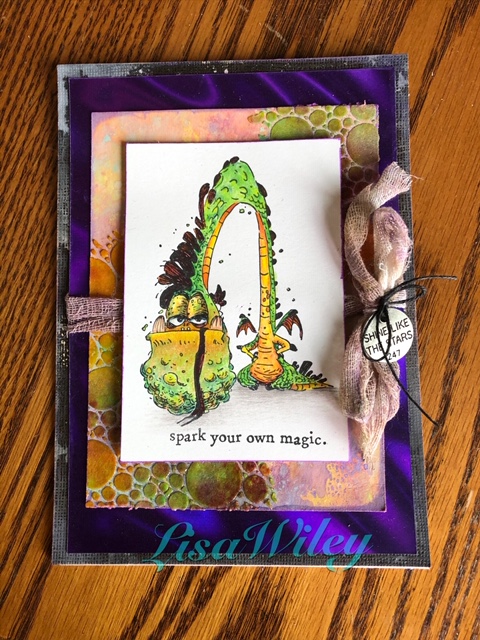
This week features a quick card that can be used for Halloween or for any occasion really. A few weeks ago I was hit with a bad stomach bug so I was very lacking in motivation. Coloring is a calming activity for me, so I spent a day just coloring all the images from the 2019 Stamptember release. Then there was another day making backgrounds. This one uses the same method that I used in last week’s blog post, just using different colors. This week I finally got around to finishing it up as a card. Hope you like it!
Materials Used:
2019 Stamptember Simon Says Stamp exclusive from Tim Holtz stamp set- Stampers Anonymous
Tim Holtz Idea-ology Blackout kraft-stock (TH94020)
Watercolor paper
Prismacolor pencils
Distress Oxides – Cracked Pistachio, Wilted Violet, Fossilized Amber
Bubbles stencil (THS138)
Distress Grit Paste- translucent (TDA71730)
Distress embossing glaze in Cracked Pistachio (TDE70962)
Mummy cloth (now in a Halloween trimmings pack TH94072)
Black twine
Tim Holtz Idea-ology thought tokens (TH94024)
5″ x 7″ white card base
Purple holographic paper ( this was from a Hero Arts kit…I’m not sure you can buy it separately from them.)

Remember to distress all edges. On this card I used Wilted Violet on all the edges.
Steps:
- Stamp and color the dragon image on a white card stock piece, measuring 3 1/8″ wide by 4 3/8″ tall, and color with medium of your choice. I used Prismacolor pencils in various greens, yellows and reds)
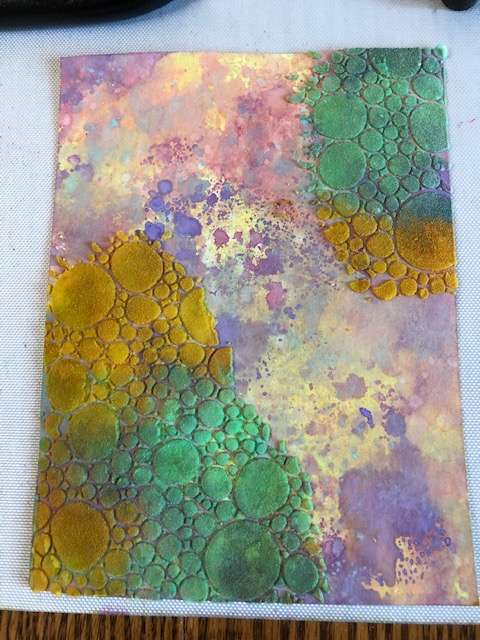
- Using a 4″ wide by 5 1/2 ” tall piece of watercolor card stock color with the three distress oxides and use grit paste through the stencil following the steps in the Bubbles blog post. On this piece I only stenciled parts of the card stock, rather than covering the whole thing.

3. Use the oxides smooshed on your media mat and sprinkled with water to add some splashes of color to the blackout card stock (cut to 5″ x 7″)

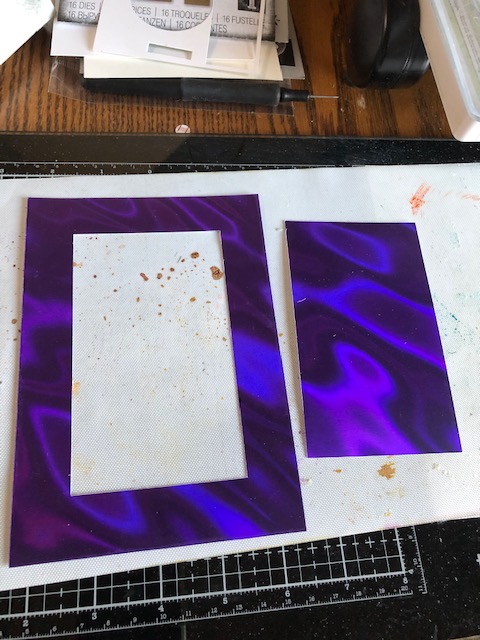
- Optional: I am a bit of a card stock hoarder so I cut out a rectangle from the center of the purple holograph paper to use on another project. I do that on special papers since that part will be covered anyway, but you can skip this step if you want to.
4. Again using the same three colors of oxide, smoosh them onto your media mat with water and die a piece of mummy cloth, measured to fit around the purple layer, by rubbing it around in the inks. Let air dry or dry with a heat tool.
5. Assemble your card. Layer your bubbles piece on top of the purple card stock and tie the mummy cloth around both layers. Tie in a bow and add a thought token to the bow with black twine. Layer this piece to the black card stock, then layer this whole unit to the front of the white card base. Pop up your dragon image using foam dots or foam tape. That’s it!
This week was a shorter blog post, but I hope you try the card. I have several events I am prepping for, and trying to get in the Christmas spirit for them, so you may start seeing some Christmas projects on here…lol. Have a great week! – Lisa
