This week, I decided to get into the Halloween spirit some more. I finally got my hands on Tim Holtz’s curio box die and I wanted to try it out. Hope you enjoy!

Materials:
Tom Holtz Sizzix curio die with framelits (664419)
Tim Holtz Idea-ology skulls (TH93718 )
Tim Holtz Idea-ology box corners (TH93003)
Tim Holtz Idea-ology jeweled charms (th93697)
Tim Holtz Industrious Stickers (TH93136)
Tim Holtz Idea-ology Bouquet (TH93569)
Tim Holtz Idea-ology mummy cloth (TH93982)
Tim Holtz Idea-ology Halloween Baseboards th94060
Tim Holtz Departed paper stash
Assorted beads, gear and book charm from my stash
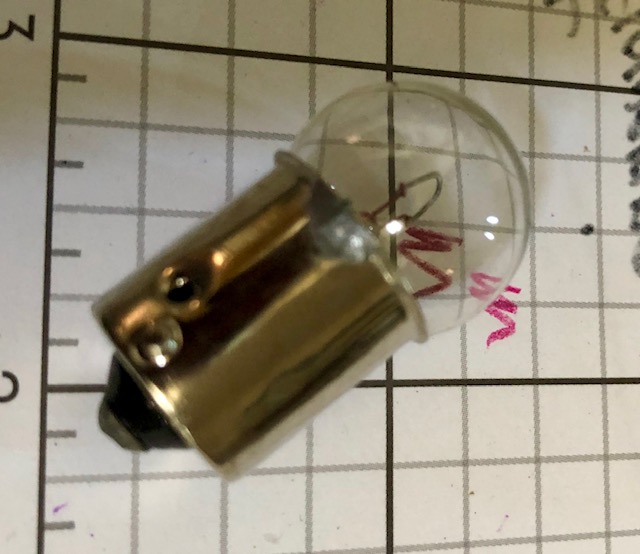
Tim Holtz light bulb (retired)
Distress Inks in Vintage Photo and Black Soot
Tim Holtz alloy ink in Gilded
Vintage Tart mold
Stampin Up! retired scallop border punch
Steps: Remember to distress all of your edges =)
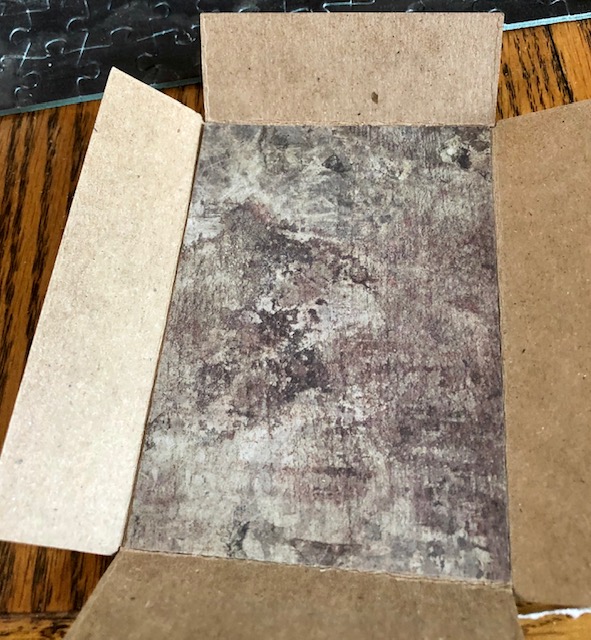
- Die cut your curio box. For the lid I used a sheet of Departed paper and the smaller of the two frames. I cut the bottom from thin chip board for added stability, then covered the sections that would show in coordinating Departed paper.
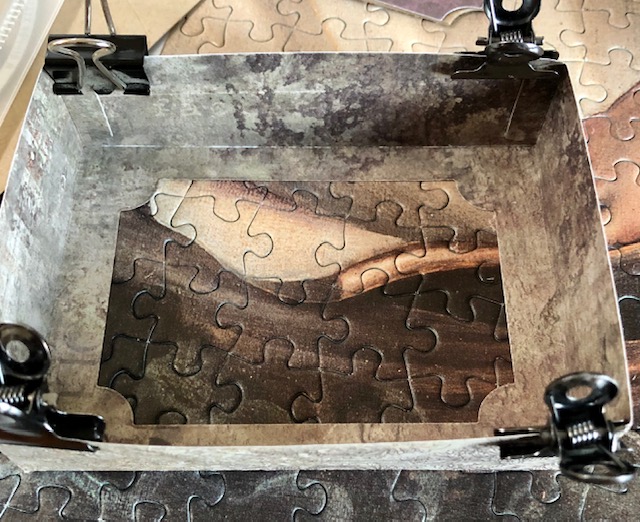
2. Attach a baseboard to the back of the bottom section. (I built the scene on the bottom half then glued the lid on top.)

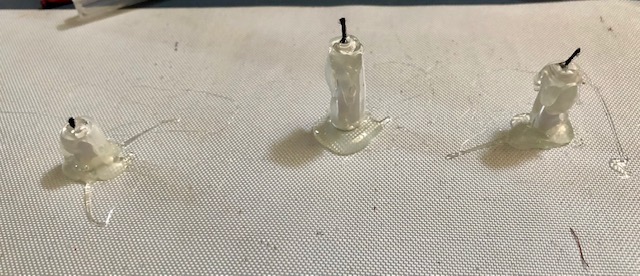
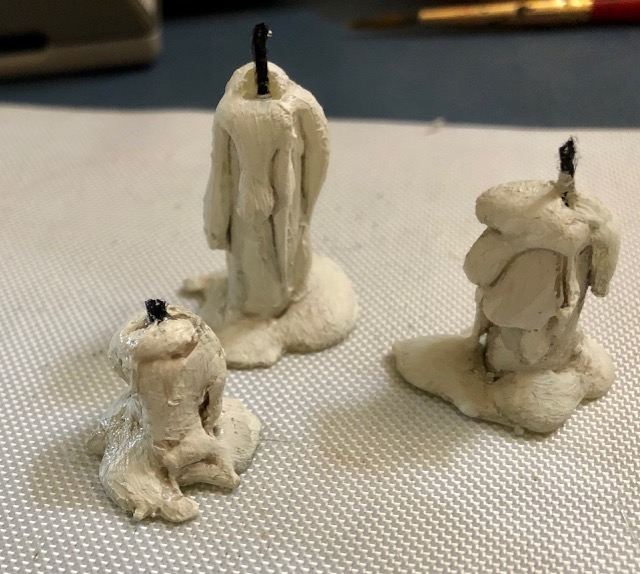
3. Make your candles and crystal ball. Tami Bastiaans has a fantastic tutorial for the candles on her blog at https://playswellwithpaper.blogspot.com/?m=1 so I won’t go through the steps here. I made three, but only ended up using the 1″ candle. I kind of overdid the “wax” on mine but I still like them.
For the crystal ball, I used an old TH light bulb. I covered the metal section with gold washi tape. I put a blob of hot glue on my mat and stuck it in it to serve as a base.
I punched three borders with the scallop punch out of metallic papers and wrapped them overlapping each other around the base, over the washi tape.
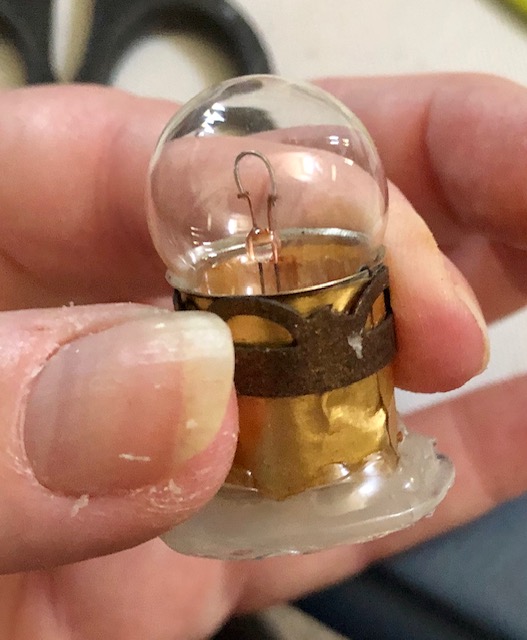
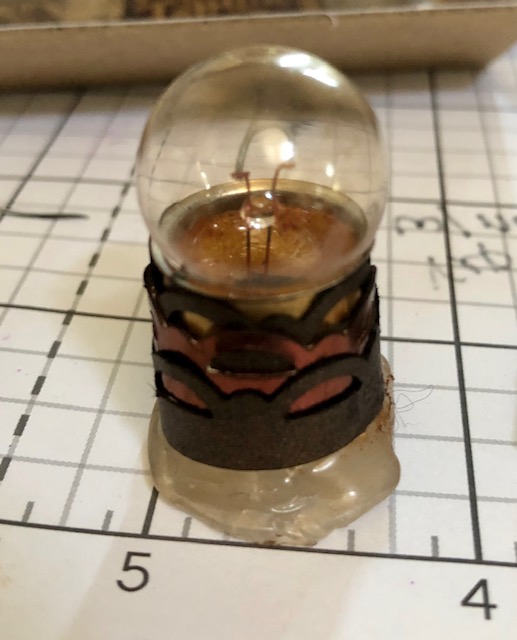
I rubbed Vintage Photo distress ink over the edges and some on the glass to age it.
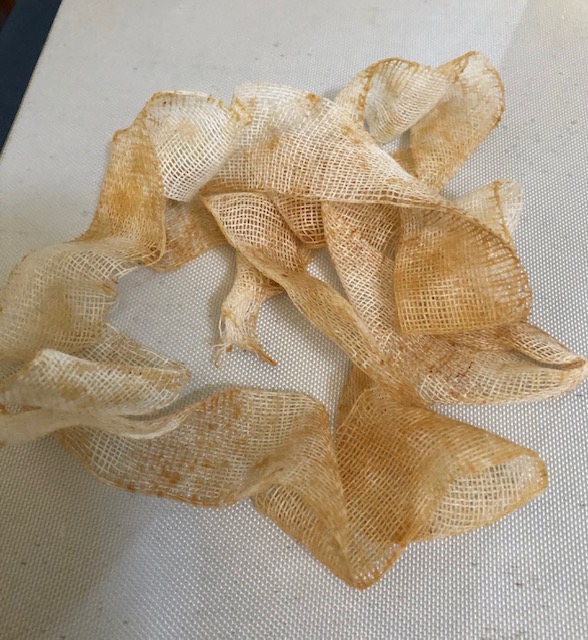
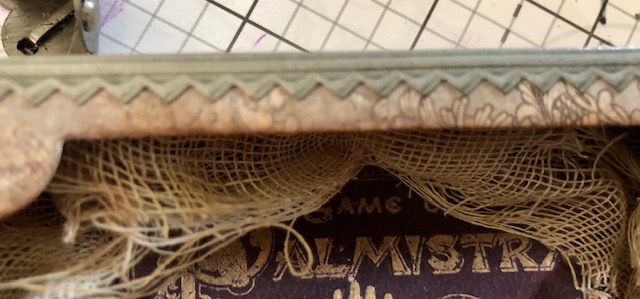
4. I took a length of mummy cloth and rubbed it in a mix of Vintage Photo and water and let dry. Once dry I tied a small length of twine in the center, so the cloth would drape down the sides of the box. I took one bunch of paper flowers and dipped them in a mixture of Black Soot and water and let them dry, then separated them.
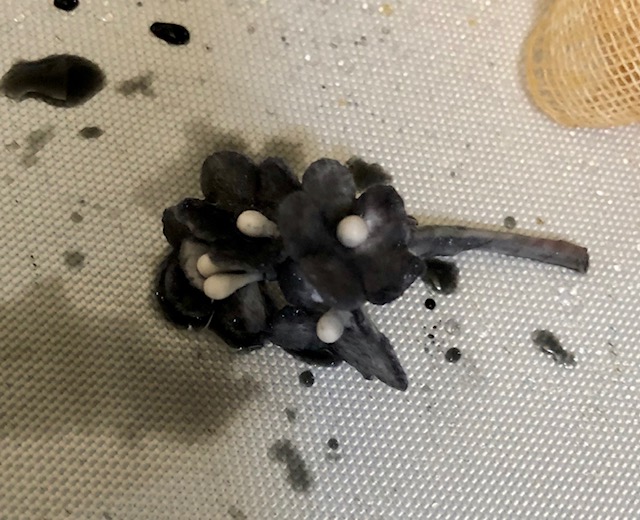
I went over the flower centers with Black Soot once they were dry.
5. For the picture frame I used one of the industrious stickers and covered the center with a piece of card stock, using an extra oval as a template, then one of the cameo pictures. I attached a small, scored piece of chip board to the back to help it stand up.


6. I used one of the Industrious borders on the top edge of the box top. I put brads in all of the holes on the box corners and glued them down on the inside. I added a sentiment to the bottom of the lid, then attached the box corners to all four sides.
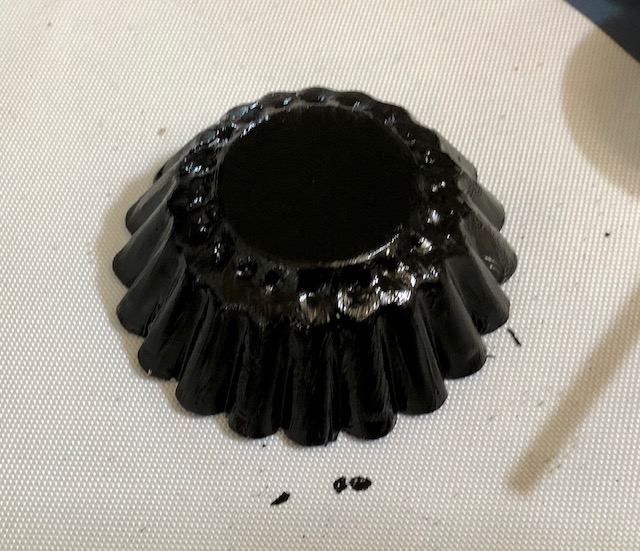
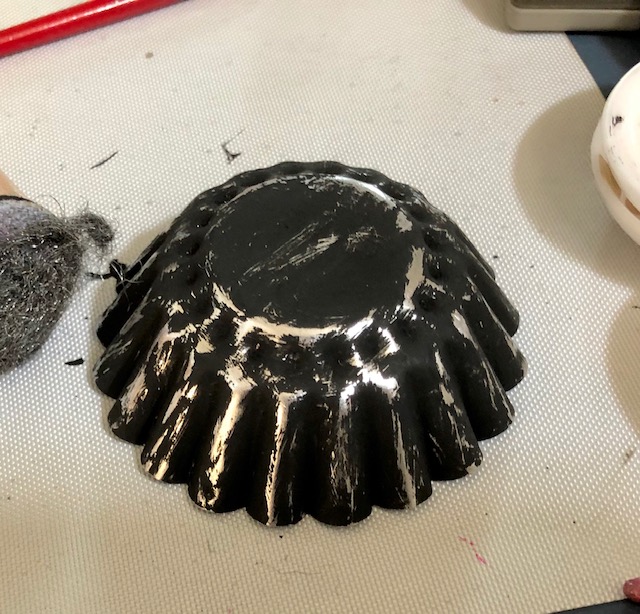
7. For the base, I covered a vintage tin in black paint. After it was dry, I rubbed it with steel wool to distress it a bit.
8. I assembled all of my pieces on the box bottom, adding a book charm and a skull. I glued the center of the mummy cloth then pulled apart the strands a bit to make it billow out on the sides. Then I glued the lid on and glued the entire thing to the tin.

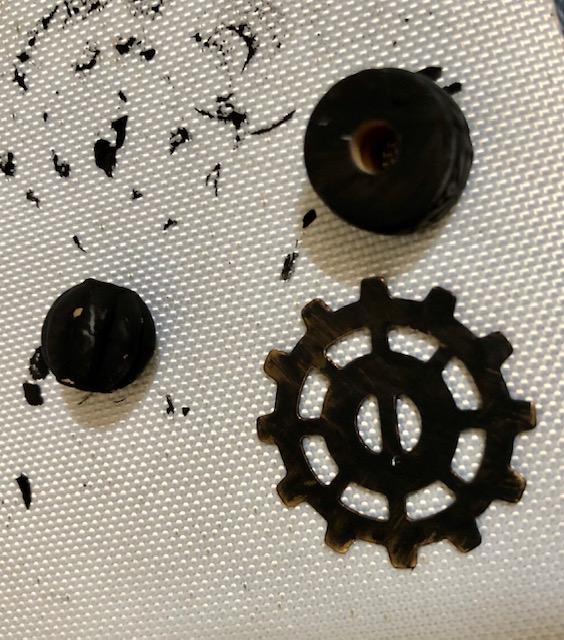
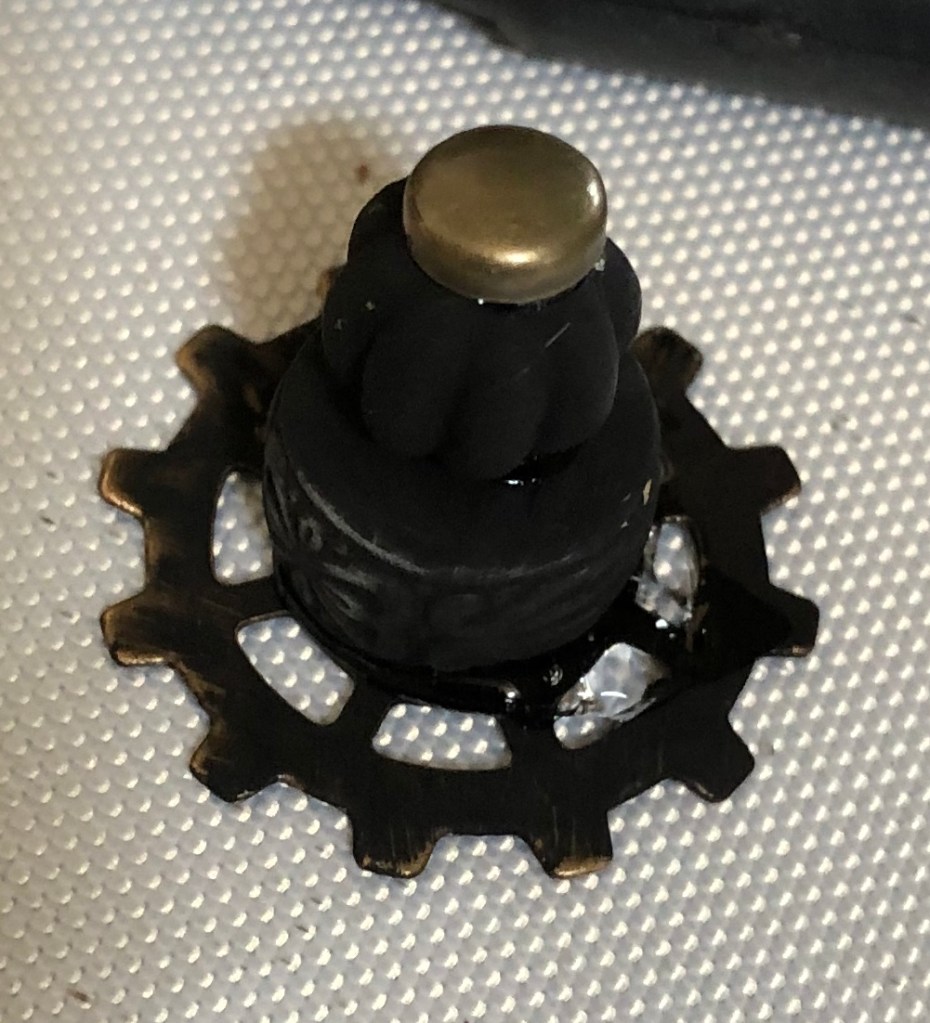
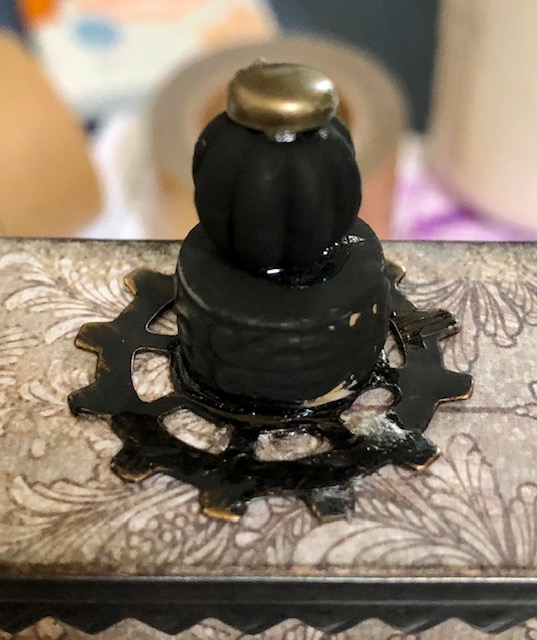
9. For the finial, I painted a gear and two beads with black paint, let dry and rubbed them with steel wool, then rubbed them with a little bit of gilded alloy ink. Then I glued a brad into the top bead hole to cap it. This got glued to the top of the box.
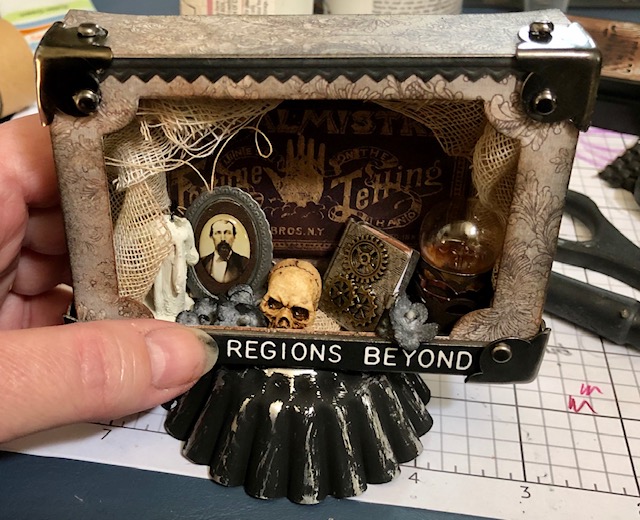
That is it! Here is another look at the finished project.
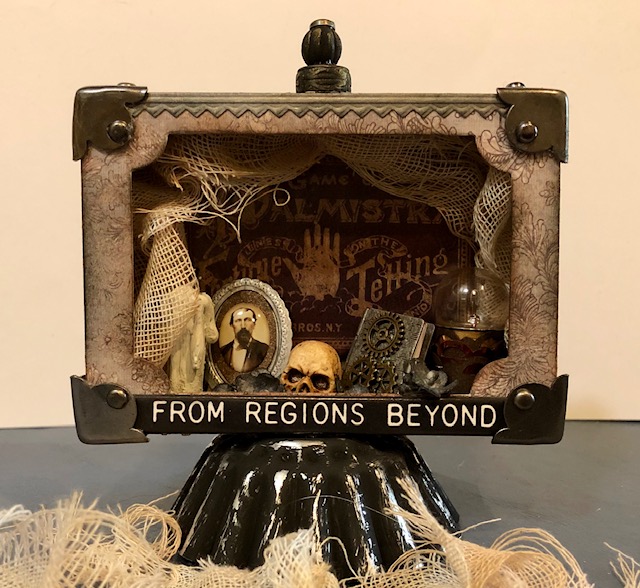
Hope you like it! Have a great week- Lisa

Oh I love this one! Especially the finial you made from parts!
LikeLike