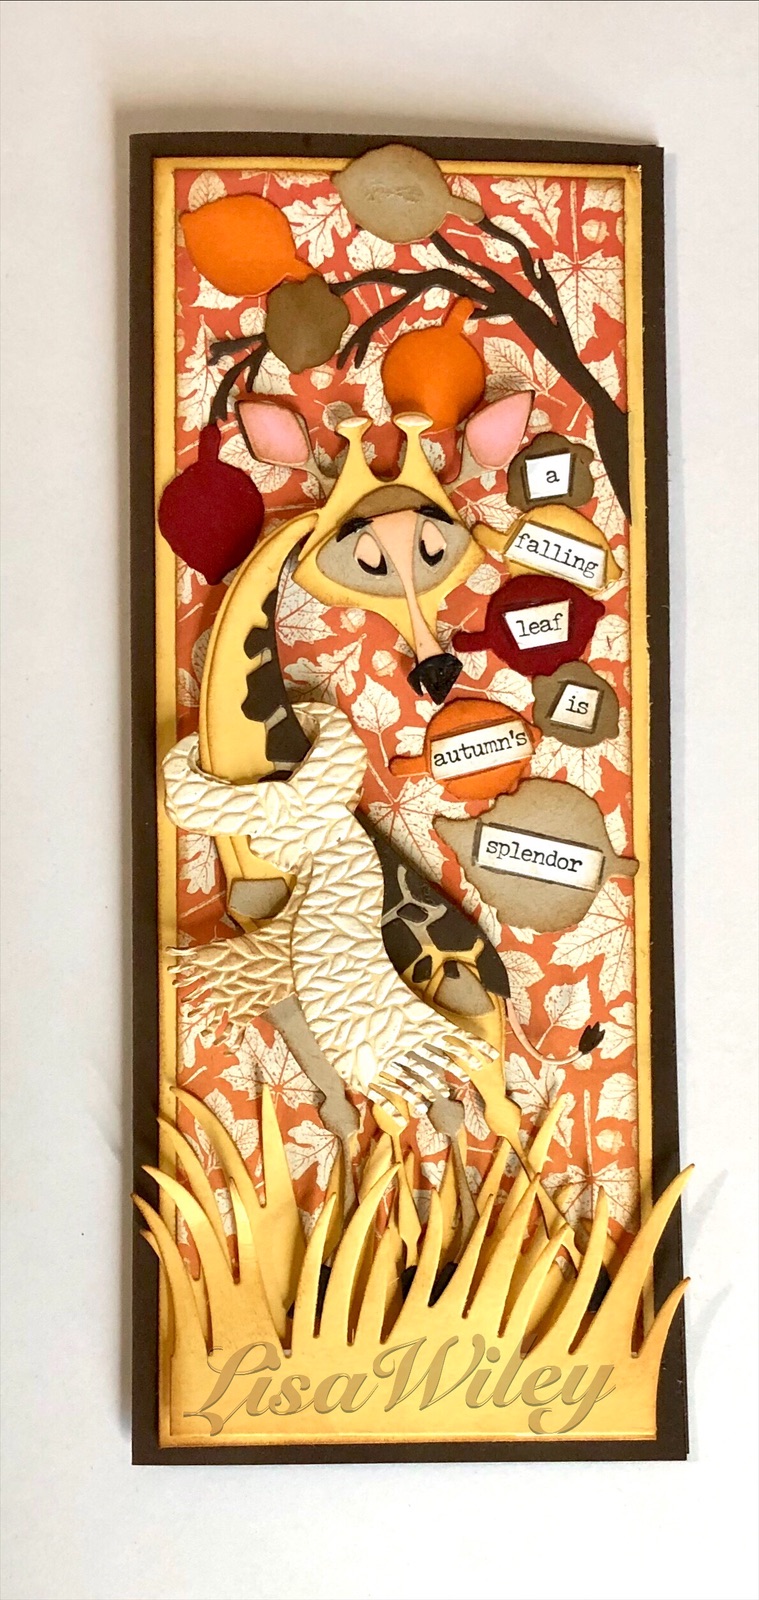

Ok, I admit it- I may be a little obsessed over the Gertrude colorize die by Tim Holtz. She is just too darn cute and perfect for slimline cards. Today Gertrude is dressed for fall ( with our temperatures climbing well into the 100’s here, I may be dreaming of cooler weather a bit). Once again, the winter wardrobe dies let Gertrude’s inner fashionista shine.
Materials:
Tim Holtz Gertrude die (664429)
Tim Holtz Winter Wardrobe (664754)
Fun Stampers Journey Hello Fall dies – leaves (DI-0311)
Tim Holtz Funky Floral Large- branch (664158)
Fun Stampers Journey Border Details Die-grass (DI-0147)
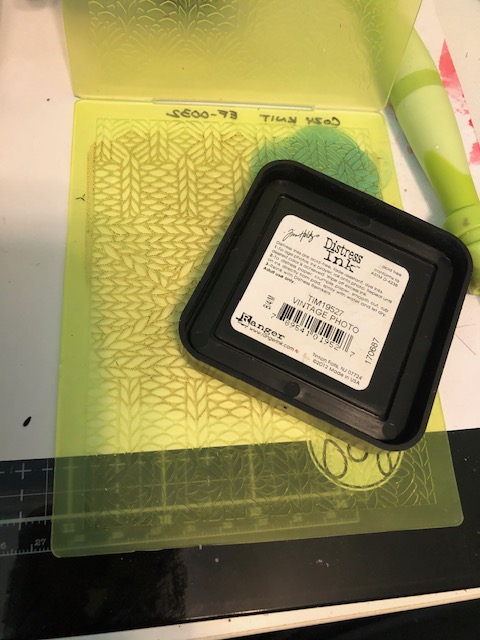
Fun Stampers Journey Embossing Folder – Cozy Knit (EF-0032)
Distress Ink in Vintage Photo for edges and Distress Oxide in Antique Linen
Tim Holtz Small Talk stickers – Occasions
Steps:
- Make a slimline card base out of brown cardstock 8 1/2″ x 3 1/2″. Cut a mat out of banana yellow card stock 8 1/4″ x 3 1/4″ and finally a mat out of a fall design paper (this one is a retired FSJ paper) 8″ x 3″. Distress all the edges with Vintage Photo ink.
2. Assemble Gertrude using desired colors. Again, I refer you to the excellent videos Sizzix has put out showing how to assemble their Colorize dies.
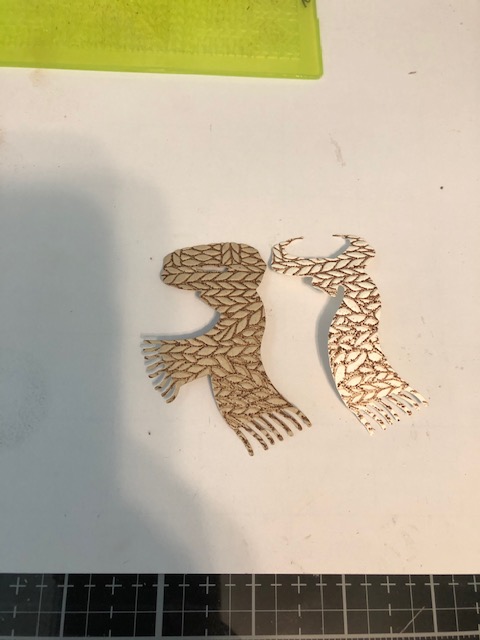
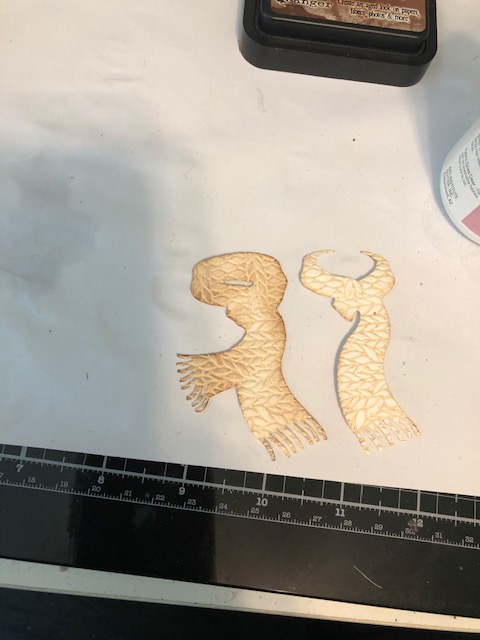
3. Make Gertrude’s scarf. First I die cut her scarf from off-white cardstock. I then inked up the cozy knit embossing folder and ran the scarf through. Initially I used Vintage Photo ink but decided it was too dark, so I made another using Antique Linen and I liked it better. I darkened the “shadow” piece of the scarf with ink rather than using a different colored card stock.

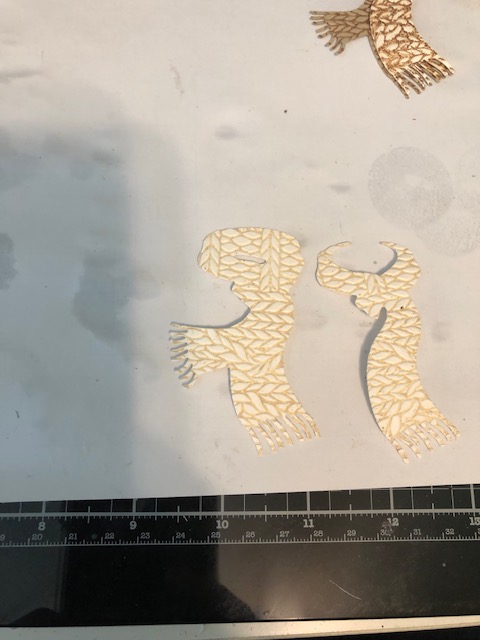
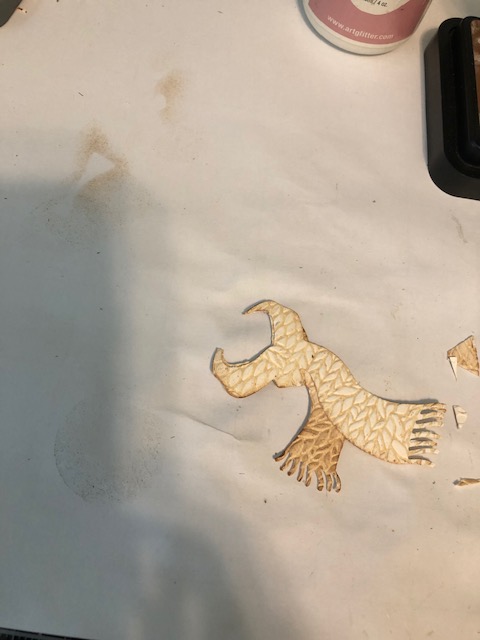
4. Trim scarf to fit around Gertrude’s neck and attach. You may want to add a small scrap piece of cardstock to the back for stability. I added a foam square on the front, under the bottom portion of the scarf for dimension and to keep the scarf from flapping up.

5. Die cut several leaves of different colors from the Hello Fall set and a border piece of grass using the Border cuts die. Cut the border piece in two. Attach one grass piece approximately 1/2″ from the bottom of the patterned paper. Pop up Gertrude on this piece then pop up the remaining grass piece to overlap her feet, lining it up with the bottom of the patterned paper piece. Attach the branch piece from the funky floral set coming off the right side of the card. Trim any excess from the side. Attach small talk stickers to several leaves (I cut one sticker into several pieces and spread them out over 6 leaves) Outline the stickers with pencil to help them stand out. Distress all of your edges. Attach the leaves and with stickers “falling” down the right side of the card, then attach some plain leaves along the branches. Layer all of your mats and the card is complete.

I hope you enjoy making this card and are as obsessed with Gertrude as I am. I promise something different for next week =). Happy Crafting!– Lisa

great project
LikeLike