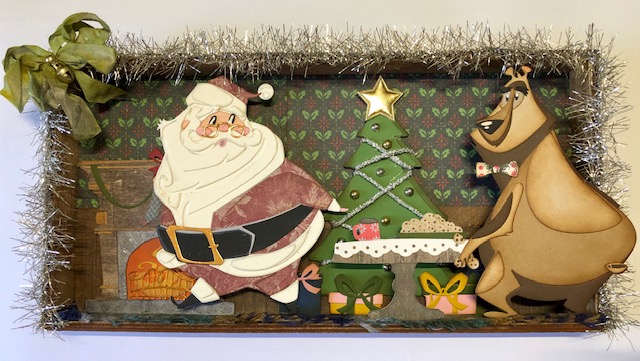
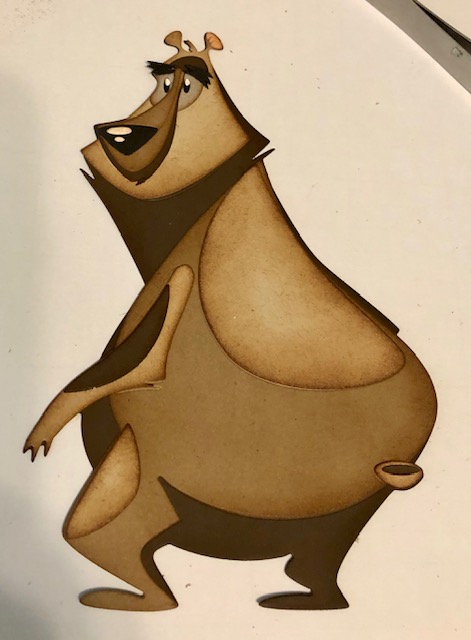
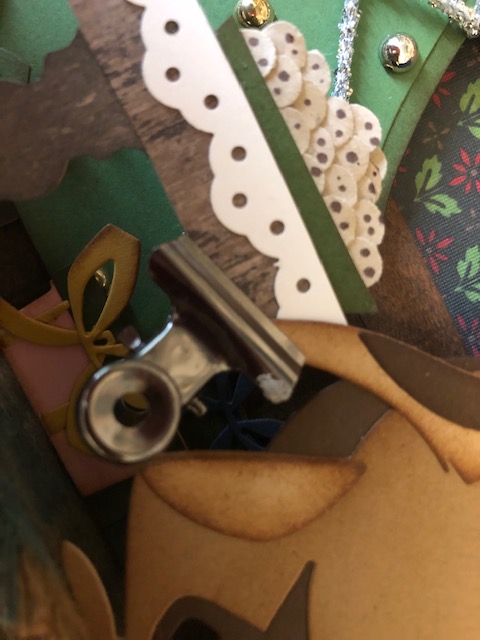
Uh oh, Theodore has stolen some cookies and startled Santa! Having some fun with Tim Holtz colorize dies this week. They do require some patience, but the end result is so cute, I think it is worth it. Have some tweezers and patience handy and you will master these dies in no time!
Materials Used: Note- some of these items are retired/not available, but not unusual- just use what you have instead. SU-Stampin Up!, FSJ- Fun Stampers Journey
Tim Holtz branded products used:
Dies- Theodore (664410), Jolly St. Nick (664198), Fireside (664193), Santa’s Helper (presents-664192) Bell Jar with pedestal (table-658244), Crazy things stamp and die (bowtie- CMS237, 660953)
Idea-ology- Christmas Worn Wallpaper
Large Vignette Tray
Distress Ink- Vintage Photo
Distress Oxides- Peeled Paint, Iced Spruce
Distress crayon in Walnut Stain
Other Brands and Misc.:
Xmas tree- I believe these are old Crafter’s Companion dies but basic Xmas tree shape
SU woodgrain paper (retired, use any wood patterned paper you have stashed away)
SU silver cord ribbon (retired)
SU eyelet border punch (ret.)
FSJ Vintage Tinsel (ret.)
FSJ Ink- Tin Pail -IP-0152
FSJ Fashion gold/fashion silver (AC-0293, AC-0292)
FSJ jingle bell-AC-0153
Vintage seam binding
Scrap of wool fabric
old Bingo numbers
Foam insert from vignette trays
Copic marker -E79
FSJ Don’t Hurry stamp set (mug)
Steps:
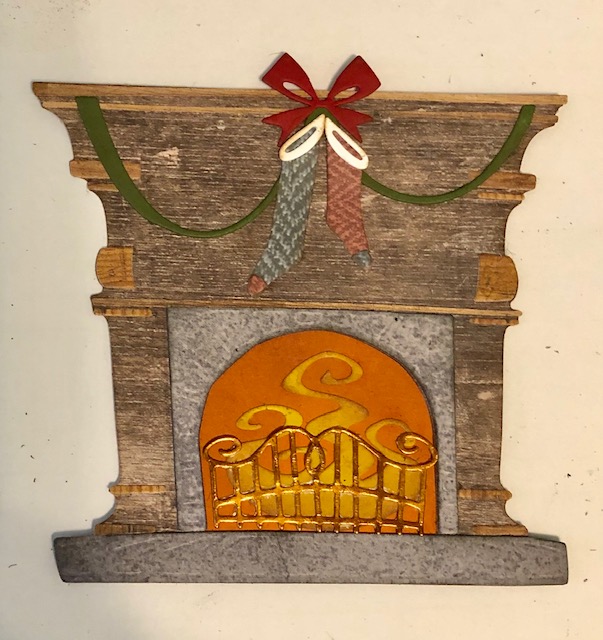
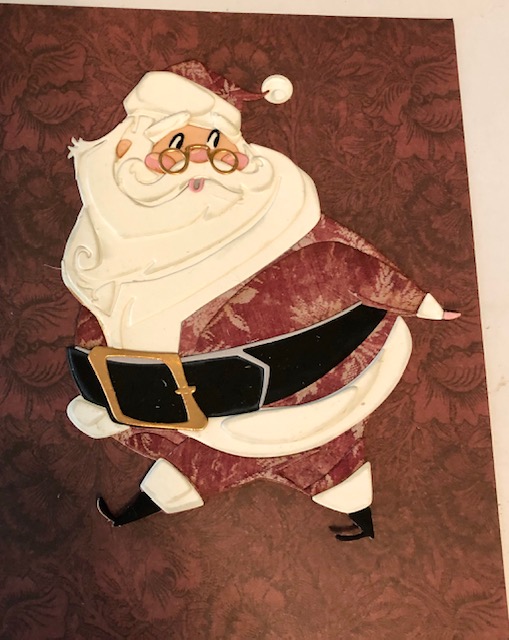
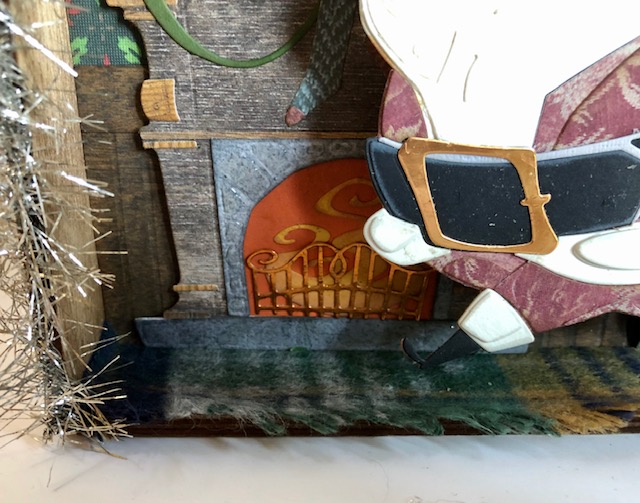
- Assemble your colorize dies- Theodore, Jolly St. Nick, Fireside and the gifts from Santa’s Helper. There are numerous videos with assembly instructions for these, so I won’t go into detail here. I did give Theodore a bow tie, stamped and die cut from the Crazy Things stamps and dies. I stamped it on some Xmas looking paper I had. I distressed the edges of each piece as I assembled it. I used Vintage Photo for all except the white portions on Santa, for which I used a pale grey- Tin Pail, on the edges. An additional note, Santa is one of the older dies. I noticed Theodore has a solid back piece to attach everything to, but Santa does not. He has two large sections, the body and the head/beard. I used washi tape to attach these two sections together as a I built him and did end up gluing a scrap piece of paper to keep this joint sturdy.
For some reason, I don’t have a photo of the gifts, but I just assembled them with different ribbons etc.
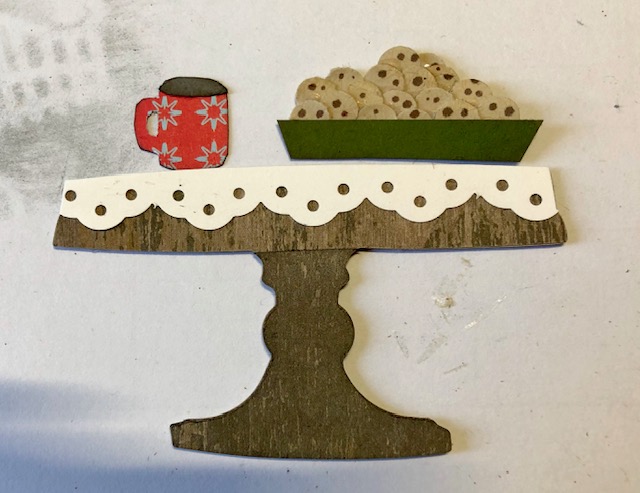
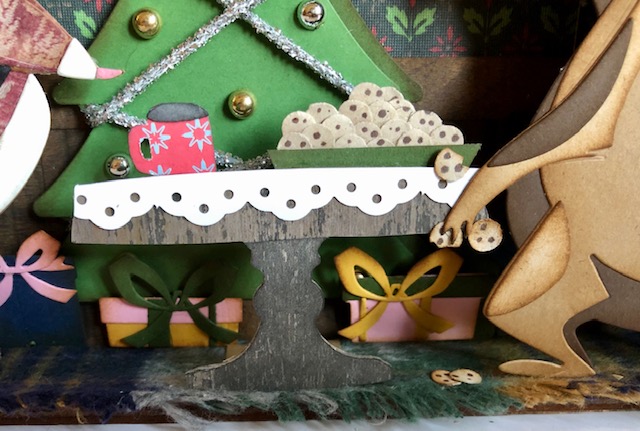
2. The table. For the table, I used the pedestal portion of the Sizzix bigz die-Bell Jar with pedestal. I cut two out of different wood image papers, using one as a contrast leg, and one out of chipboard for added sturdiness. For the tablecloth I used a border punch to make a strip out of white and glued it to the top of the table. I freehand cut a bowl out of scrap paper and used a hole punch to punch the cookies out of tan paper. I added “chips” to the cookies with a copic pen. I used a stamp of a mug from the sloth stamp on the back of some patterned paper and fussy cut the mug shape.
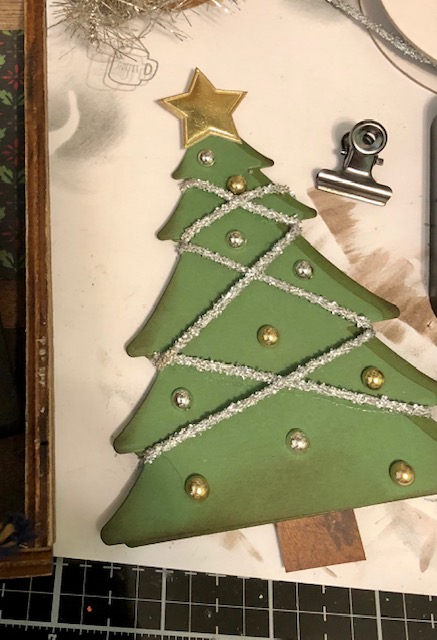
3. The tree. I cut two trees out of green and a slightly darker green and staggered them slightly to indicate a shadow. I wrapped silver cord up and back down the tree and glued the ends to the back. Then I attached silver and gold embellishments on the tree, added a gold star, and added a trunk simply cut from a scrap of wood patterned paper. I distressed all the edges in Vintage Photo.
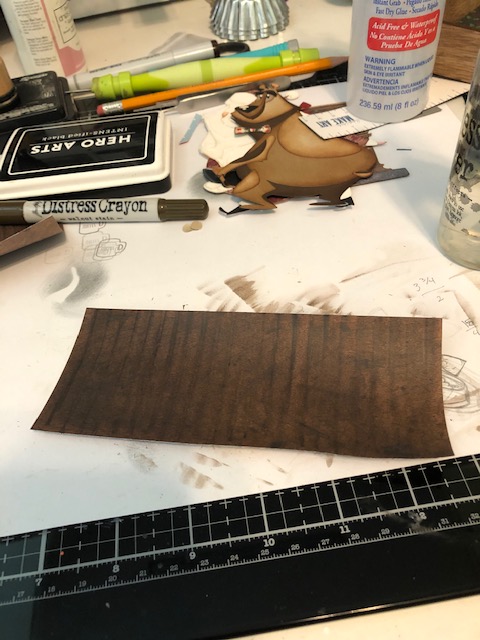
4. The background. The Christmas wallpaper comes in 5′ x 8″ sheets. I cut two in half to measure 5″ x 4″ and glued three of them to the upper half of the tray, cutting the last piece to fit. I cut some wood patterned paper to fit the bottom half of the tray and scored it at 1/4″ intervals. I then used distress crayon to darken the creases, smudging the lines with a damp finger. For the rail, I cut some 1/2″ strips from the same paper and glued it to the top of the “bead board”.

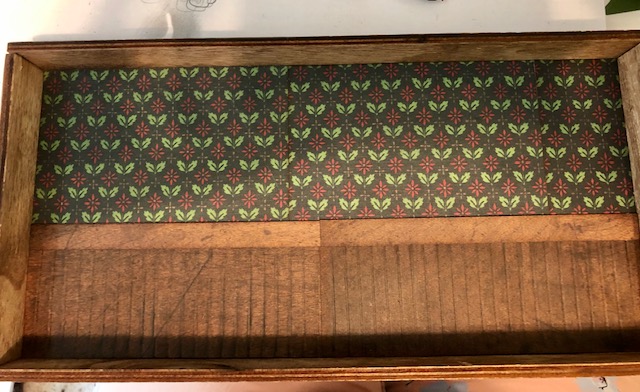
For the “rug” I simply cut a strip of wool fabric I had leftover from another project and glued it to the “floor”

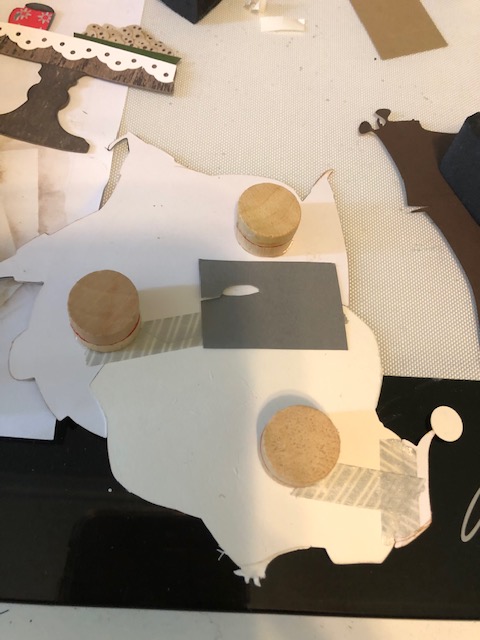
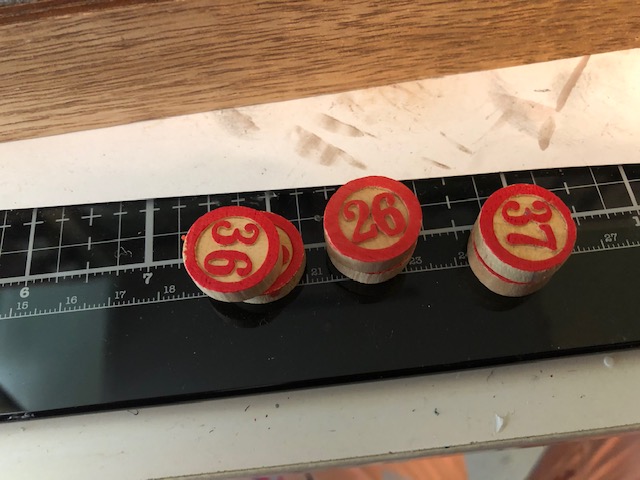
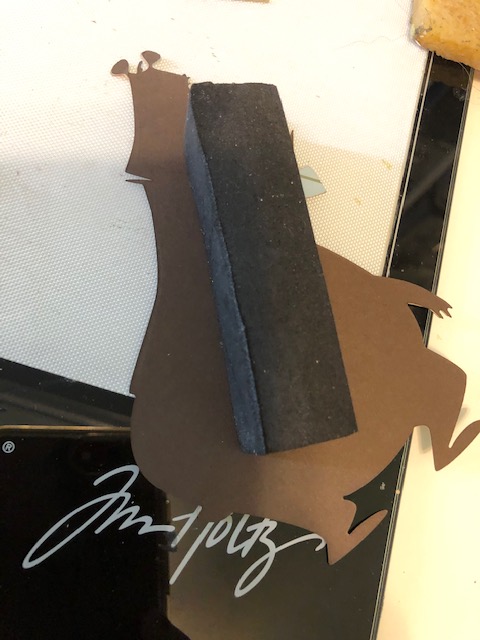
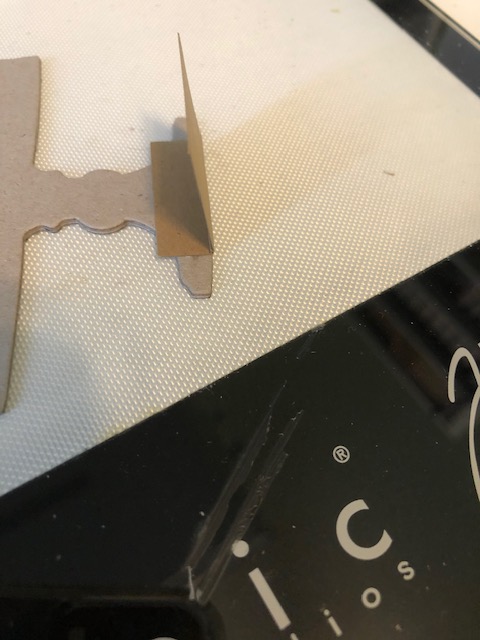
5. Assembly. I wanted everything to be at varying levels. The first layer is the fireplace, the tree and the presents. Those all got set in place using a layer of foam tape. The next layer was Santa. I keep a jar of old wooden Bingo numbers I got for layering and for use in mixed media projects. For Santa I made three double stacks of these numbers and glued them to his backside, then glued him in. The last layer is Theodore and the table. For Theodore I glued the foam spacer that comes with the vignette trays (yes, I tend to save everything) to him and glued him in on the foam. For the table I cut a small scrap piece of paper, scored it at 3/8″ and glued the “hinge” to the bottom of the table. You may have to trim a little so it doesn’t show. This piece got glued to the floor. I then glued the table at the spot where it overlaps Theodore’s hand. If you want to have him holding some spare cookies you may want to glue those in his hand first.


6. Finishing touches. I glued some tinsel along the sides and upper edge of the box, and some cookies on the floor. For the ribbon, I dyed some vintage seam binding, tied in a triple bow, with Iced Spruce and Peeled Paint oxides. Once dry, I hand stitched a jingle bell to the center and added a gold embellishment.


That’s it! Here is an additional photo of the finished piece, along with some closeups.

Hope you enjoyed this tutorial. Have a fantastic week!- Lisa

Love it, but I’m soooo not ready for the holidays yet, lol
LikeLike
This is just so fantastic. I love it! Came back today for another look 😀
LikeLike